GitHub Copilot in VS Code
Why GitHub Copilot?
GitHub Copilot is built to work seamlessly in your IDE. It acts a bridge between you, your codebase, and LLMs like ChatGPT, Claude, etc. Copilot makes suggestions based on the context of your entire project, rather than only a single prompt.
With the web interfaces for ChatGPT, Claude, etc, you would have to upload your code in order for it to have access to the context of your project. Further, you would have to copy & paste suggestions from the browser into your IDE. If you frequently switch between working on multiple projects, or have large projects with hundreds or thousands of lines of code, this can quickly become cumbersome.
GitHub Copilot in your IDE removes friction and makes using LLMs for development tasks a breeze!
Setup
Sign up for Copilot
Link your work email with your GitHub account
Your nih.gov email address must be your primary email in your GitHub account. Follow the instructions in the GitHub docs to change your primary email address.
Join a GitHub Organization managed by NCI CBIIT
Use this form to request to join a GitHub Organization managed by NCI CBIIT if you are not already a member of one. Under request details, select Add member to a GitHub Organization. Add your GitHub username and corresponding NIH email. You will also need to know the name of the GitHub Organization you are requesting to join; ask your supervisor if you’re unsure.
Request a Copilot license from NCI CBIIT
After you have been added as a member of an organization, use the same form linked above to request a Copilot license. Under request details, select Request a Copilot license. CBIIT typically approves these requests in about 1 week.
Enable Copilot
https://github.com/settings/copilot
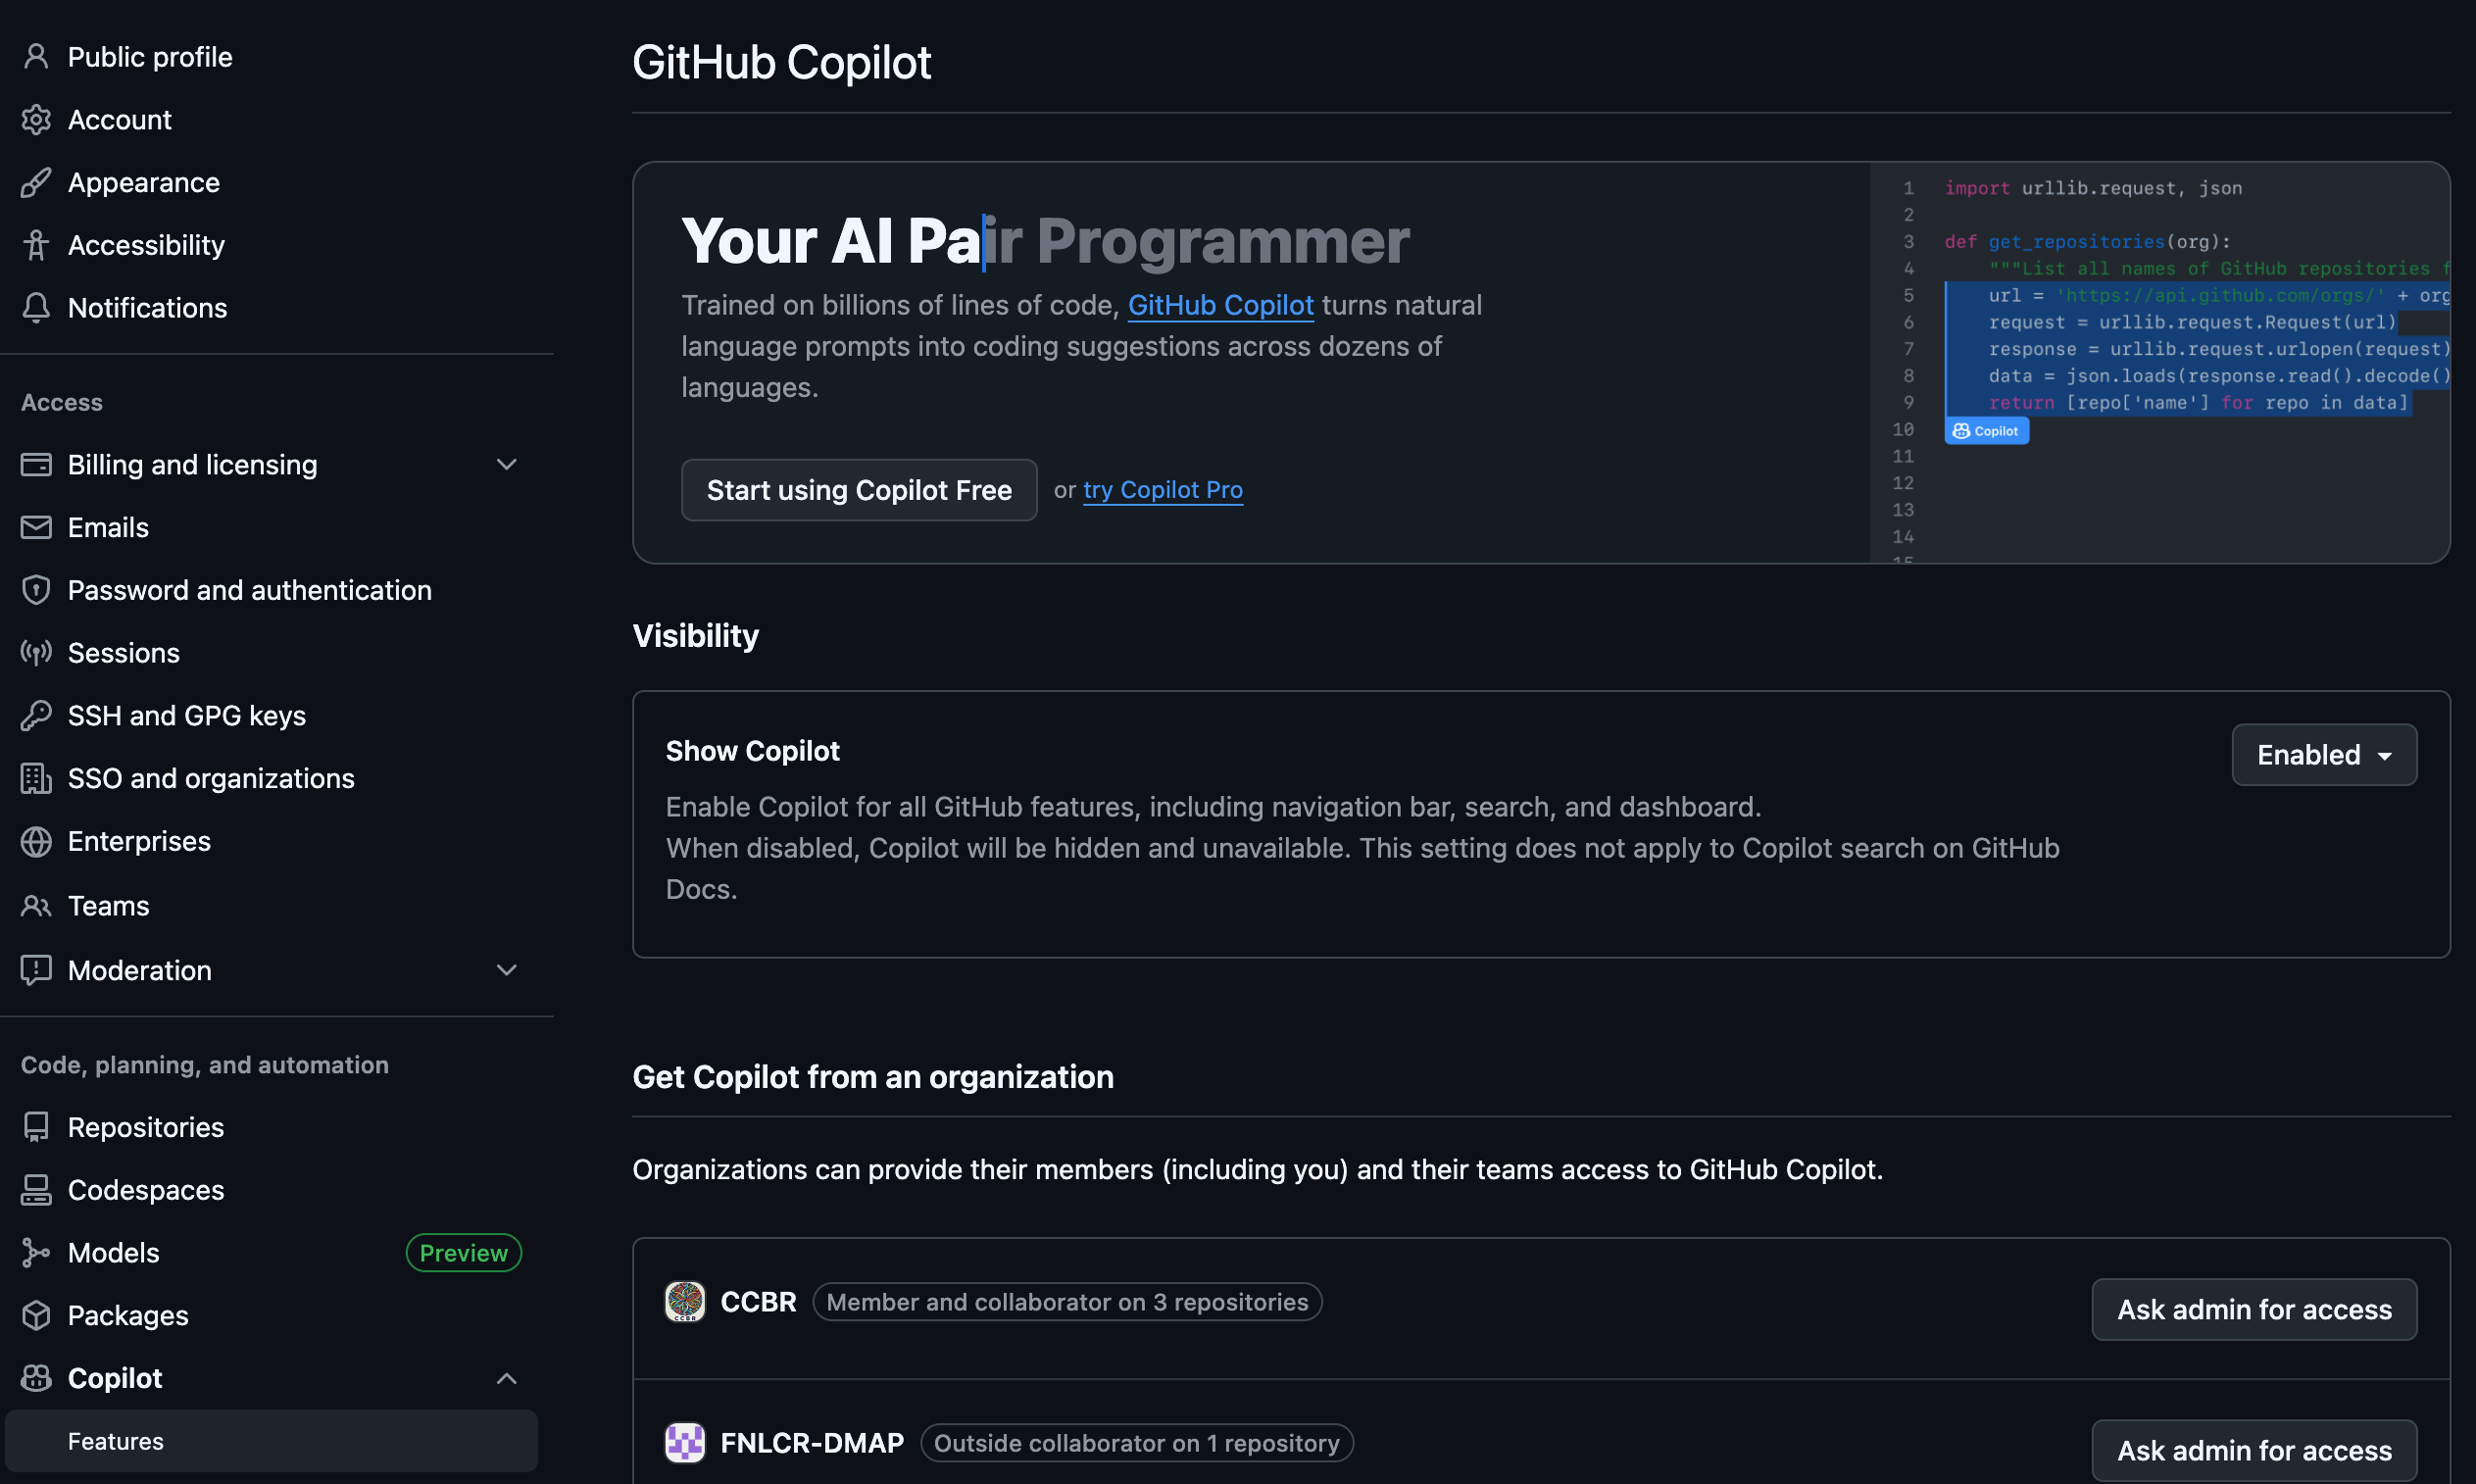
See more: GitHub Docs
If you have not yet been granted a Copilot license, you can still use the free version to get started.
Set up Copilot in VS Code
- Hover over the Copilot icon in the Status Bar and select ‘Use AI Features’.
![]()
- Sign in to GitHub
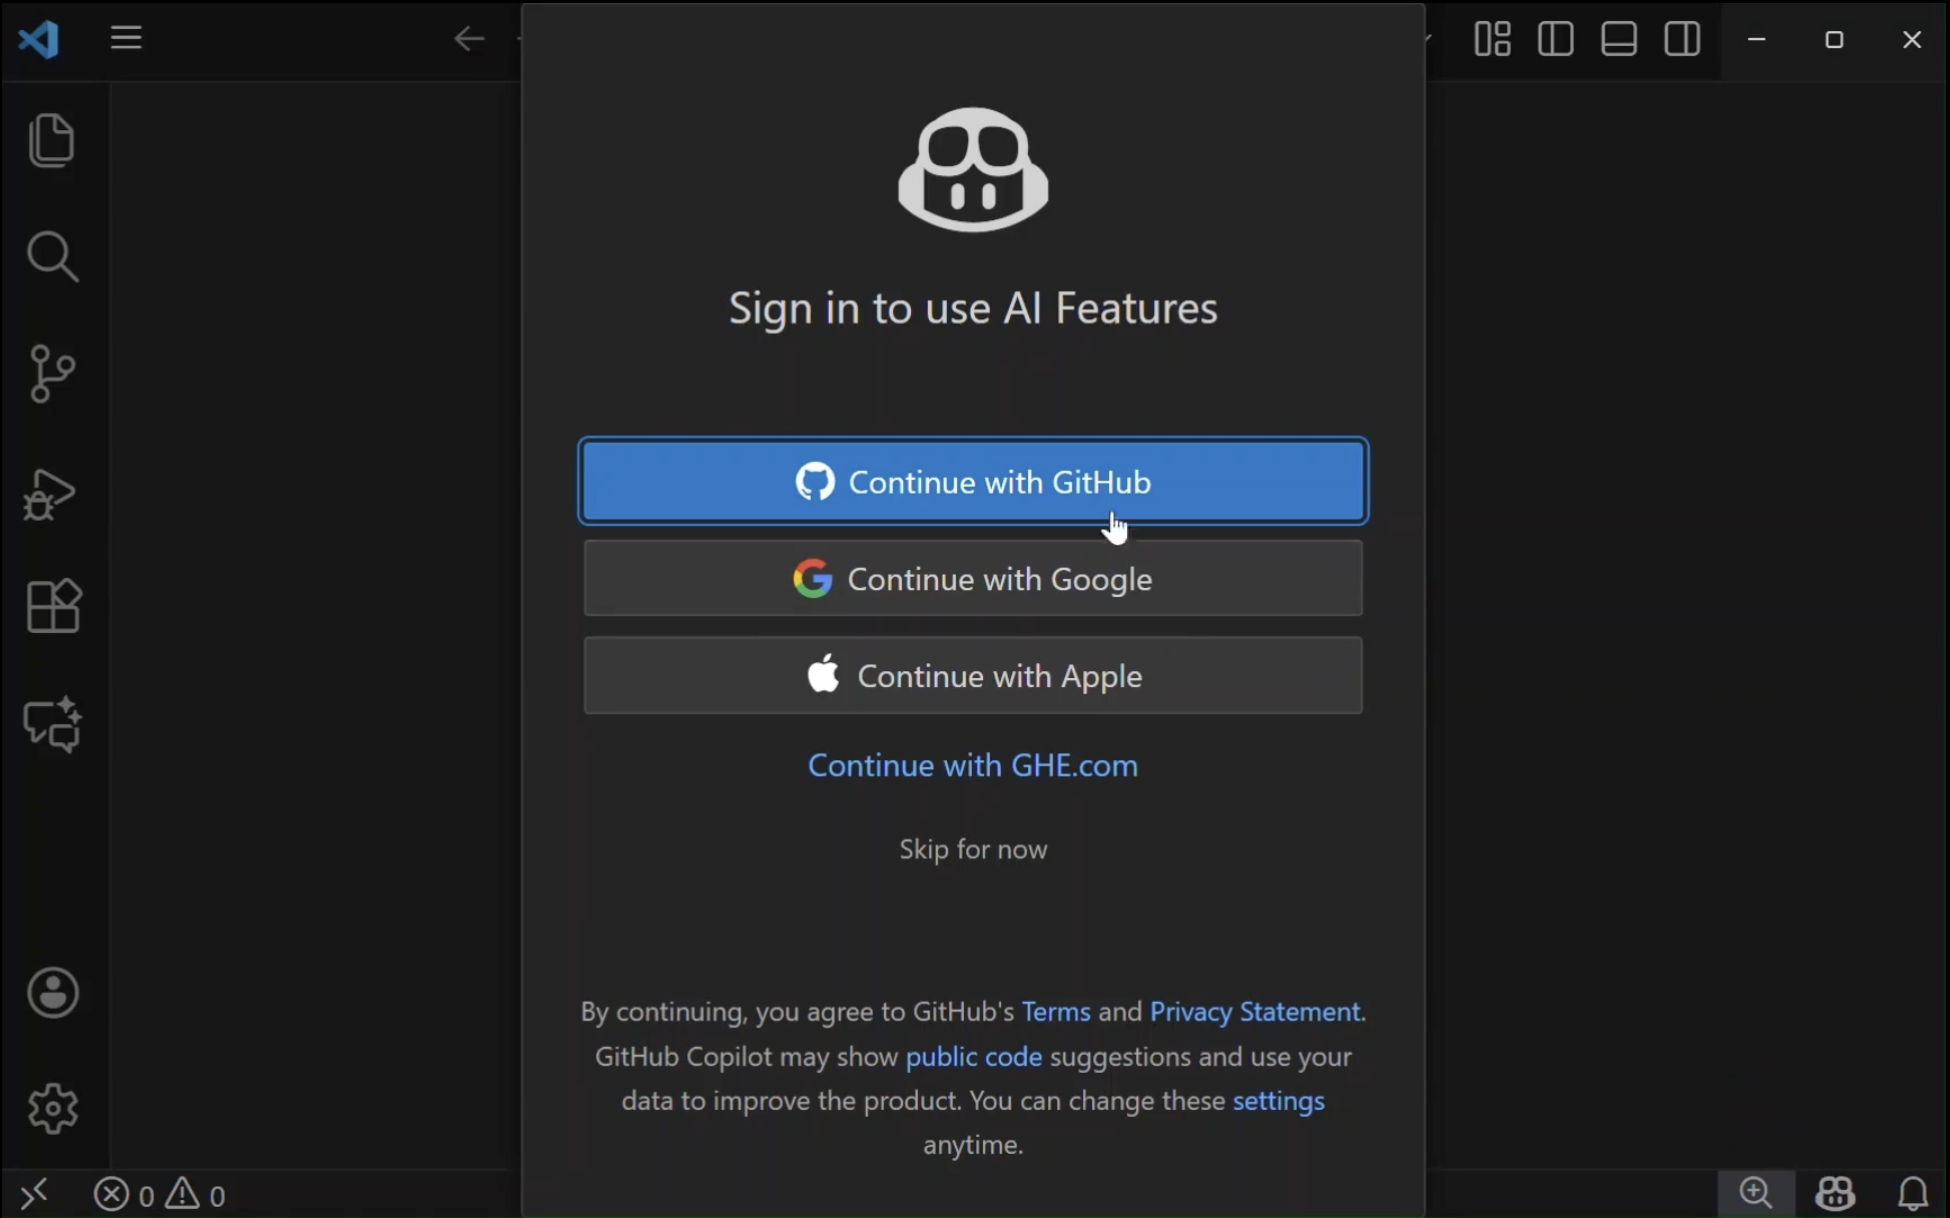
- Start using Copilot in VS Code!
The GitHub Copilot Chat extension should now be installed.
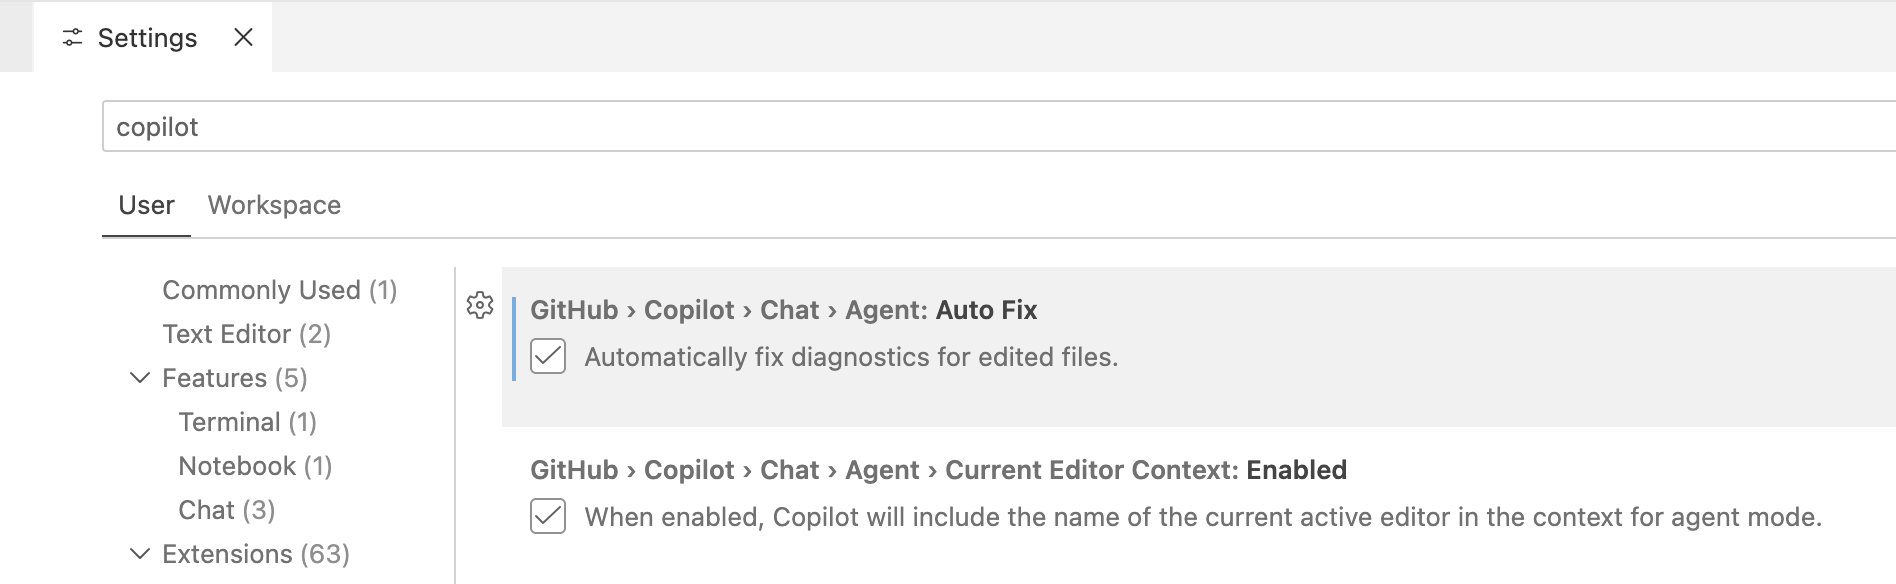
VS Code settings
You can customize Copilot settings in VS Code by going to Settings > Extensions > GitHub Copilot or by using the keyboard shortcut CmdCmd,, on Mac.
GitHub Copilot also works well in Positron, an IDE created by Posit based on VS Code.
Demo: a simple python script
Example project: given a GTF file, extract the gene transcription start sites and create a BED file of promoter regions.
Files:
- extract_promoters.py - Example Python script for demonstrating Copilot
- setup.sh - Download data files for testing the Python script
Create a new directory called extract-promoters, download these files, and place them in that directory.
Open project in new window
Open the directory for your project with VS Code.
We recommend initializing git and making a commit with the existing code before you start using Copilot.
pwd
# /path/to/extract-promoters/
git init
git add extract_promoters.py setup.sh
git commit -m 'Initial commit'
Automatic inline suggestions
Copilot will make suggestions automatically as you type. You can adjust this behavior in settings.
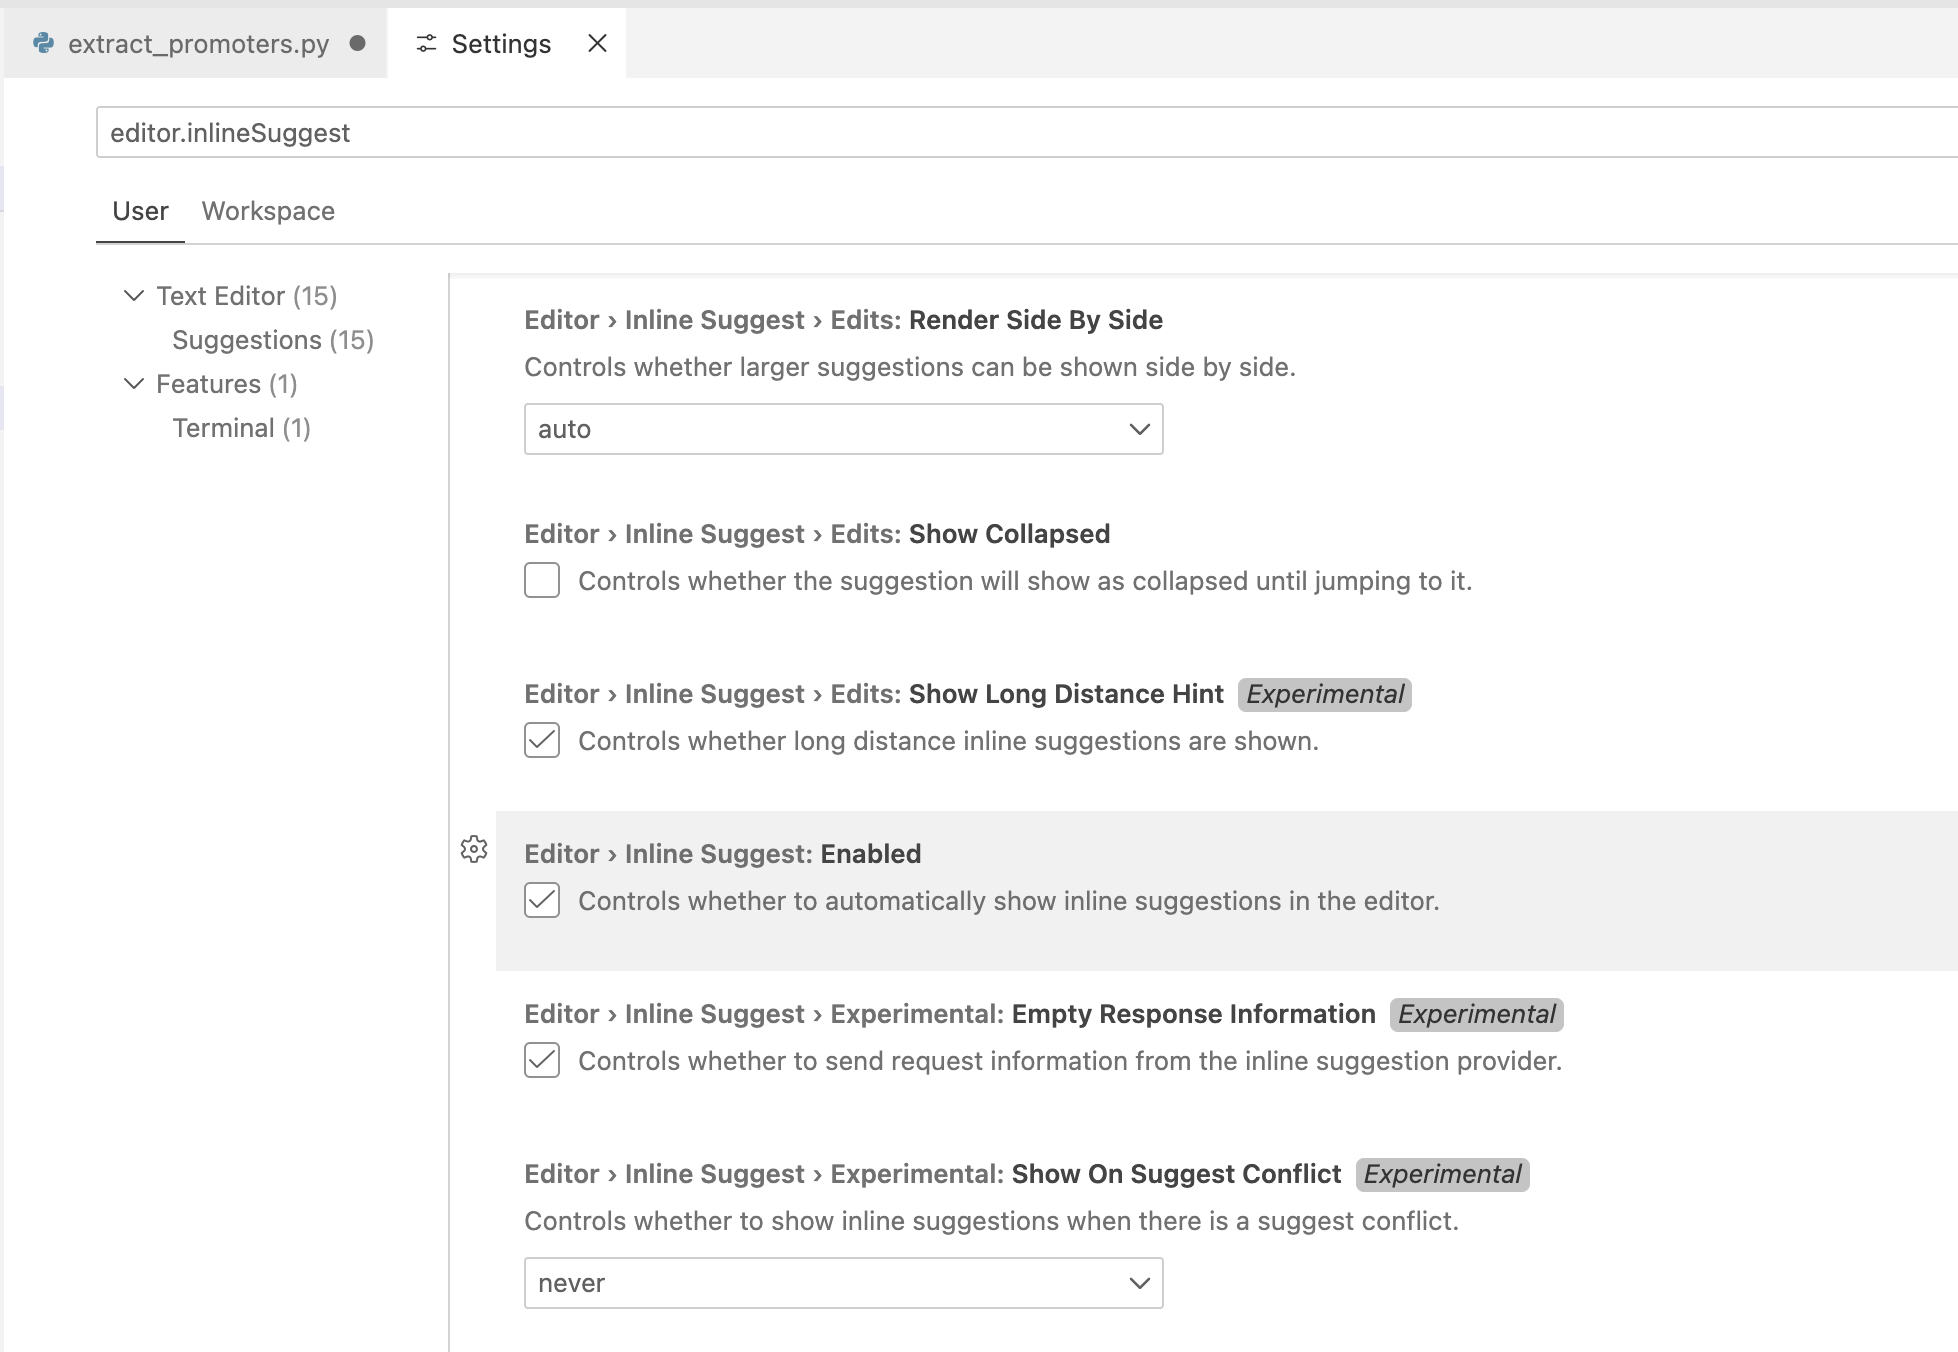
<vscode://settings/editor.inlineSuggest.enabled>
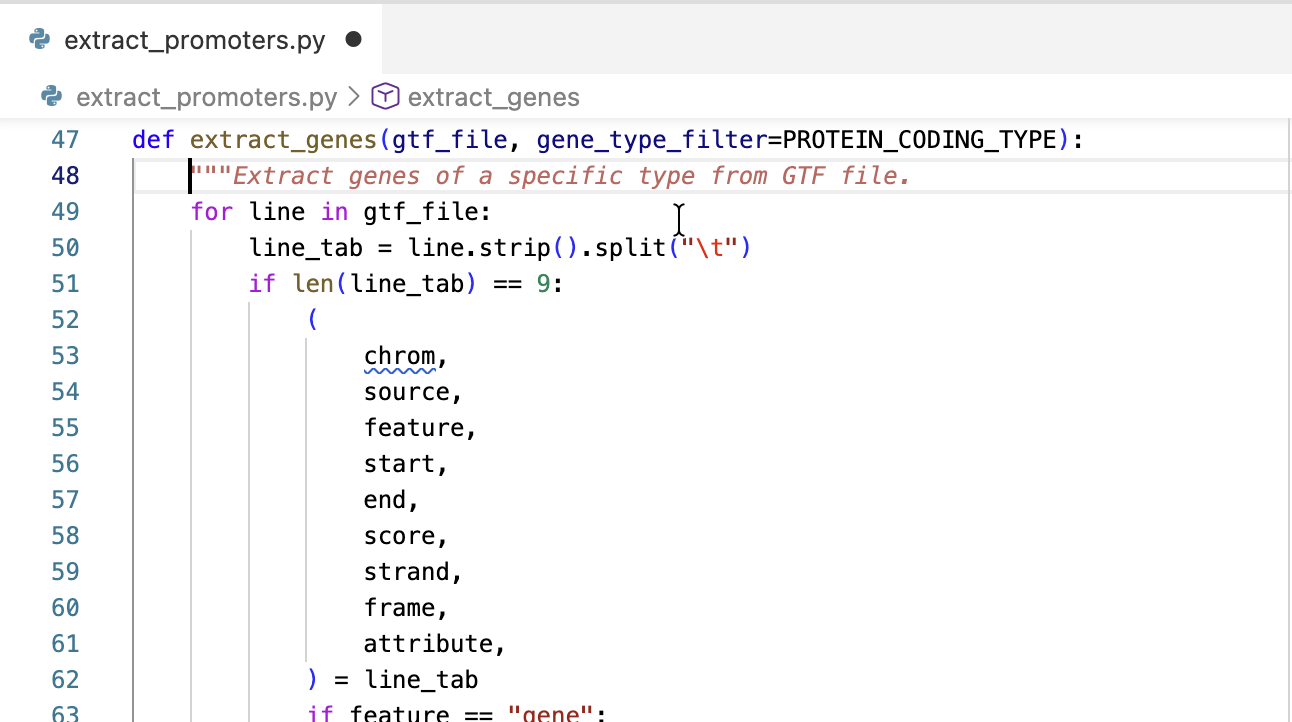
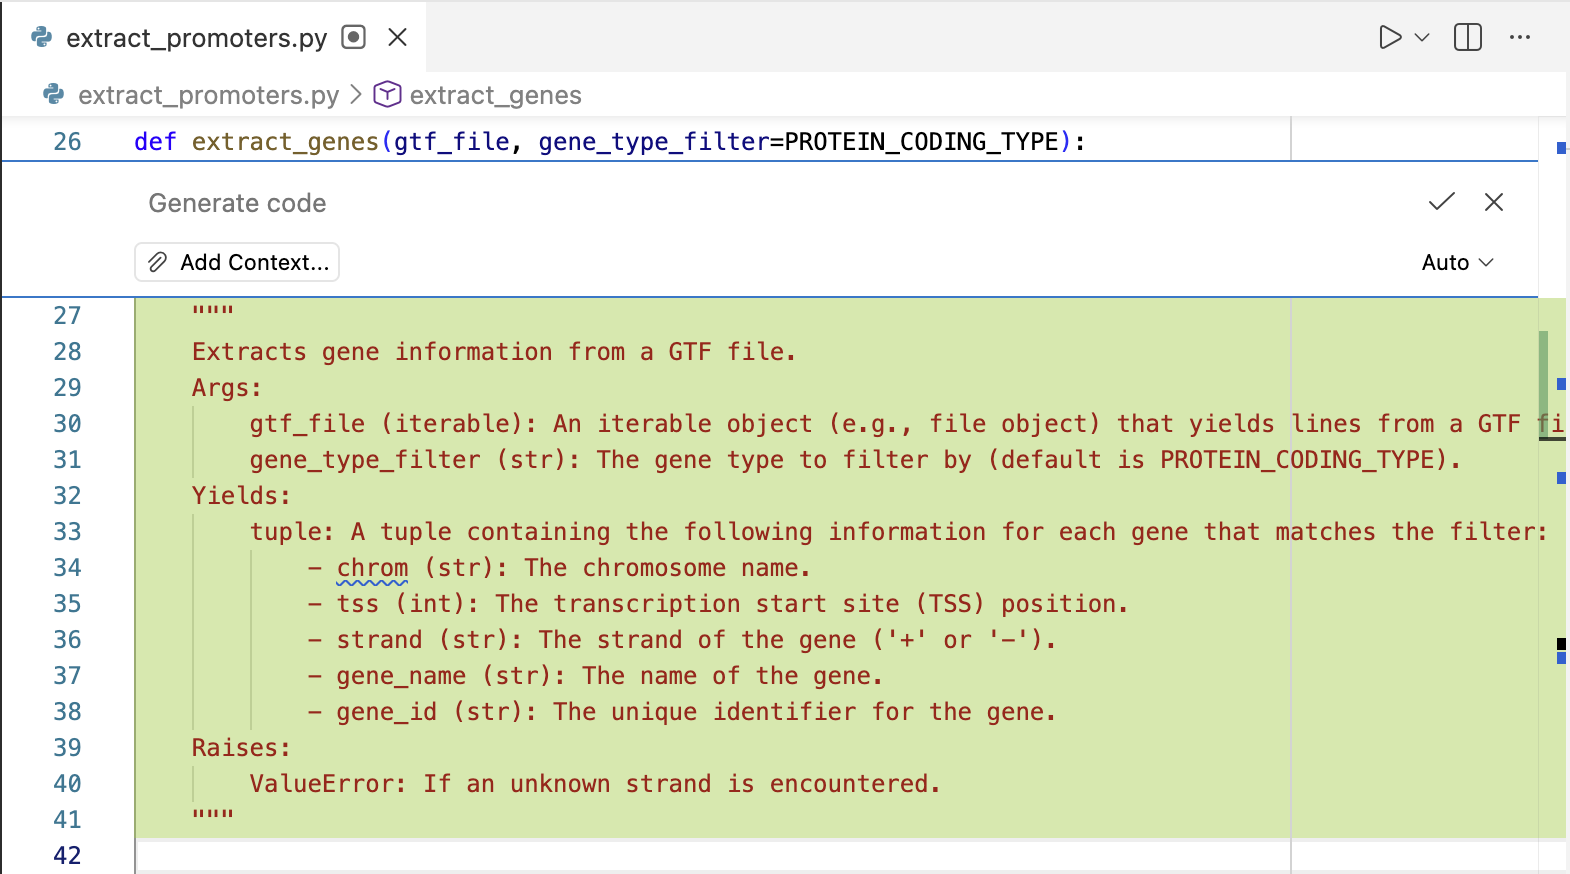
Example: automatic docstring suggestion
Place your cursor where a function docstring should be, wait a little bit, and see if Copilot suggests one. If needed, start typing """ and see if that triggers Copilot to suggest a docstring.
You can press TabTab to accept the suggestion, or EscEsc to reject it.
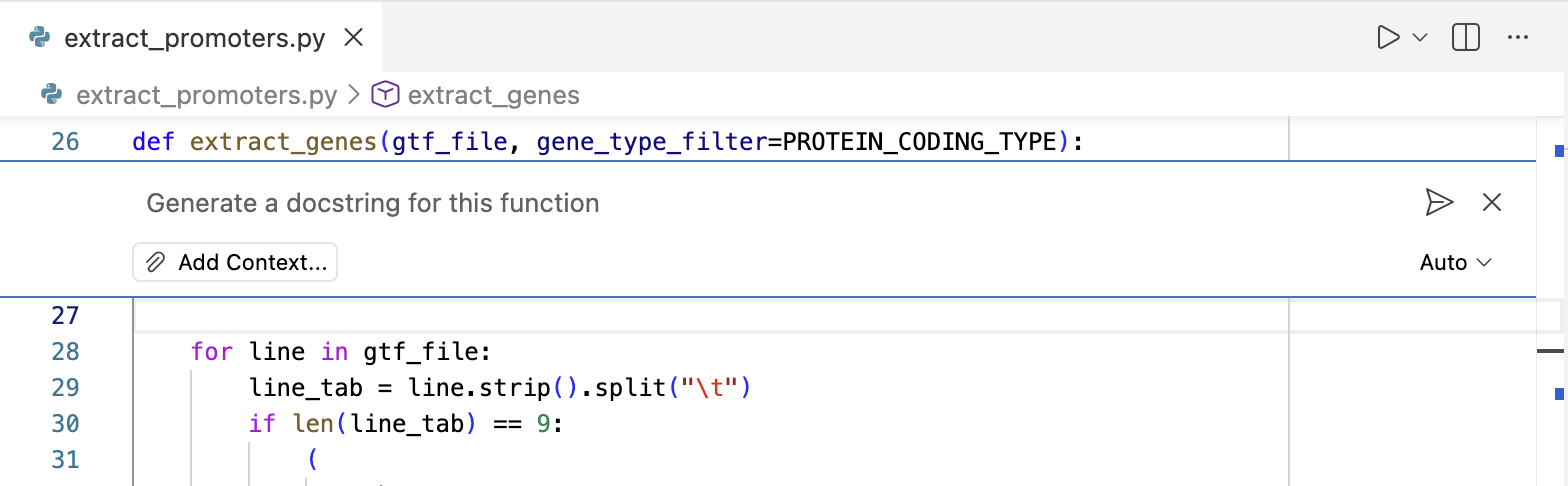
Inline chat
Press Cmd-ICmd-I to open the inline chat and ask for modifications right where your cursor is.
You can click the checkmark to accept the suggested edit if it meets your expectations. You can always modify it after accepting it if there are minor corrections to make.
Chat in the sidebar
Sometimes you may have more long-form questions, or perhaps you’d like to have a record of the prompts you’ve given to Copilot. The sidebar Chat is great for this!
You can toggle the sidebar on and off with the sidebar button in the upper right corner of the VS Code window:

Model Selection
You can select which Large Language Model to use for your prompts:
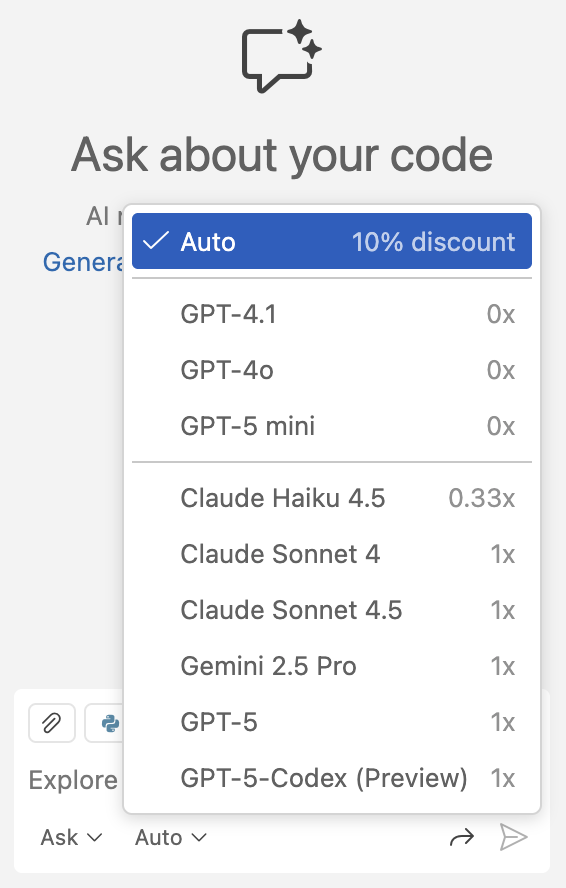
GitHub has a table comparing the various AI models available in Copilot here: https://docs.github.com/en/copilot/reference/ai-models/model-comparison
Agent Modes
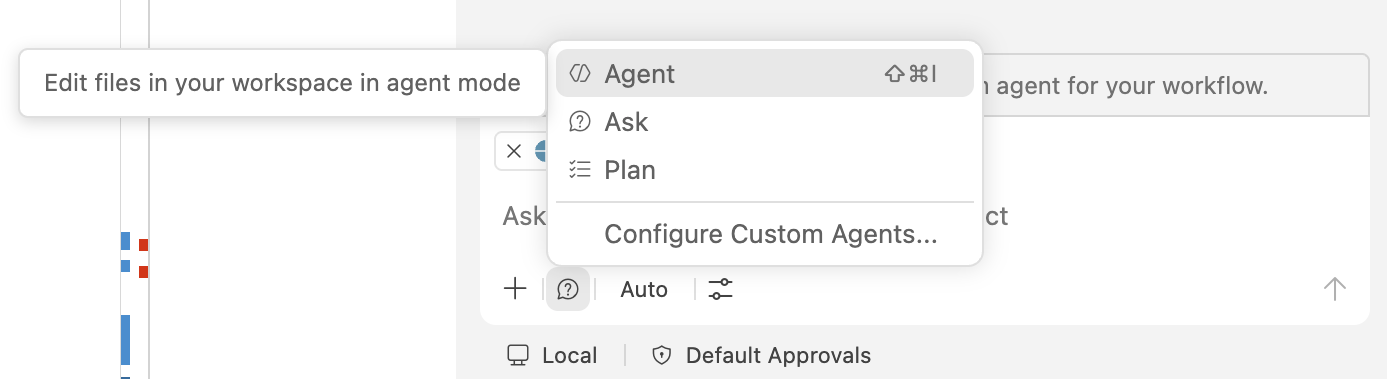
- Agent: autonomously plans and implements changes across files, runs terminal commands, and invokes tools.
- Plan: creates a structured, step-by-step implementation plan before writing any code. Hands the plan off to an implementation agent when it looks right.
- Ask: answers questions about coding concepts, your codebase, or VS Code itself without making file changes.
Examples
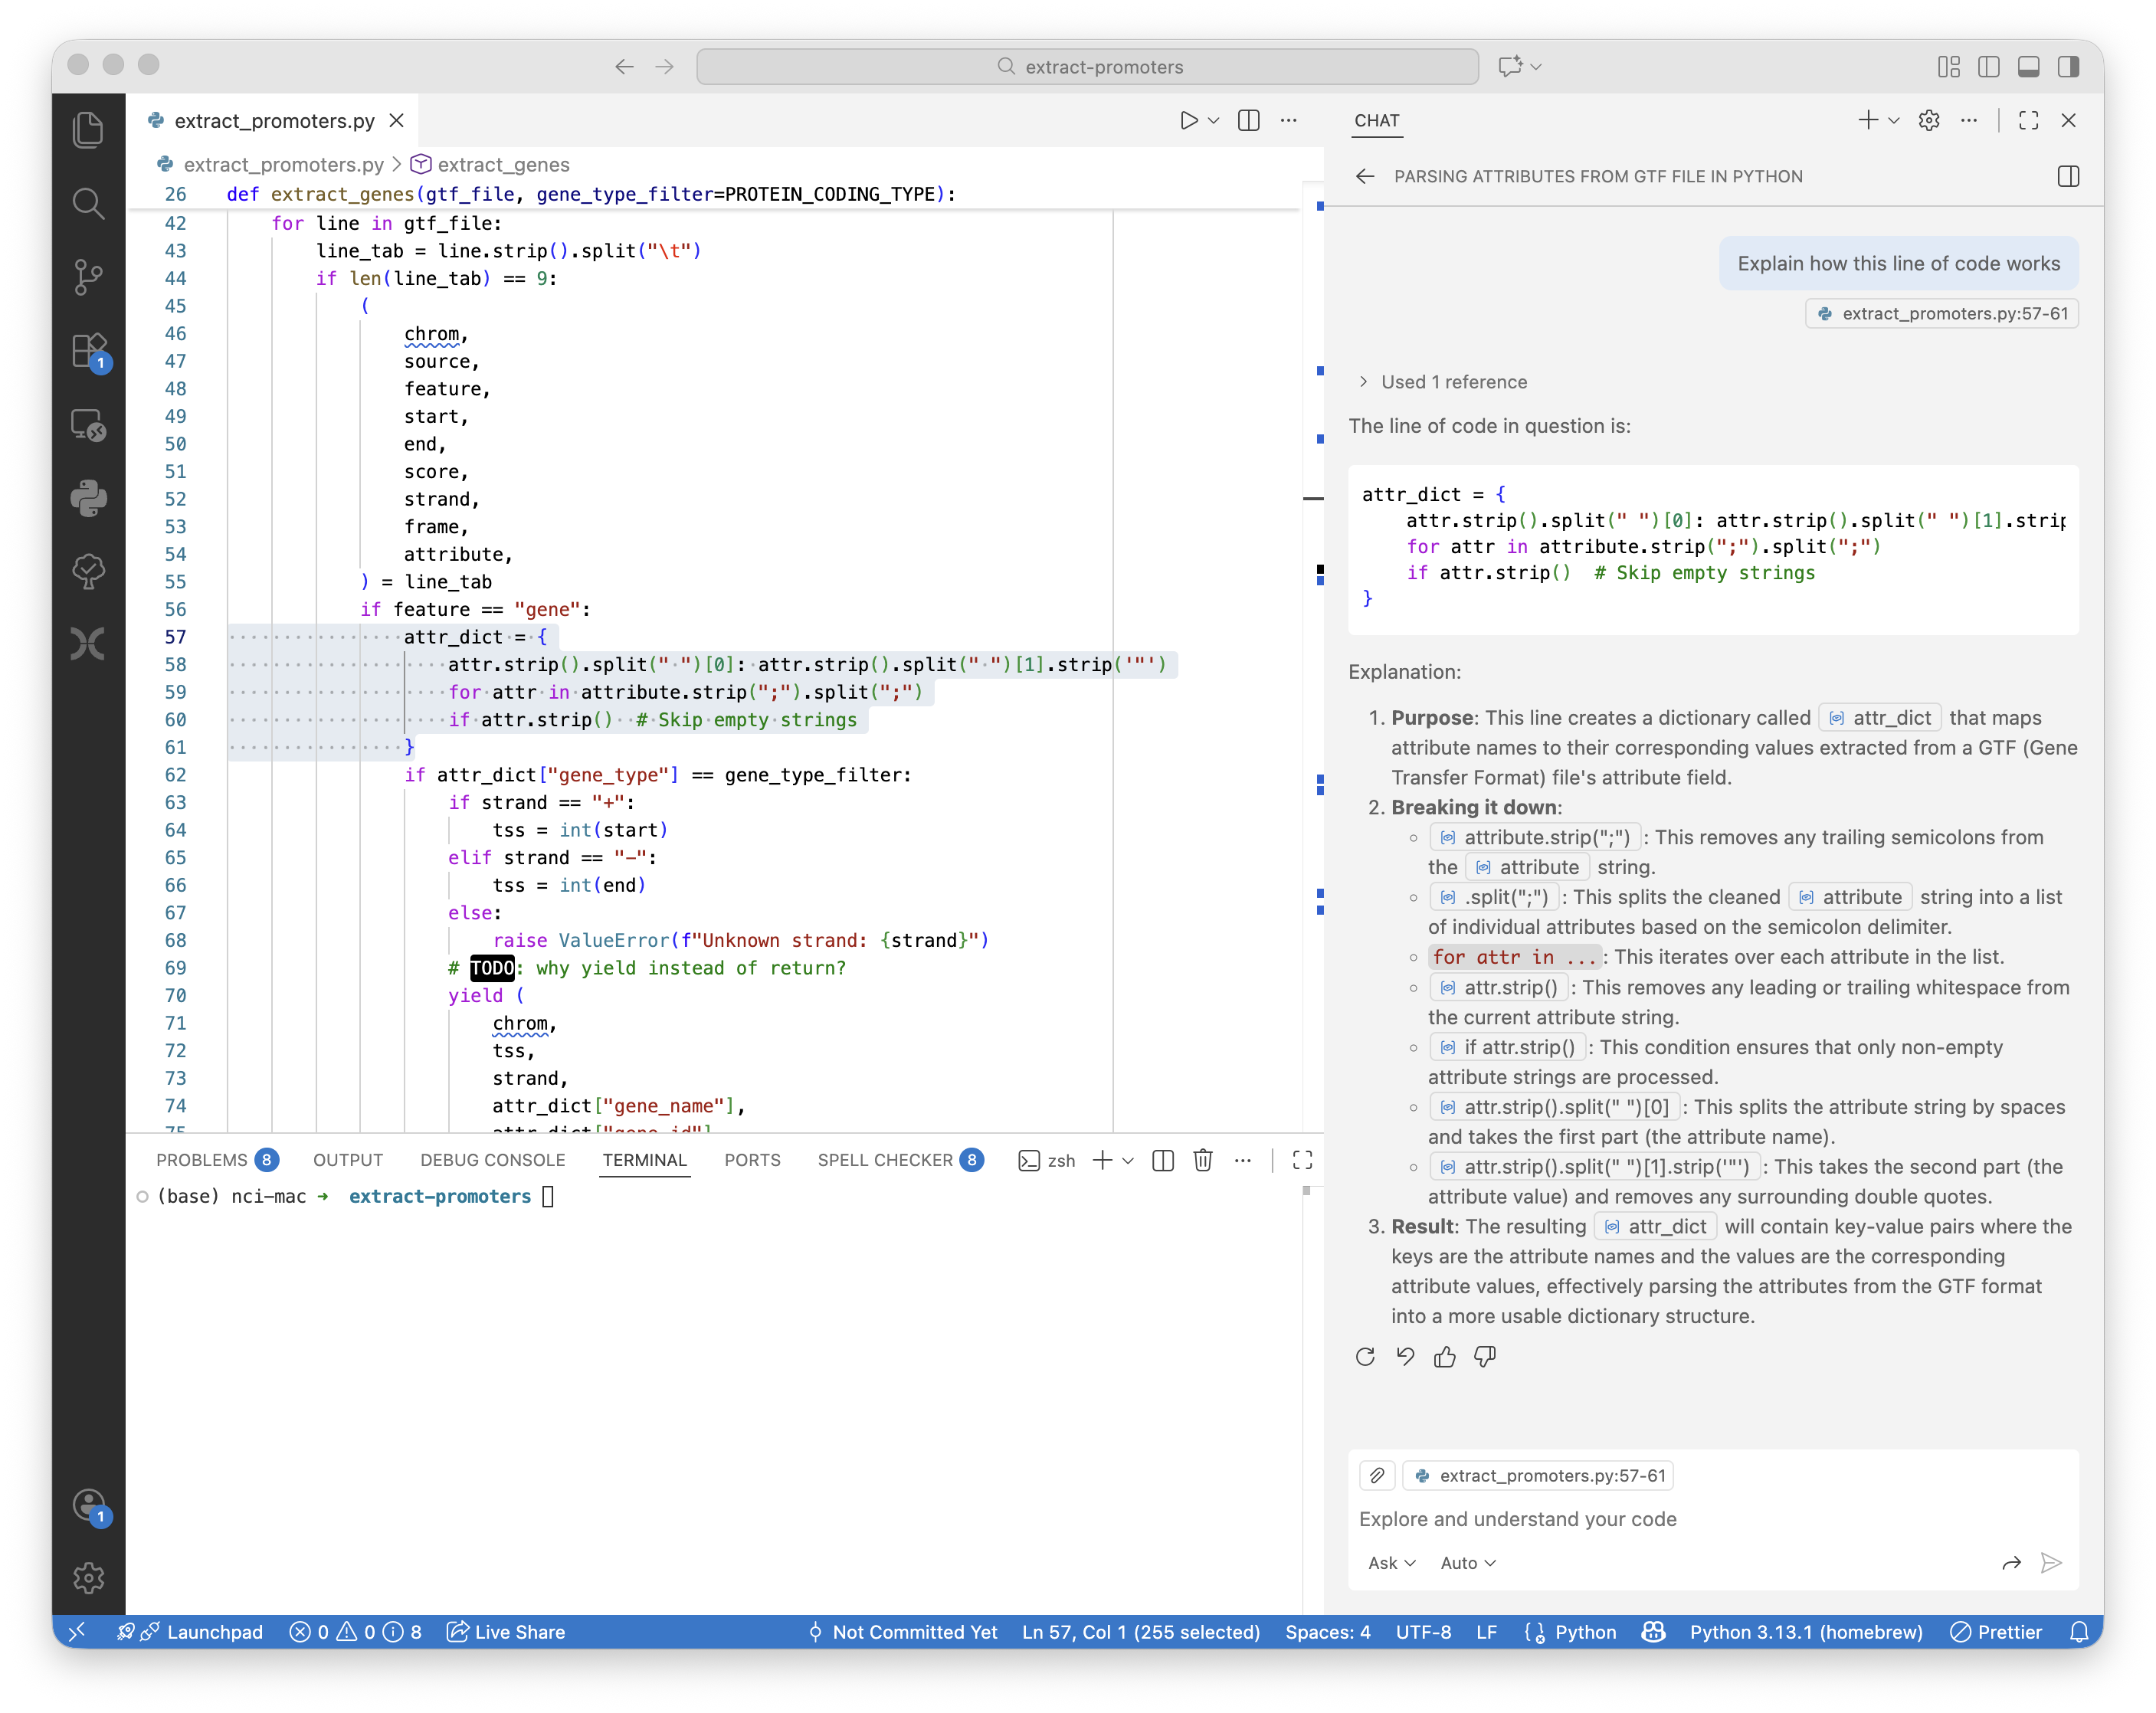
Example: ask Copilot to explain how a line of code works.
Highlight a complicated line of code and ask Copilot to explain how it works.
Example: ask Copilot to break out a complicated line of code into a separate function.
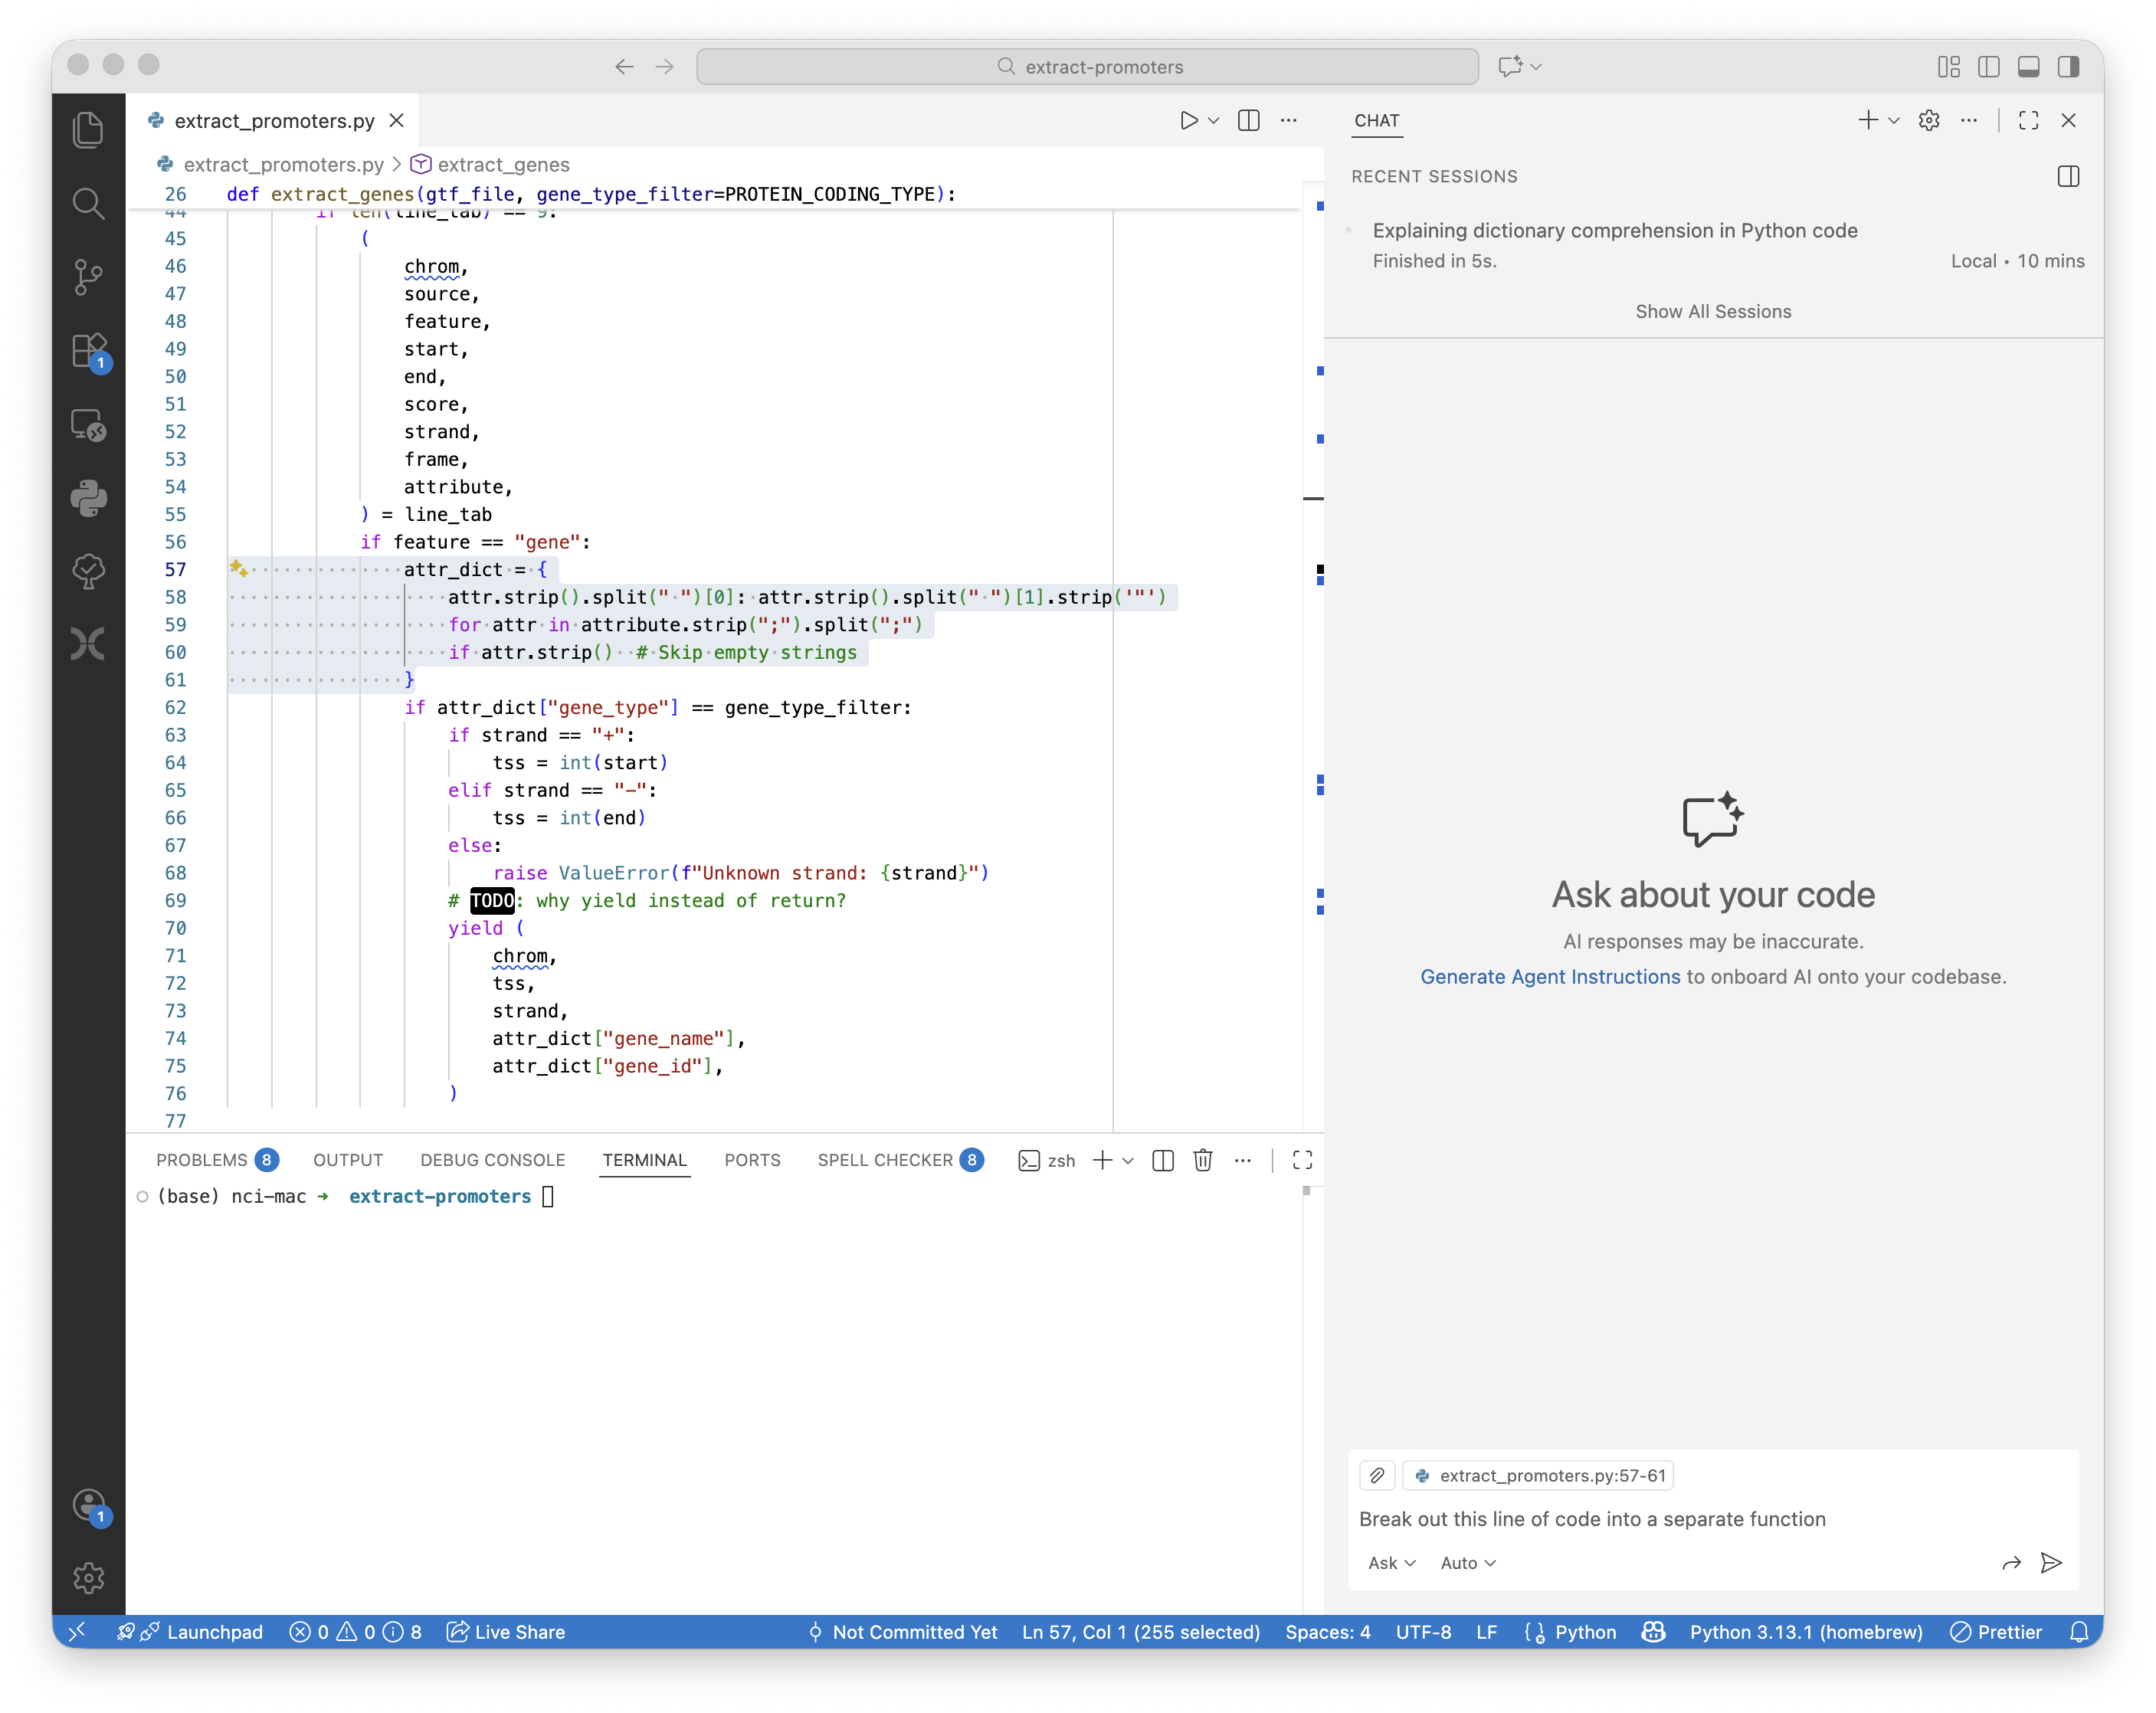
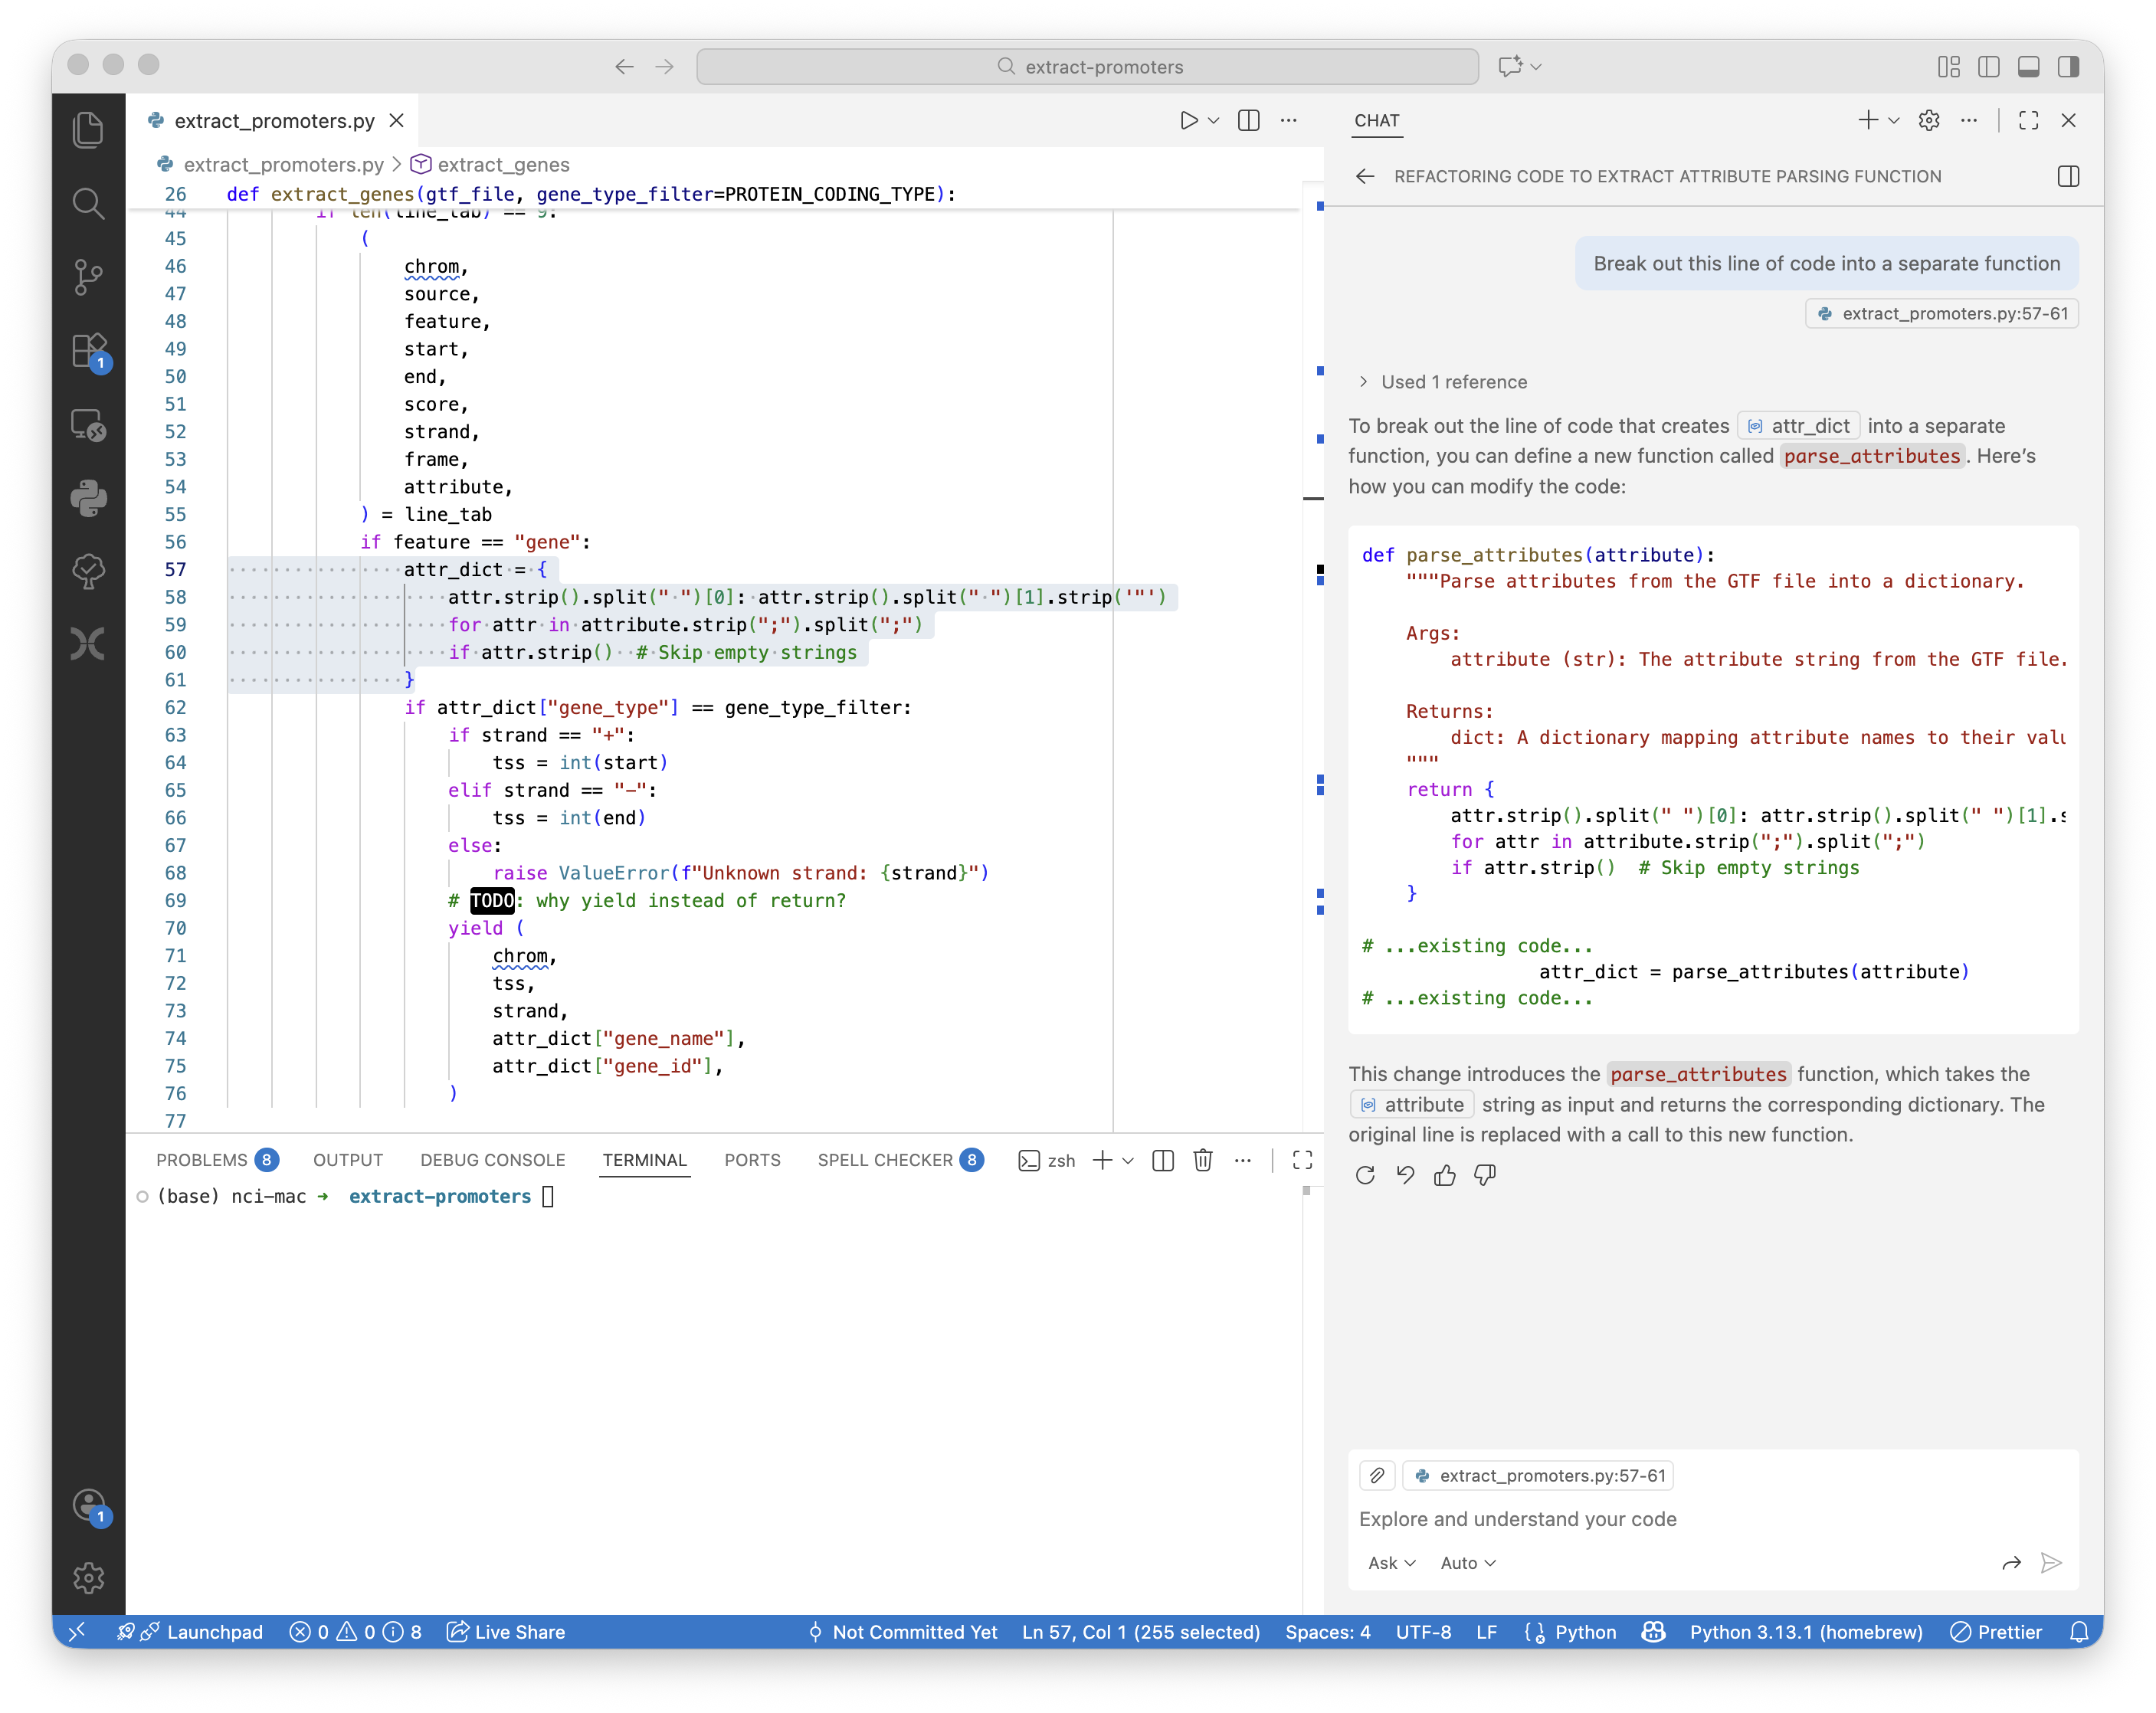
If you are not in Agent mode, you will need to make the modifications yourself. But Copilot’s instructions make it very clear how to do so!
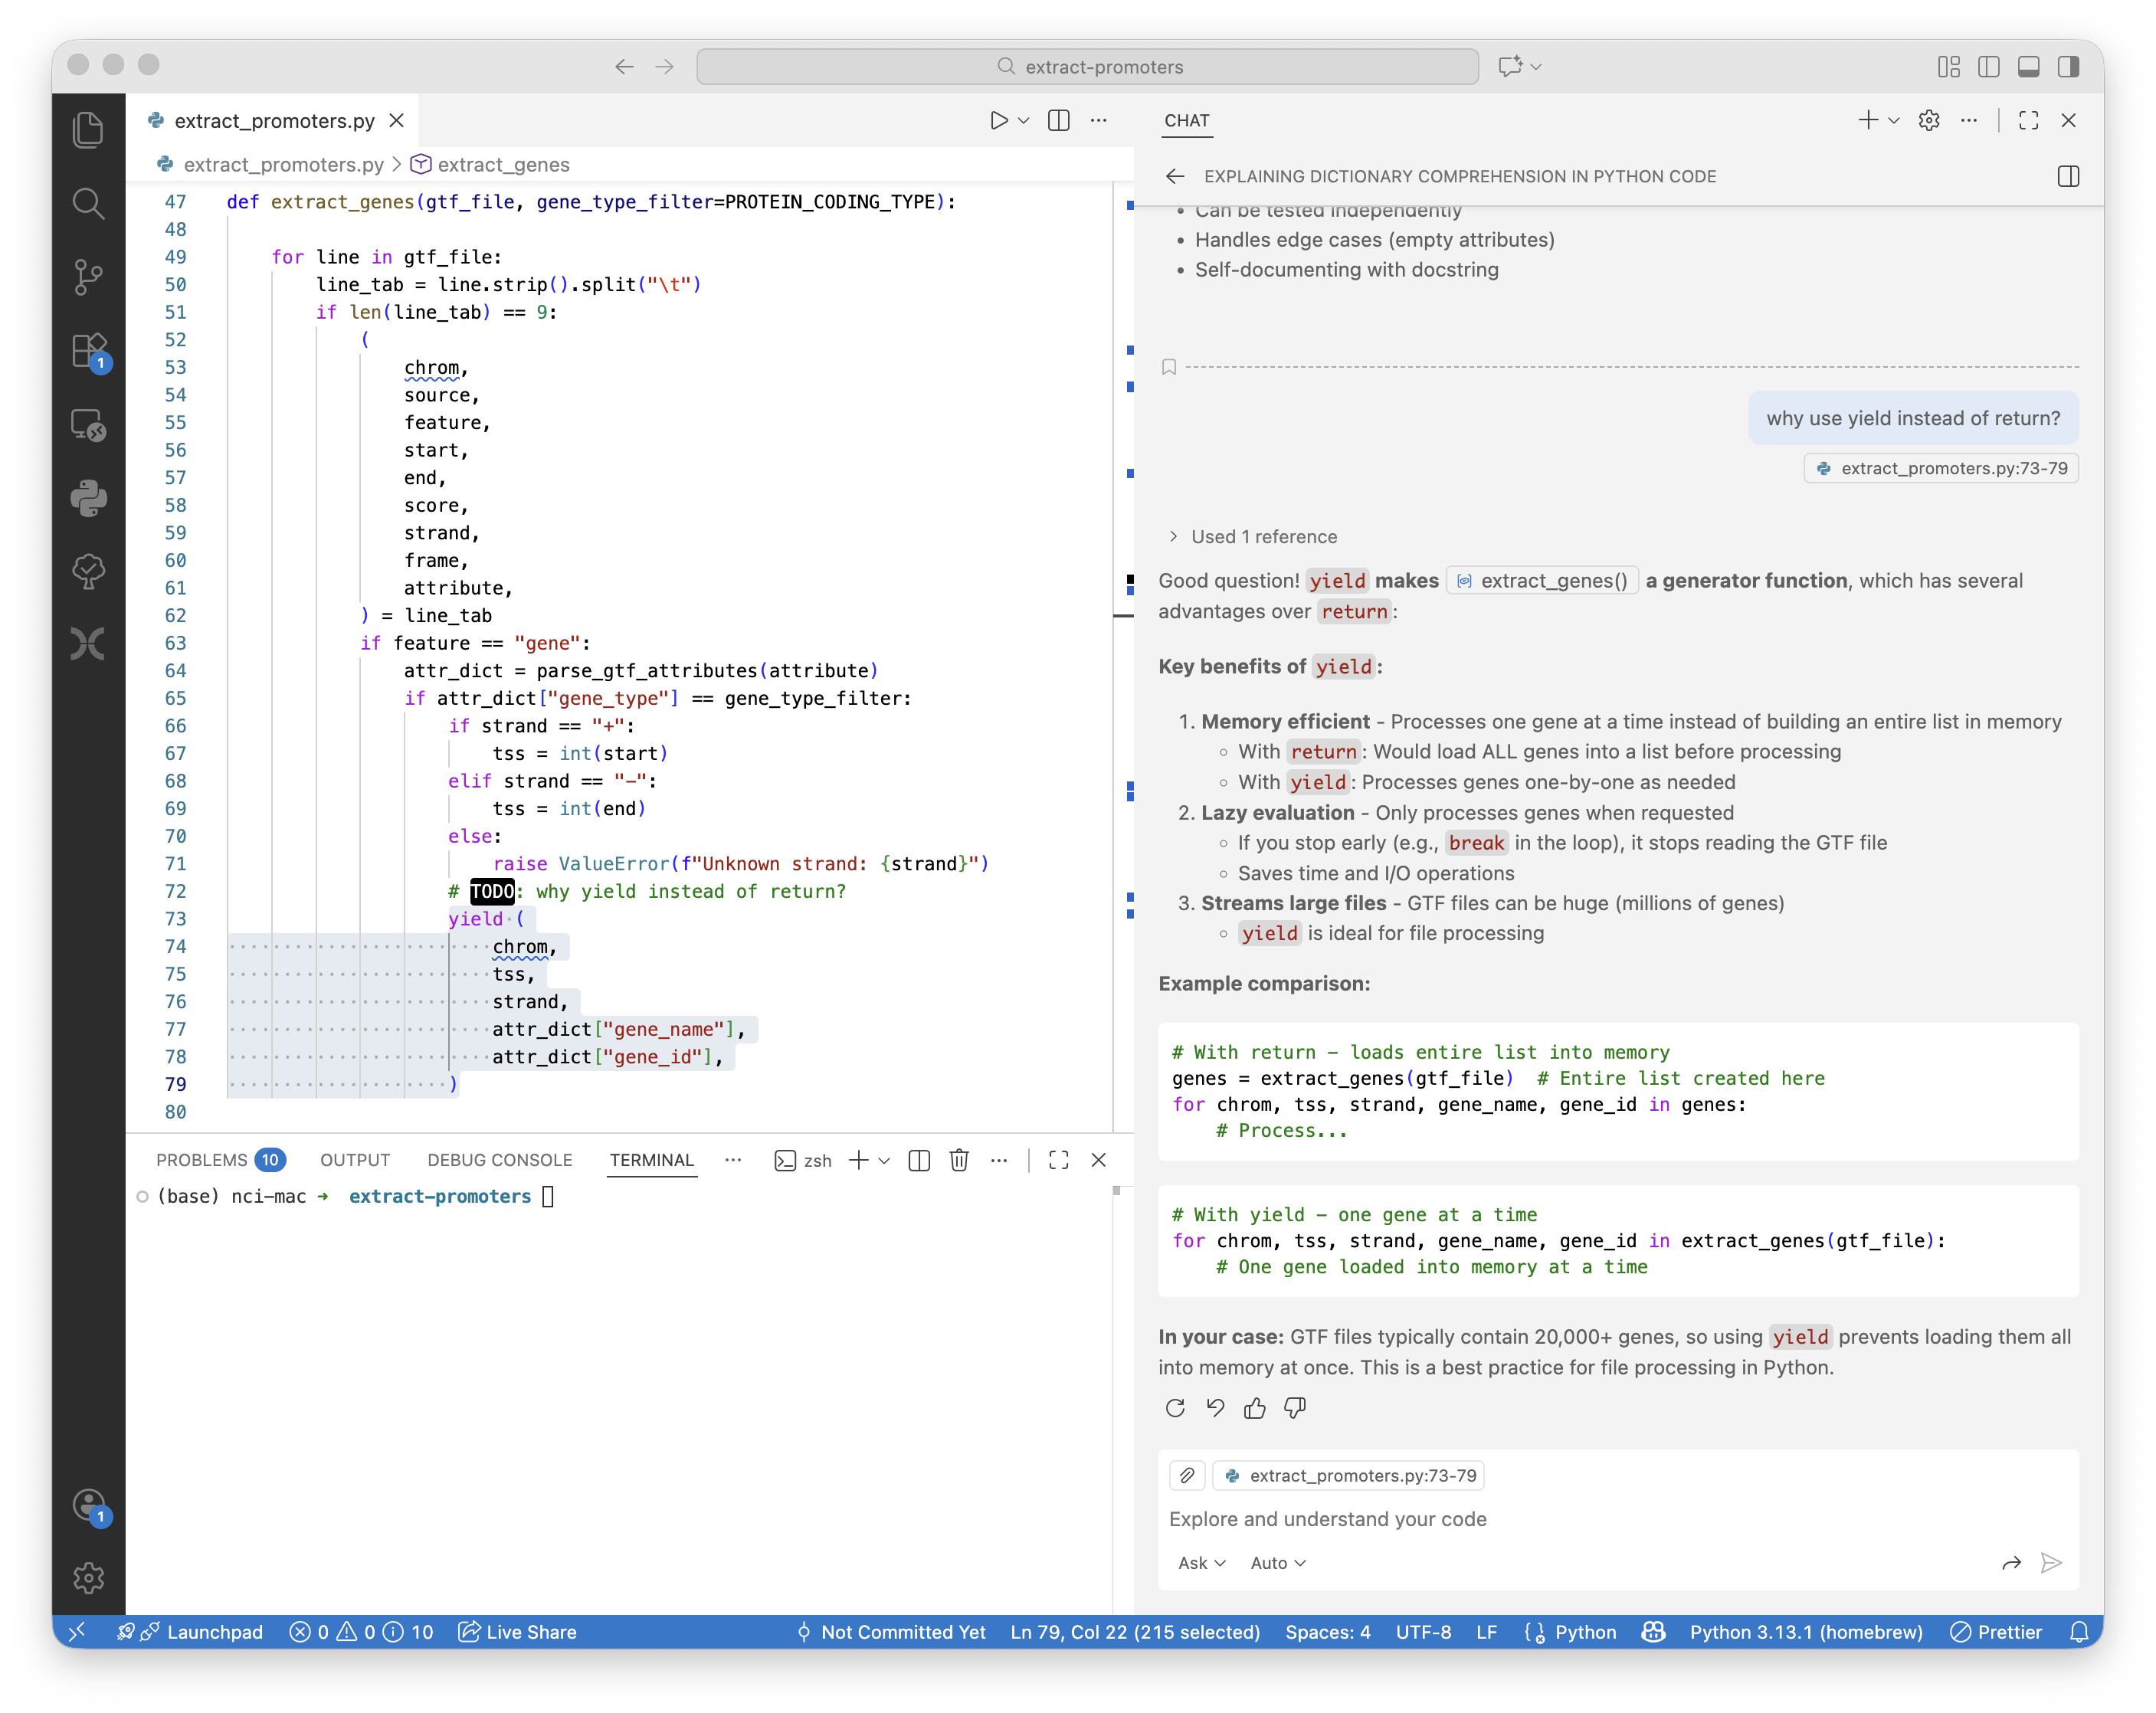
Example: ask Copilot to explain the benefits of yield vs return in Python functions

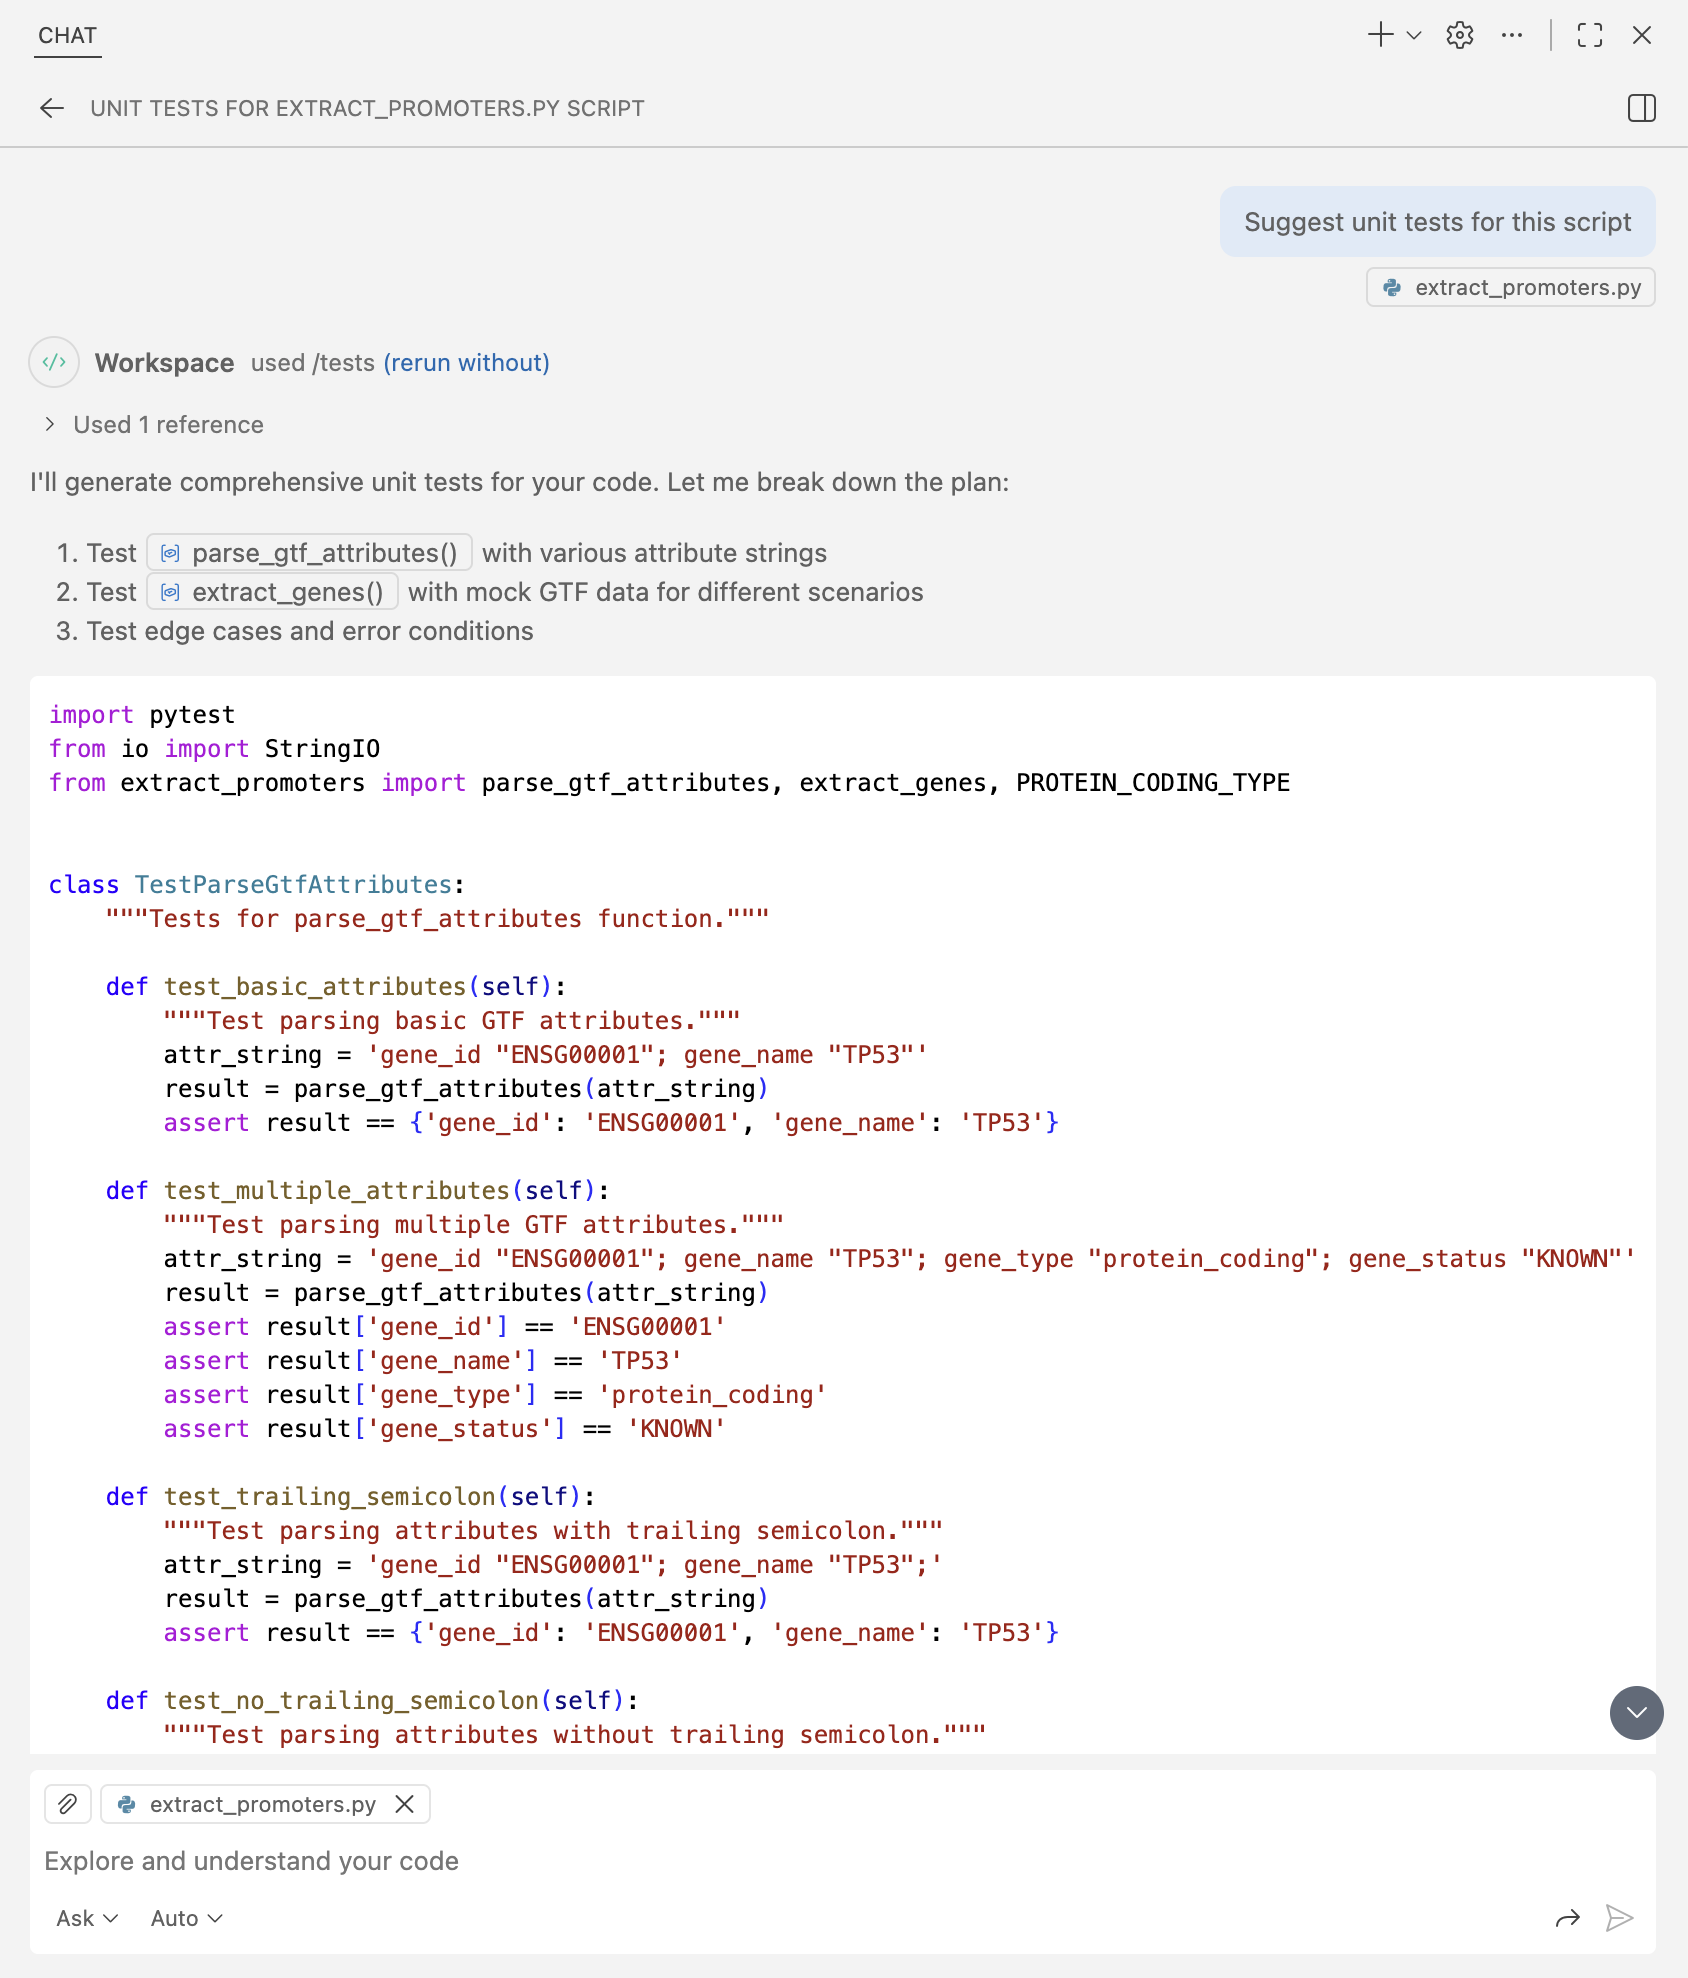
Example: Writing unit tests
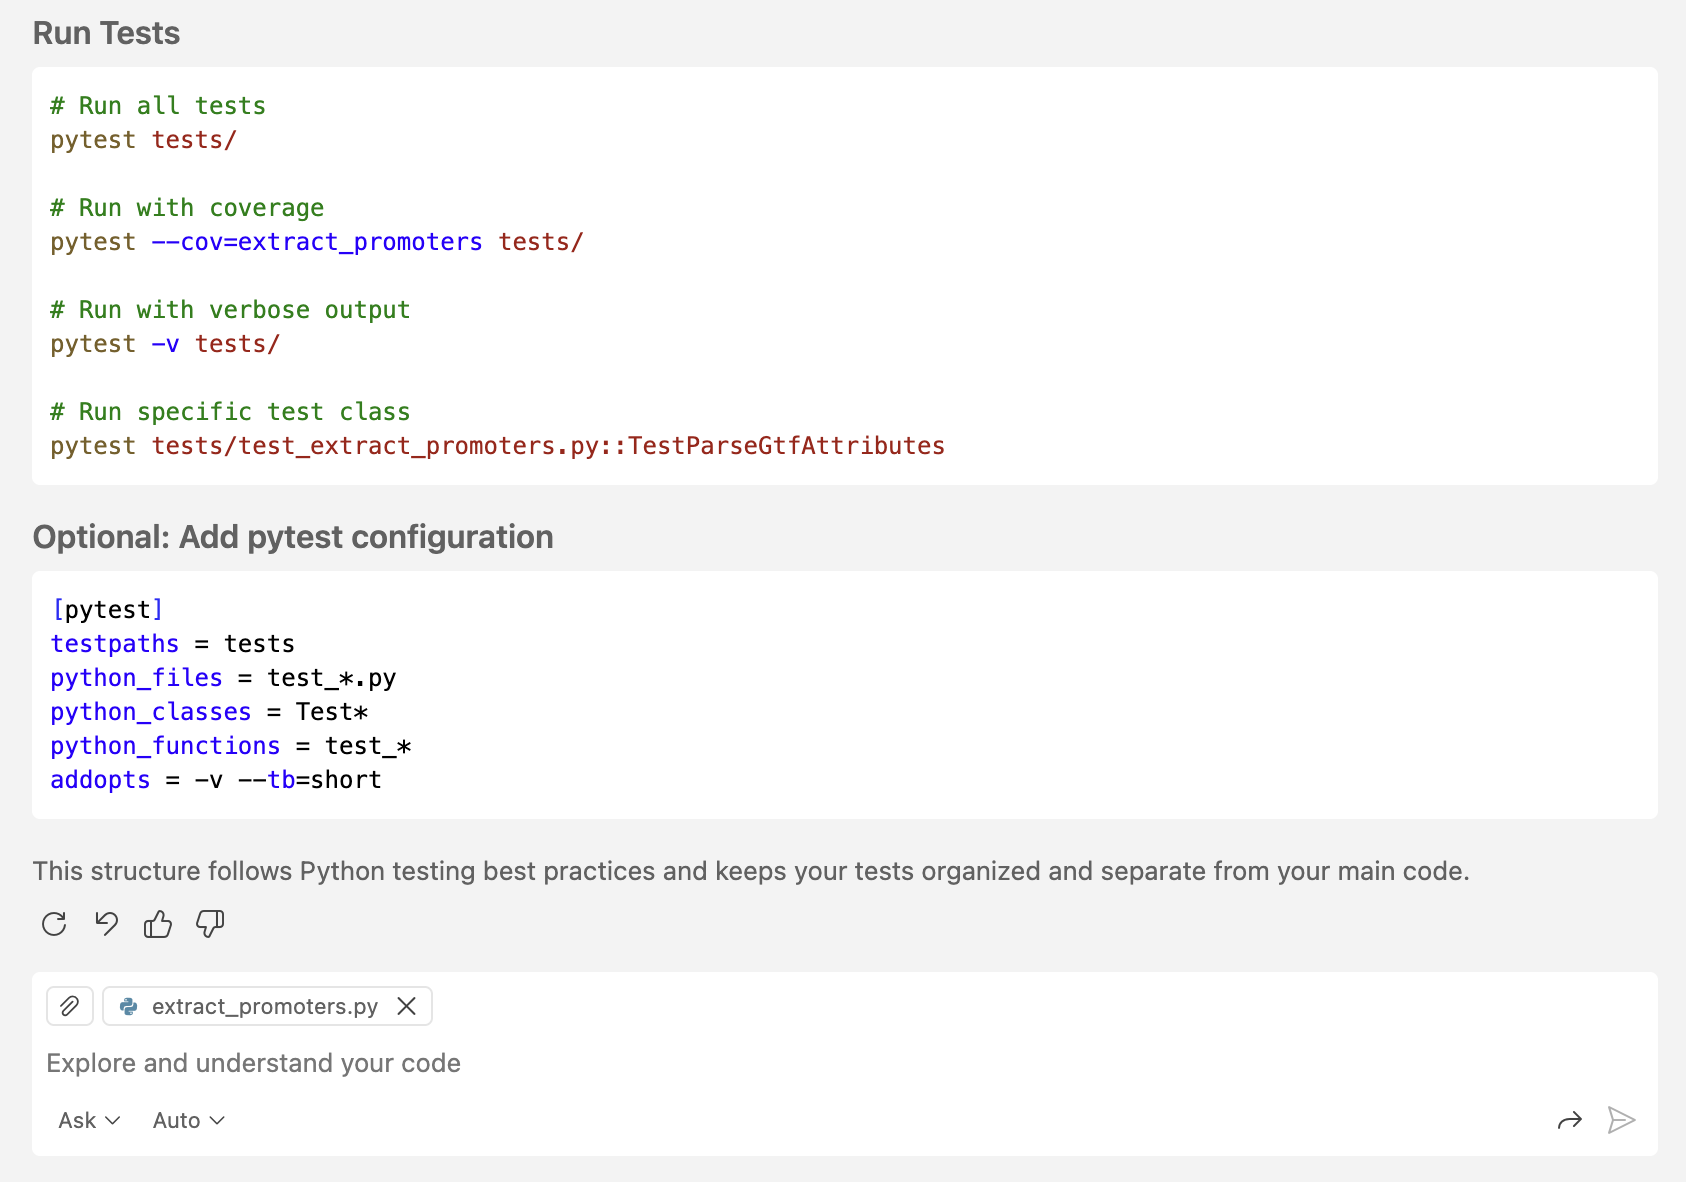
Ask Copilot to suggest unit tests for the Python script.

Copilot suggested a comprehensive suite of unit tests for the script.
If you’re not sure where to place the tests, Copilot has a detailed suggestion:
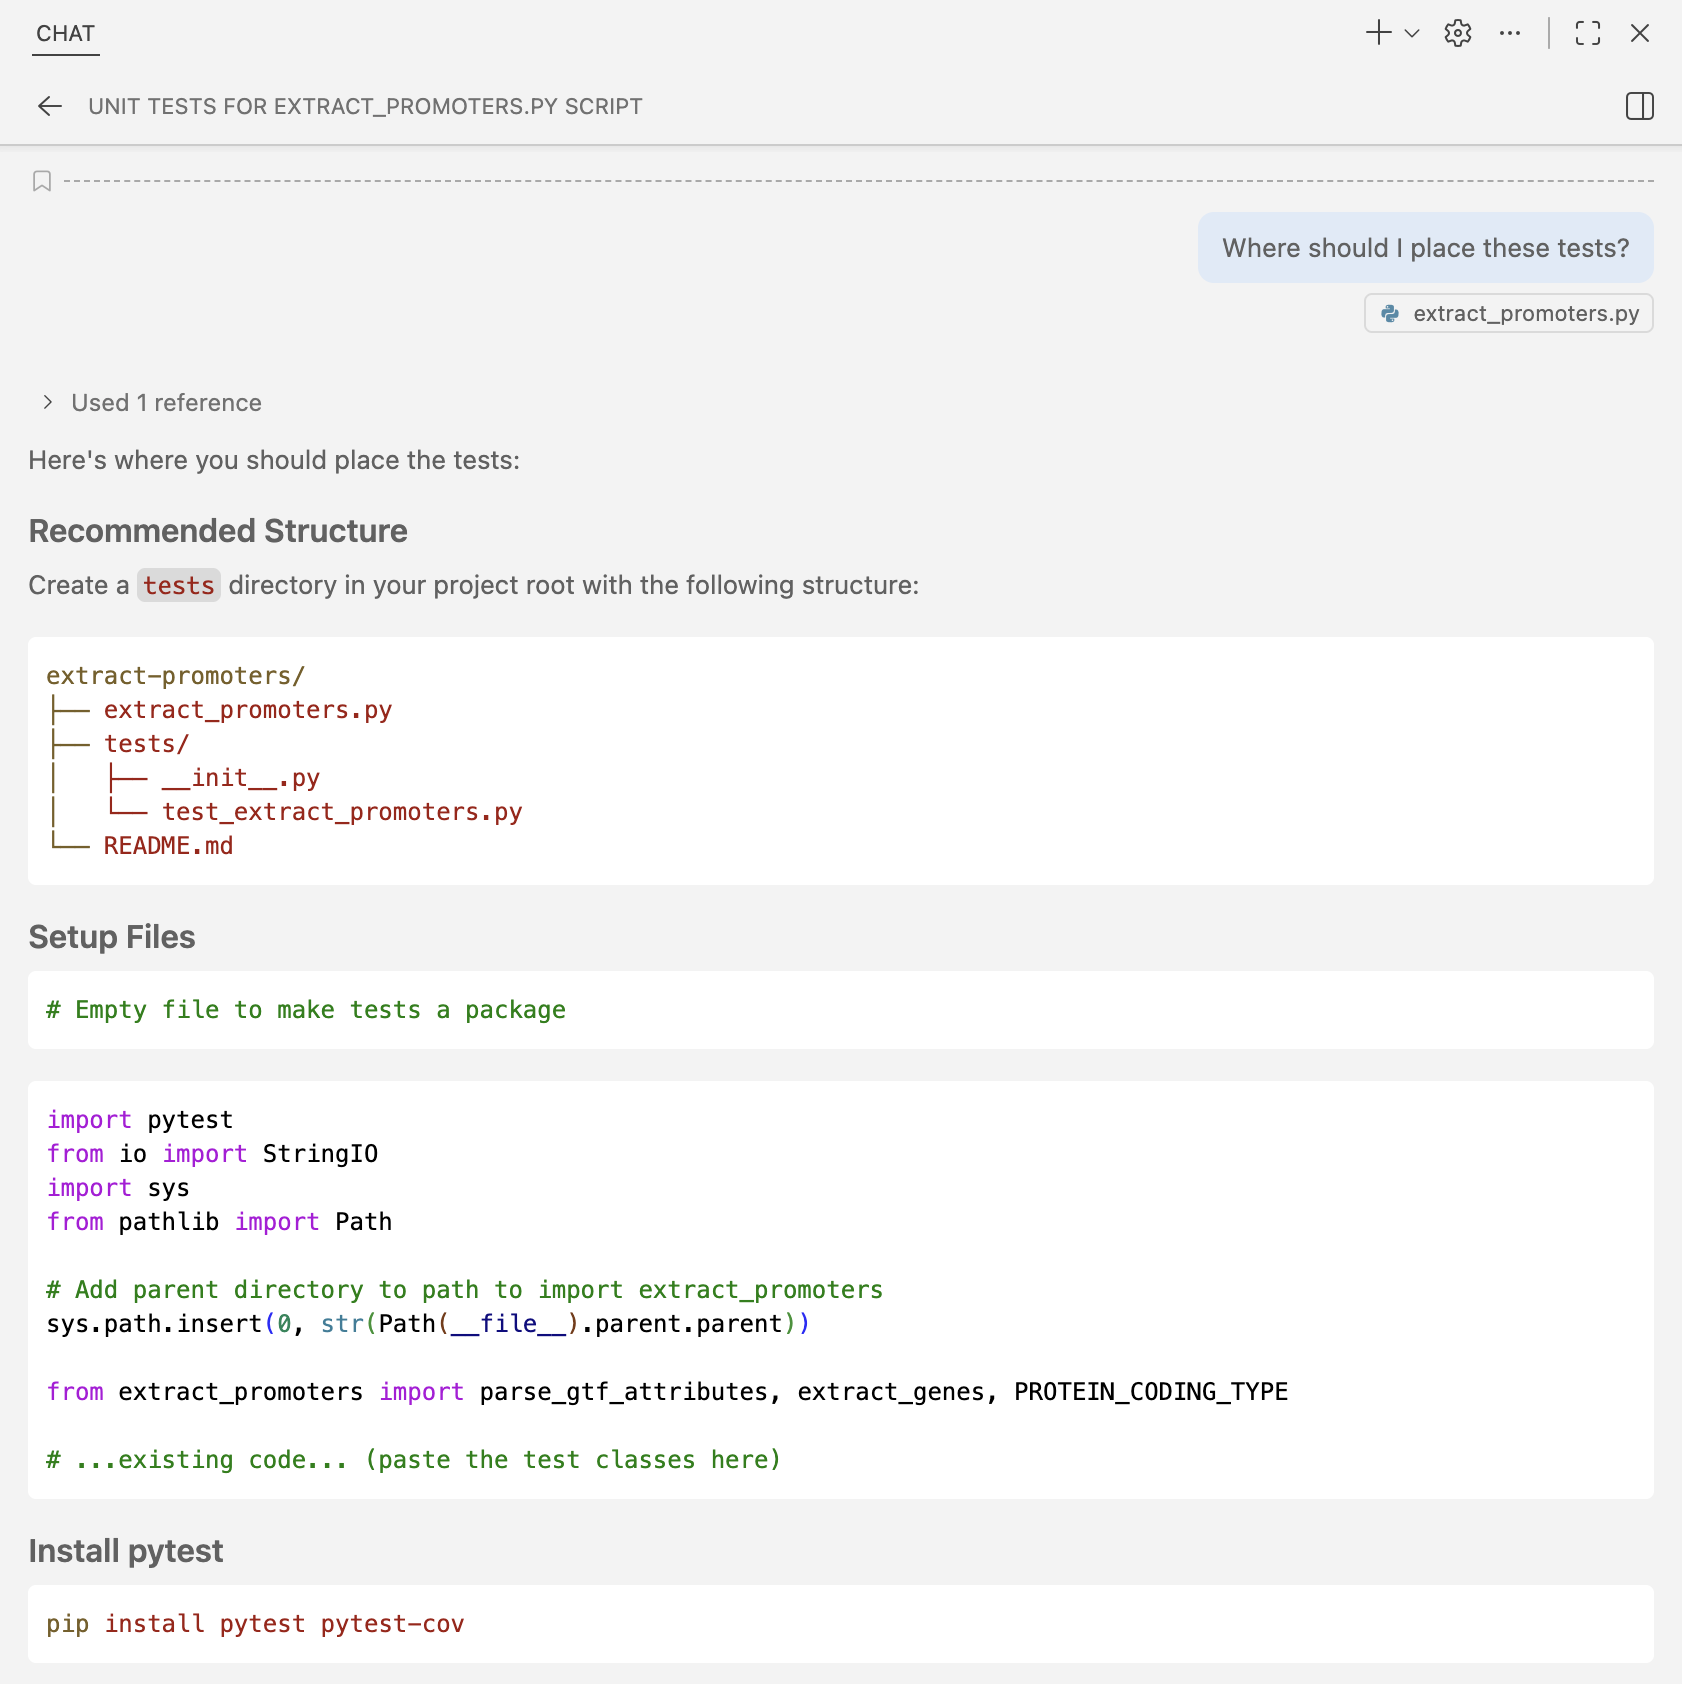
Be sure to read through the unit tests, understand what they’re testing and why, and consider if there are any gaps in test coverage that you will need to correct.
Source Control: git GUI in VS Code
Copilot can even suggest commit messages for you! Using the Source Control extension, add your script to the git staging area and ask Copilot to suggest a commit message.
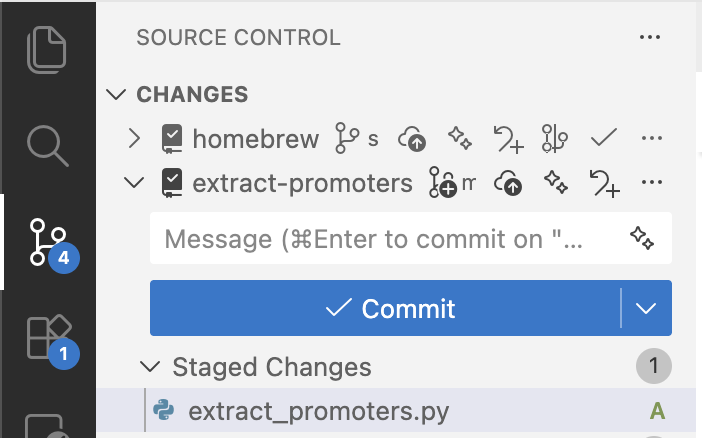
Click the sparkles ✨ icon on the right side of the commit message box to generate a commit message using Copilot.

Read the commit message and make sure it accurately describes the changes you’ve made before you accept it.
Tips
- Always read and understand the AI suggestion before accepting it
- Use git and commit your changes often
- Write tests to make sure your code works the way you think it does
- Periodically step back and reflect on what you’re trying to accomplish