Build docker containers interactively with Google Cloud Shell
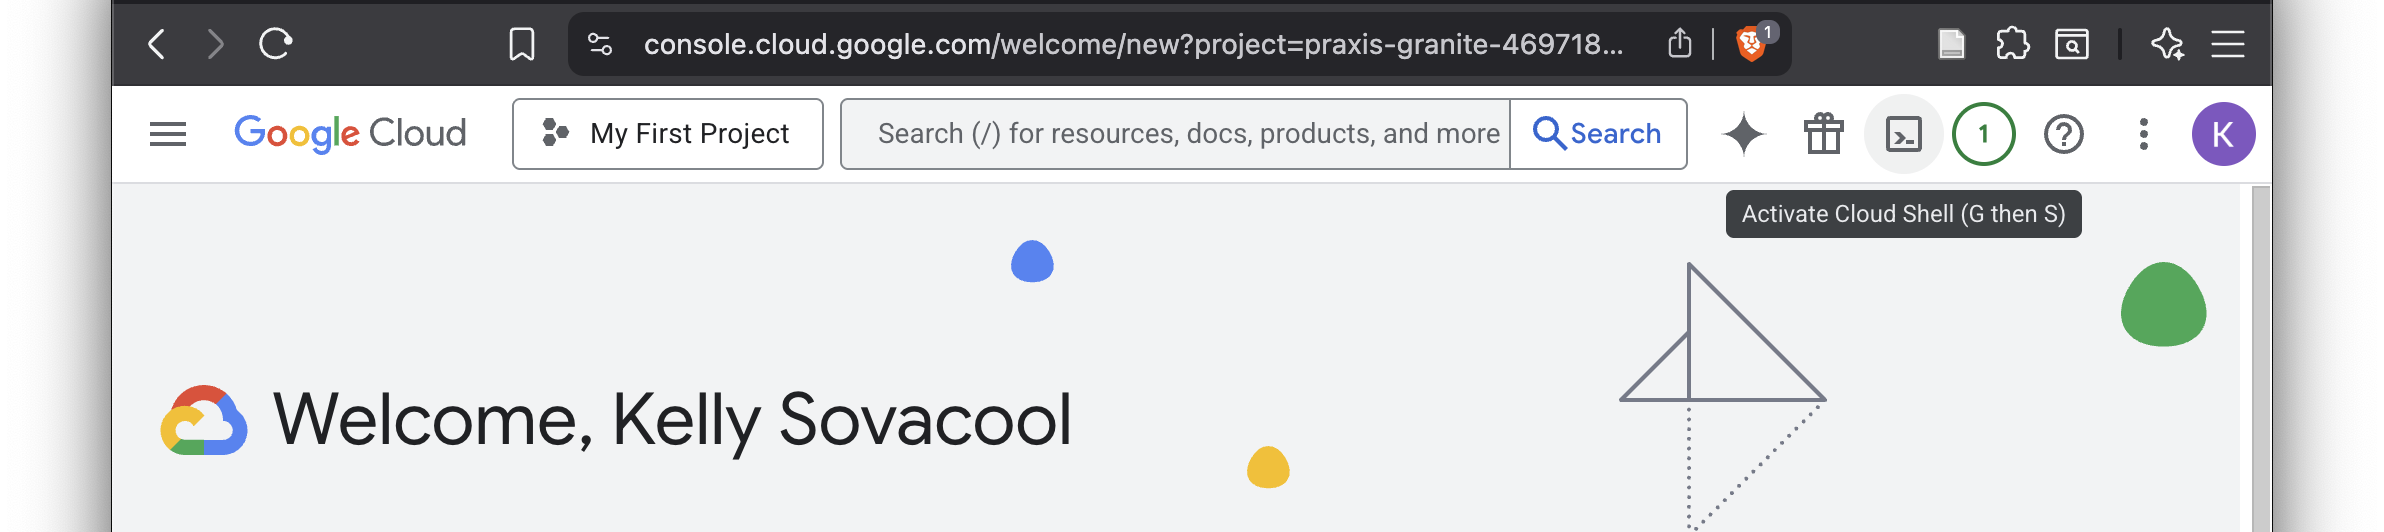
As of this writing, Docker Desktop is not approved for use on NCI laptops. If you want to build and push docker containers using the docker CLI, you can use the Google Cloud Shell: https://console.cloud.google.com/
You can create an account with your @nih.gov email. Certain aspects of Google Cloud cost money, but the free tier offers more than enough usage for building containers with the Google Cloud Shell.
Create a Dockerfile
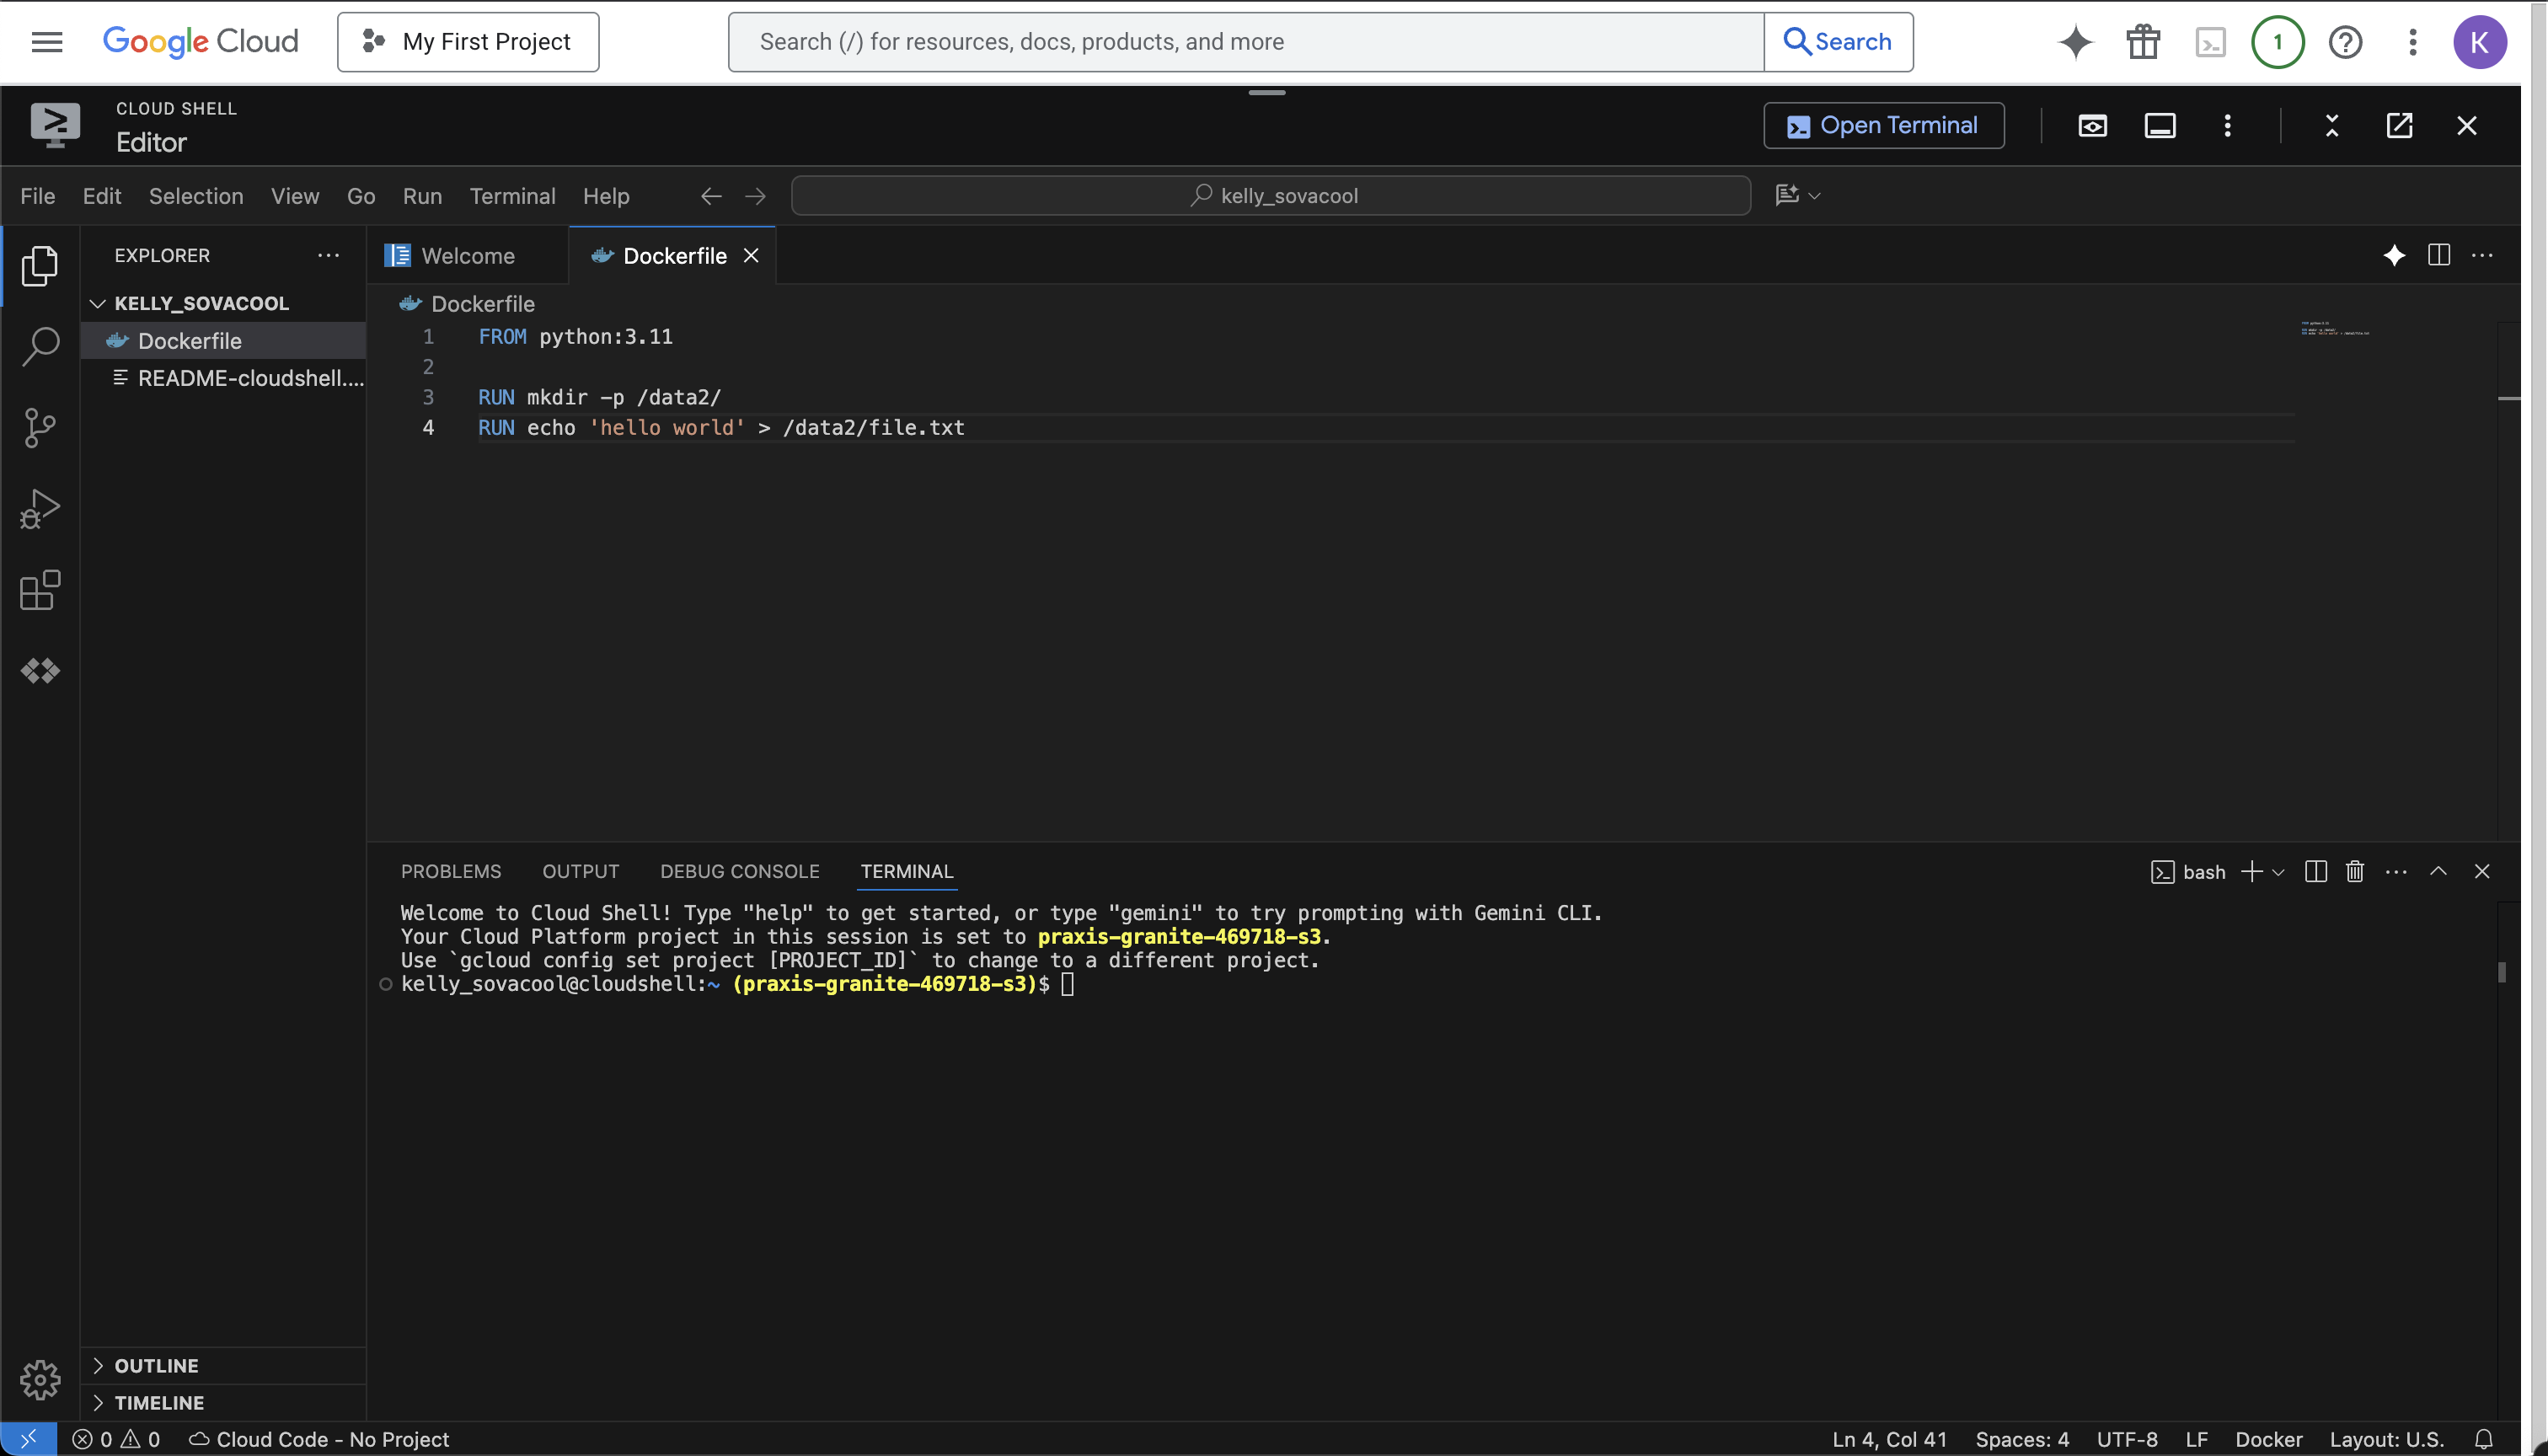
For this tutorial, we’ll create a minimal Dockerfile with these contents:
FROM python:3.11

RUN mkdir -p /data2/
RUN echo 'hello world' > /data2/file.txt
Upload
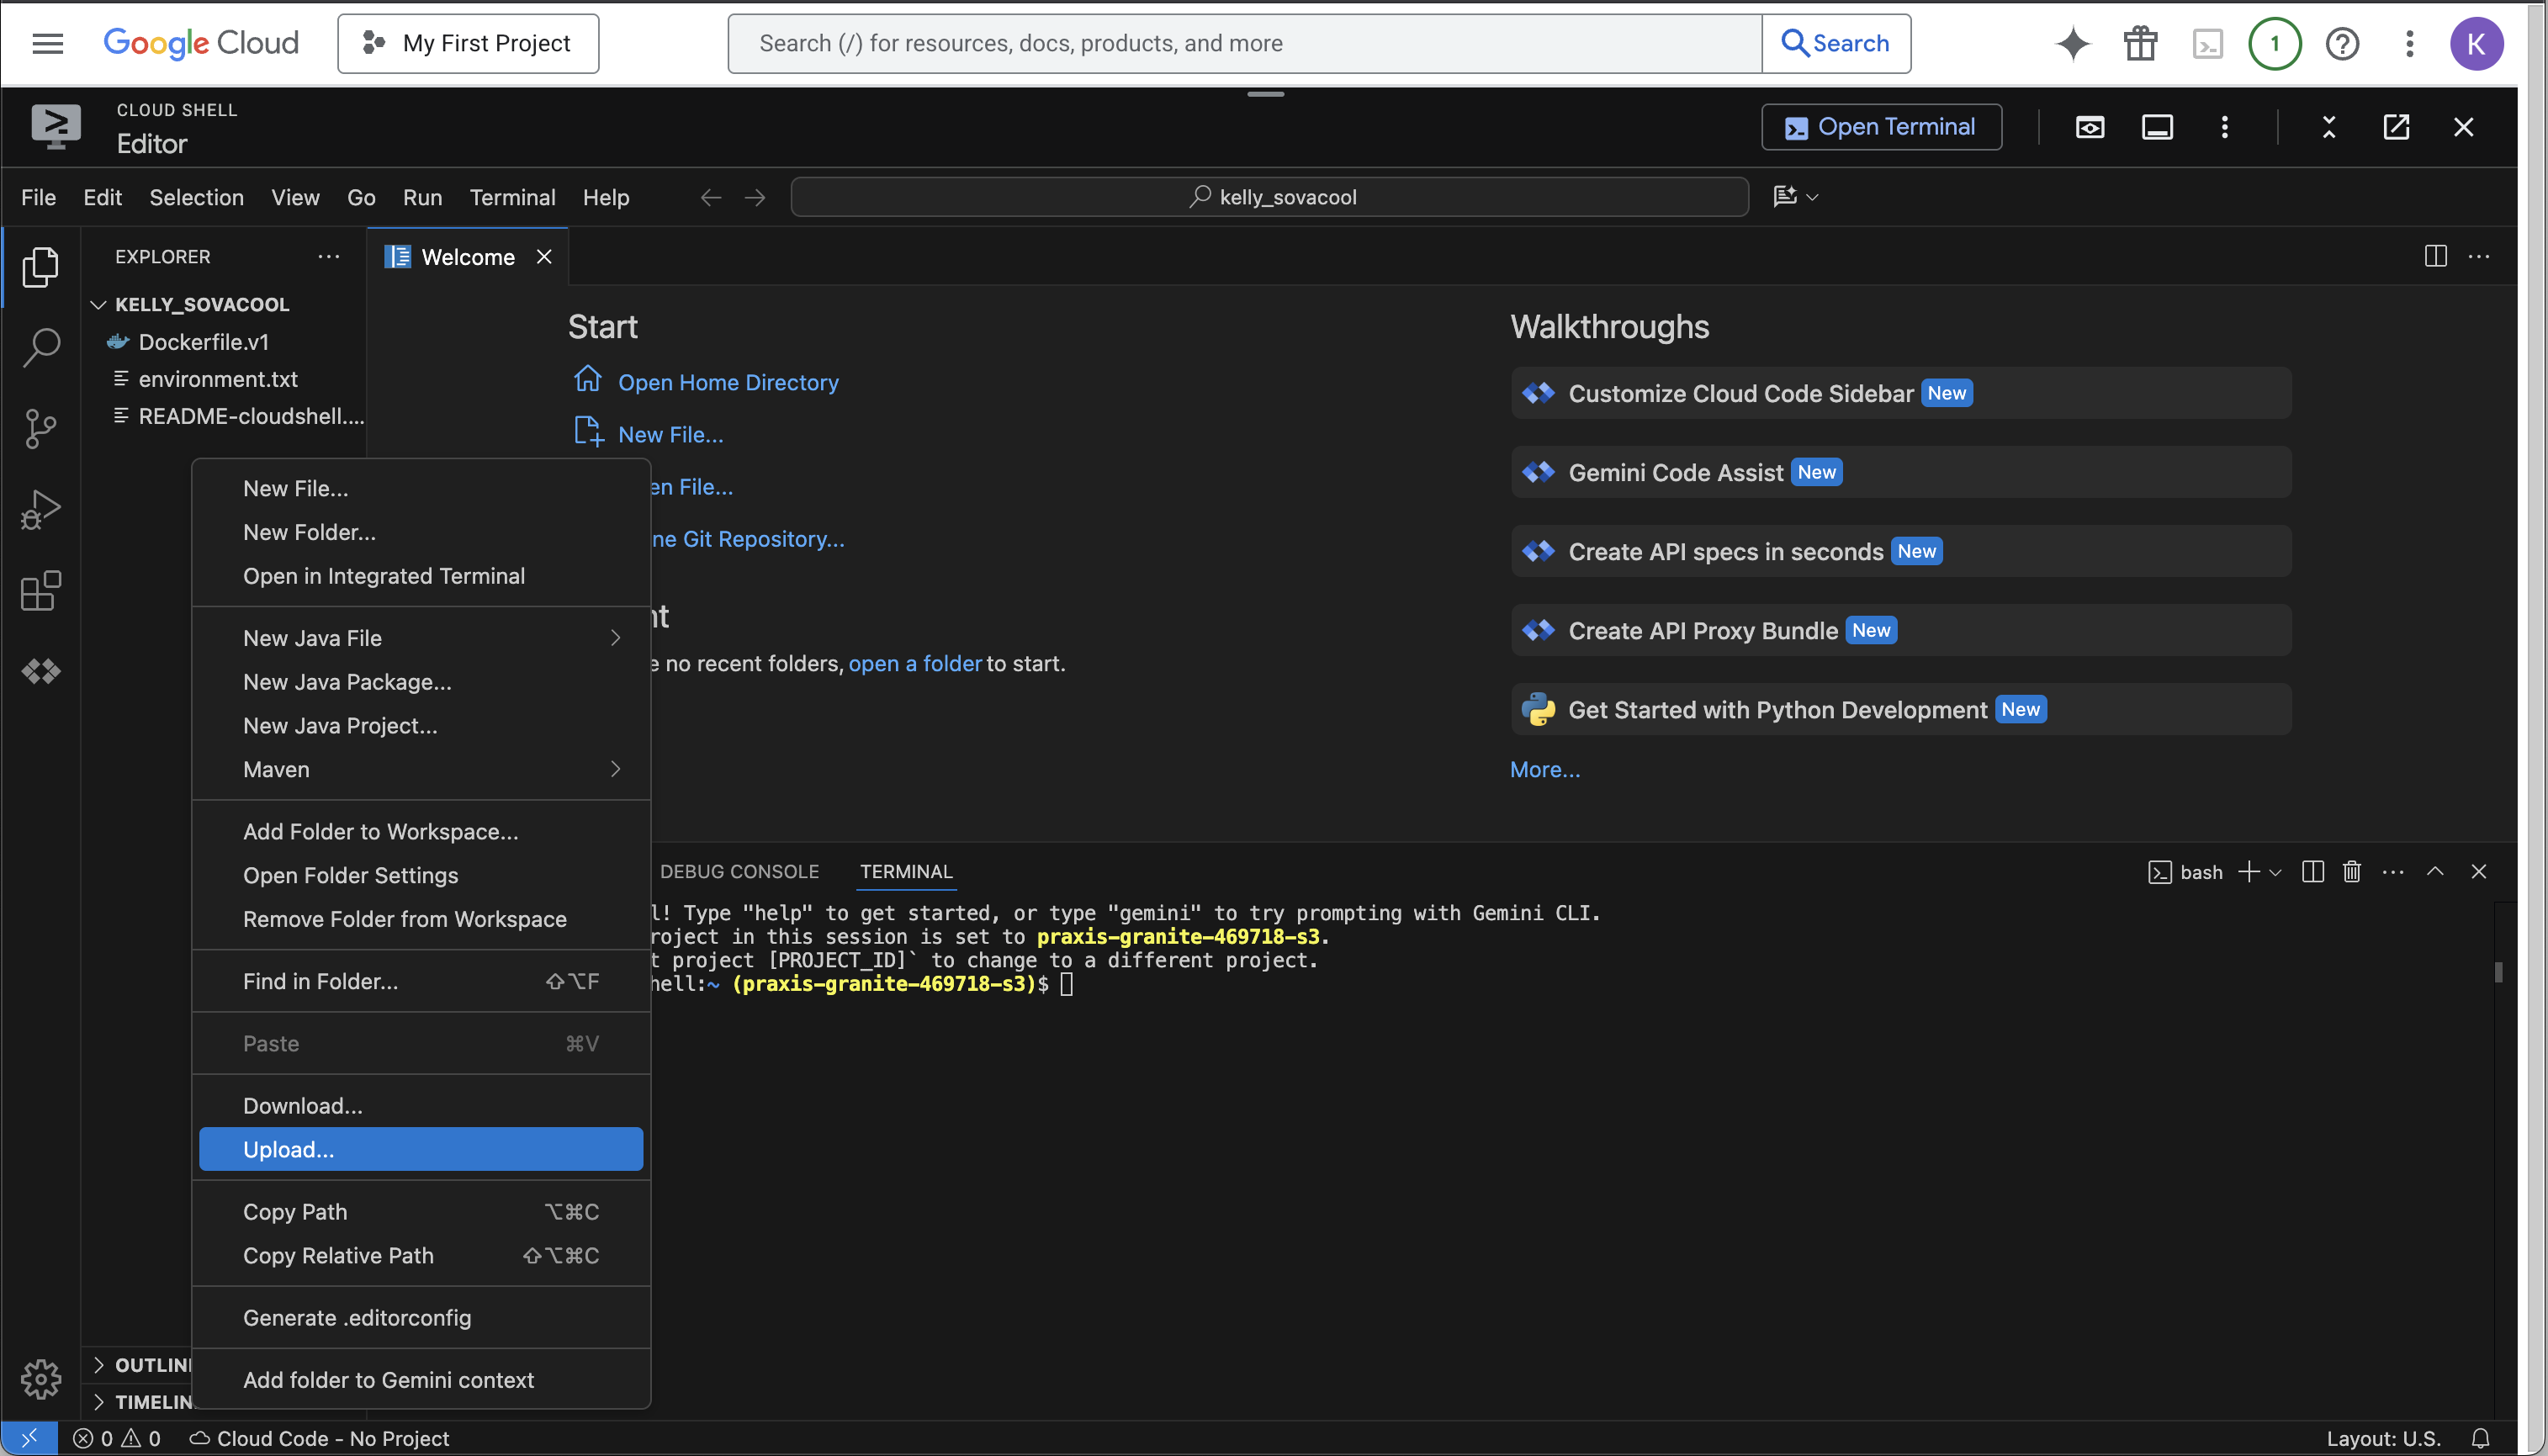
If you already have a Dockerfile written, you can upload it to Cloud Shell.
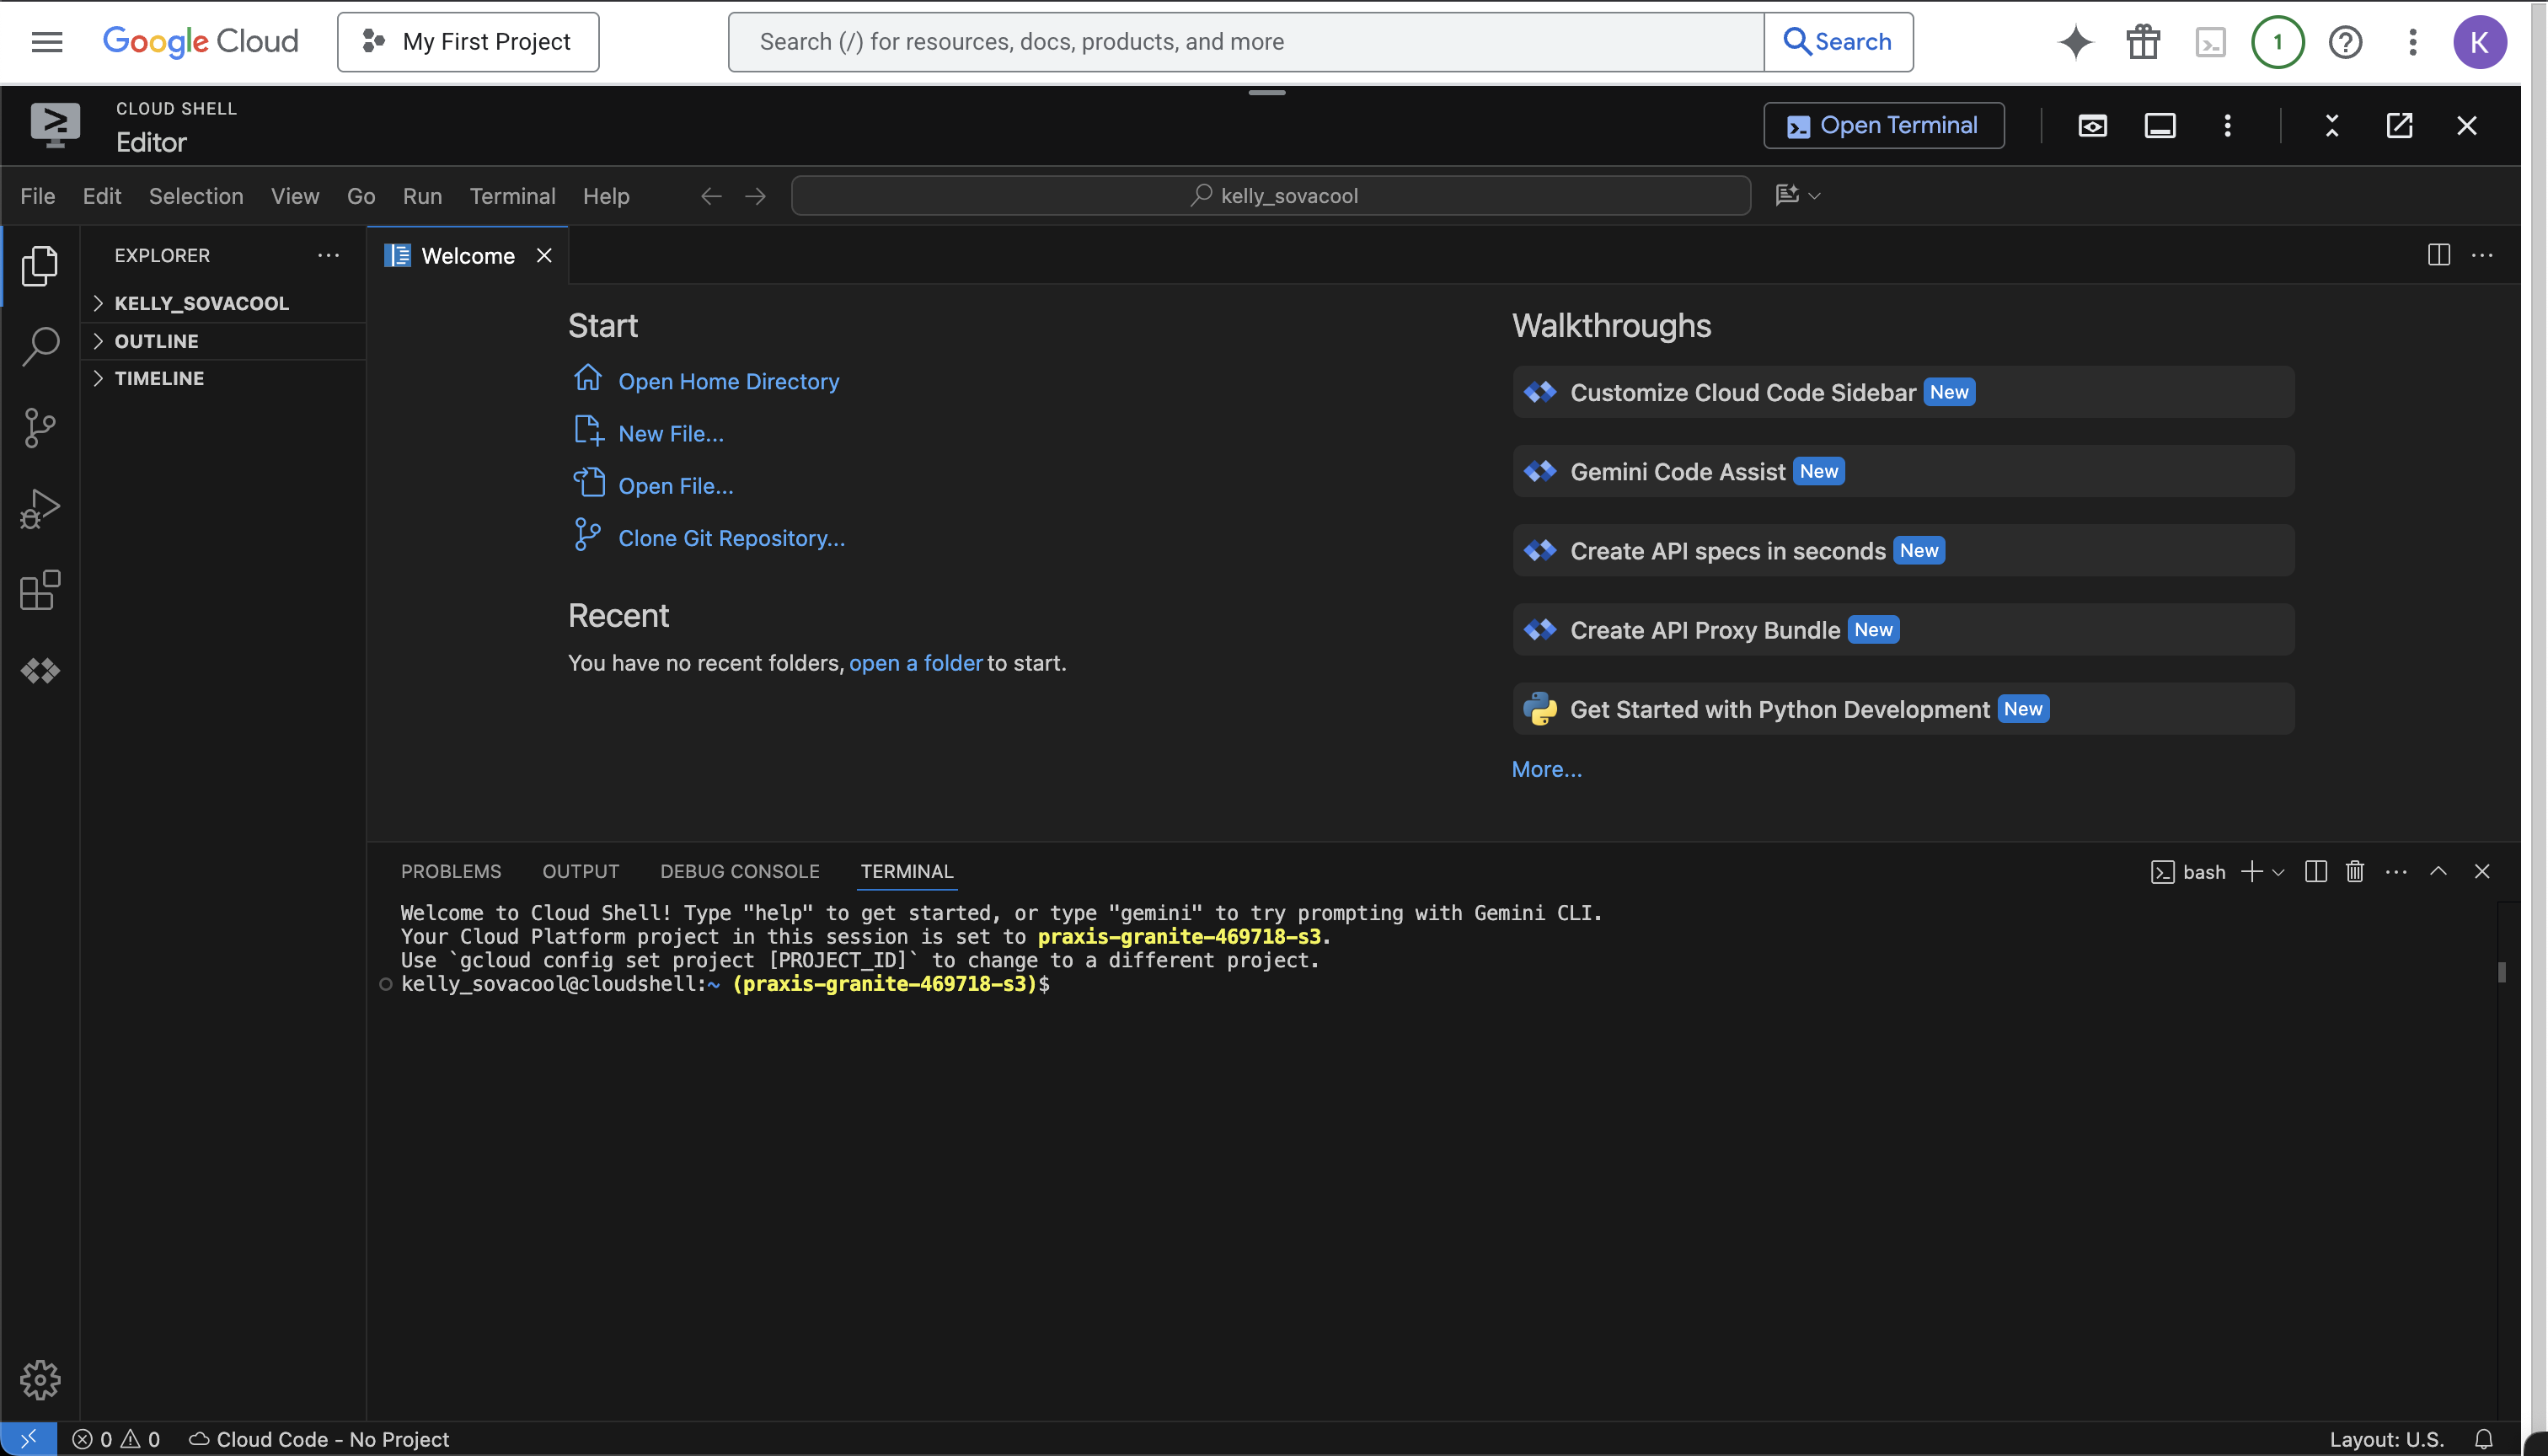
Write
Create a new text file:
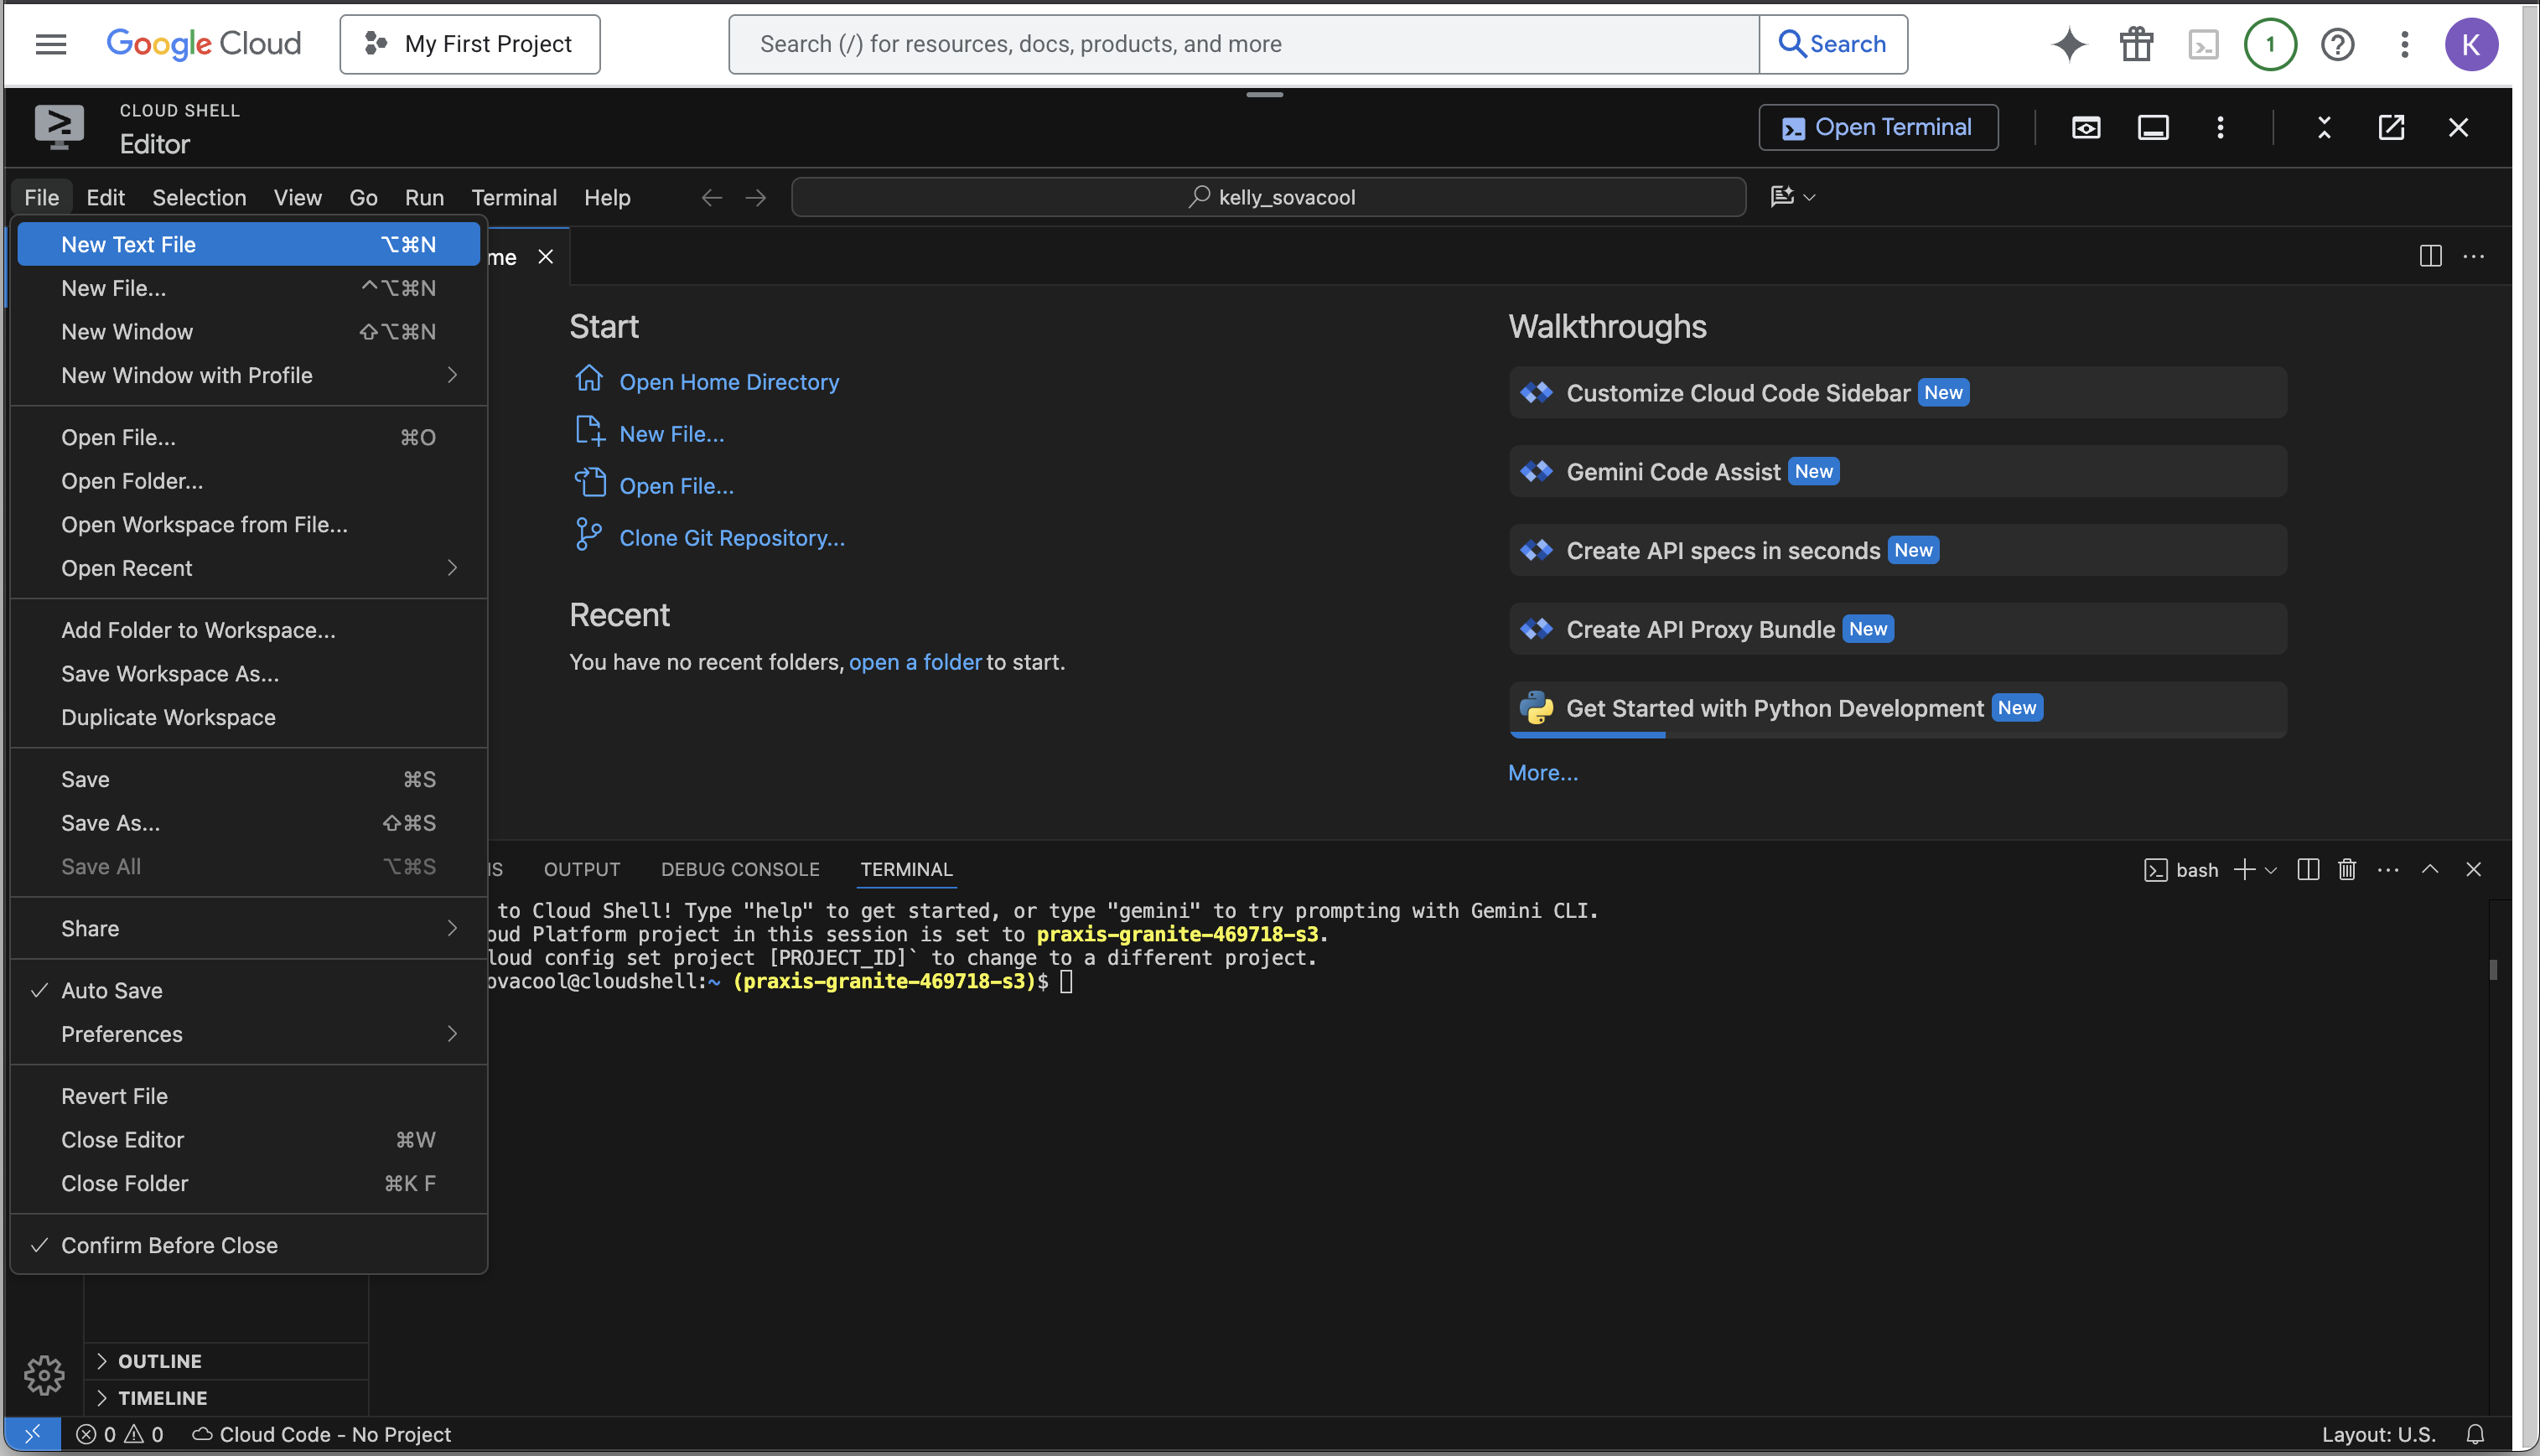
File > New Text File and write the contents of your Dockerfile.Save it with the name “Dockerfile”.
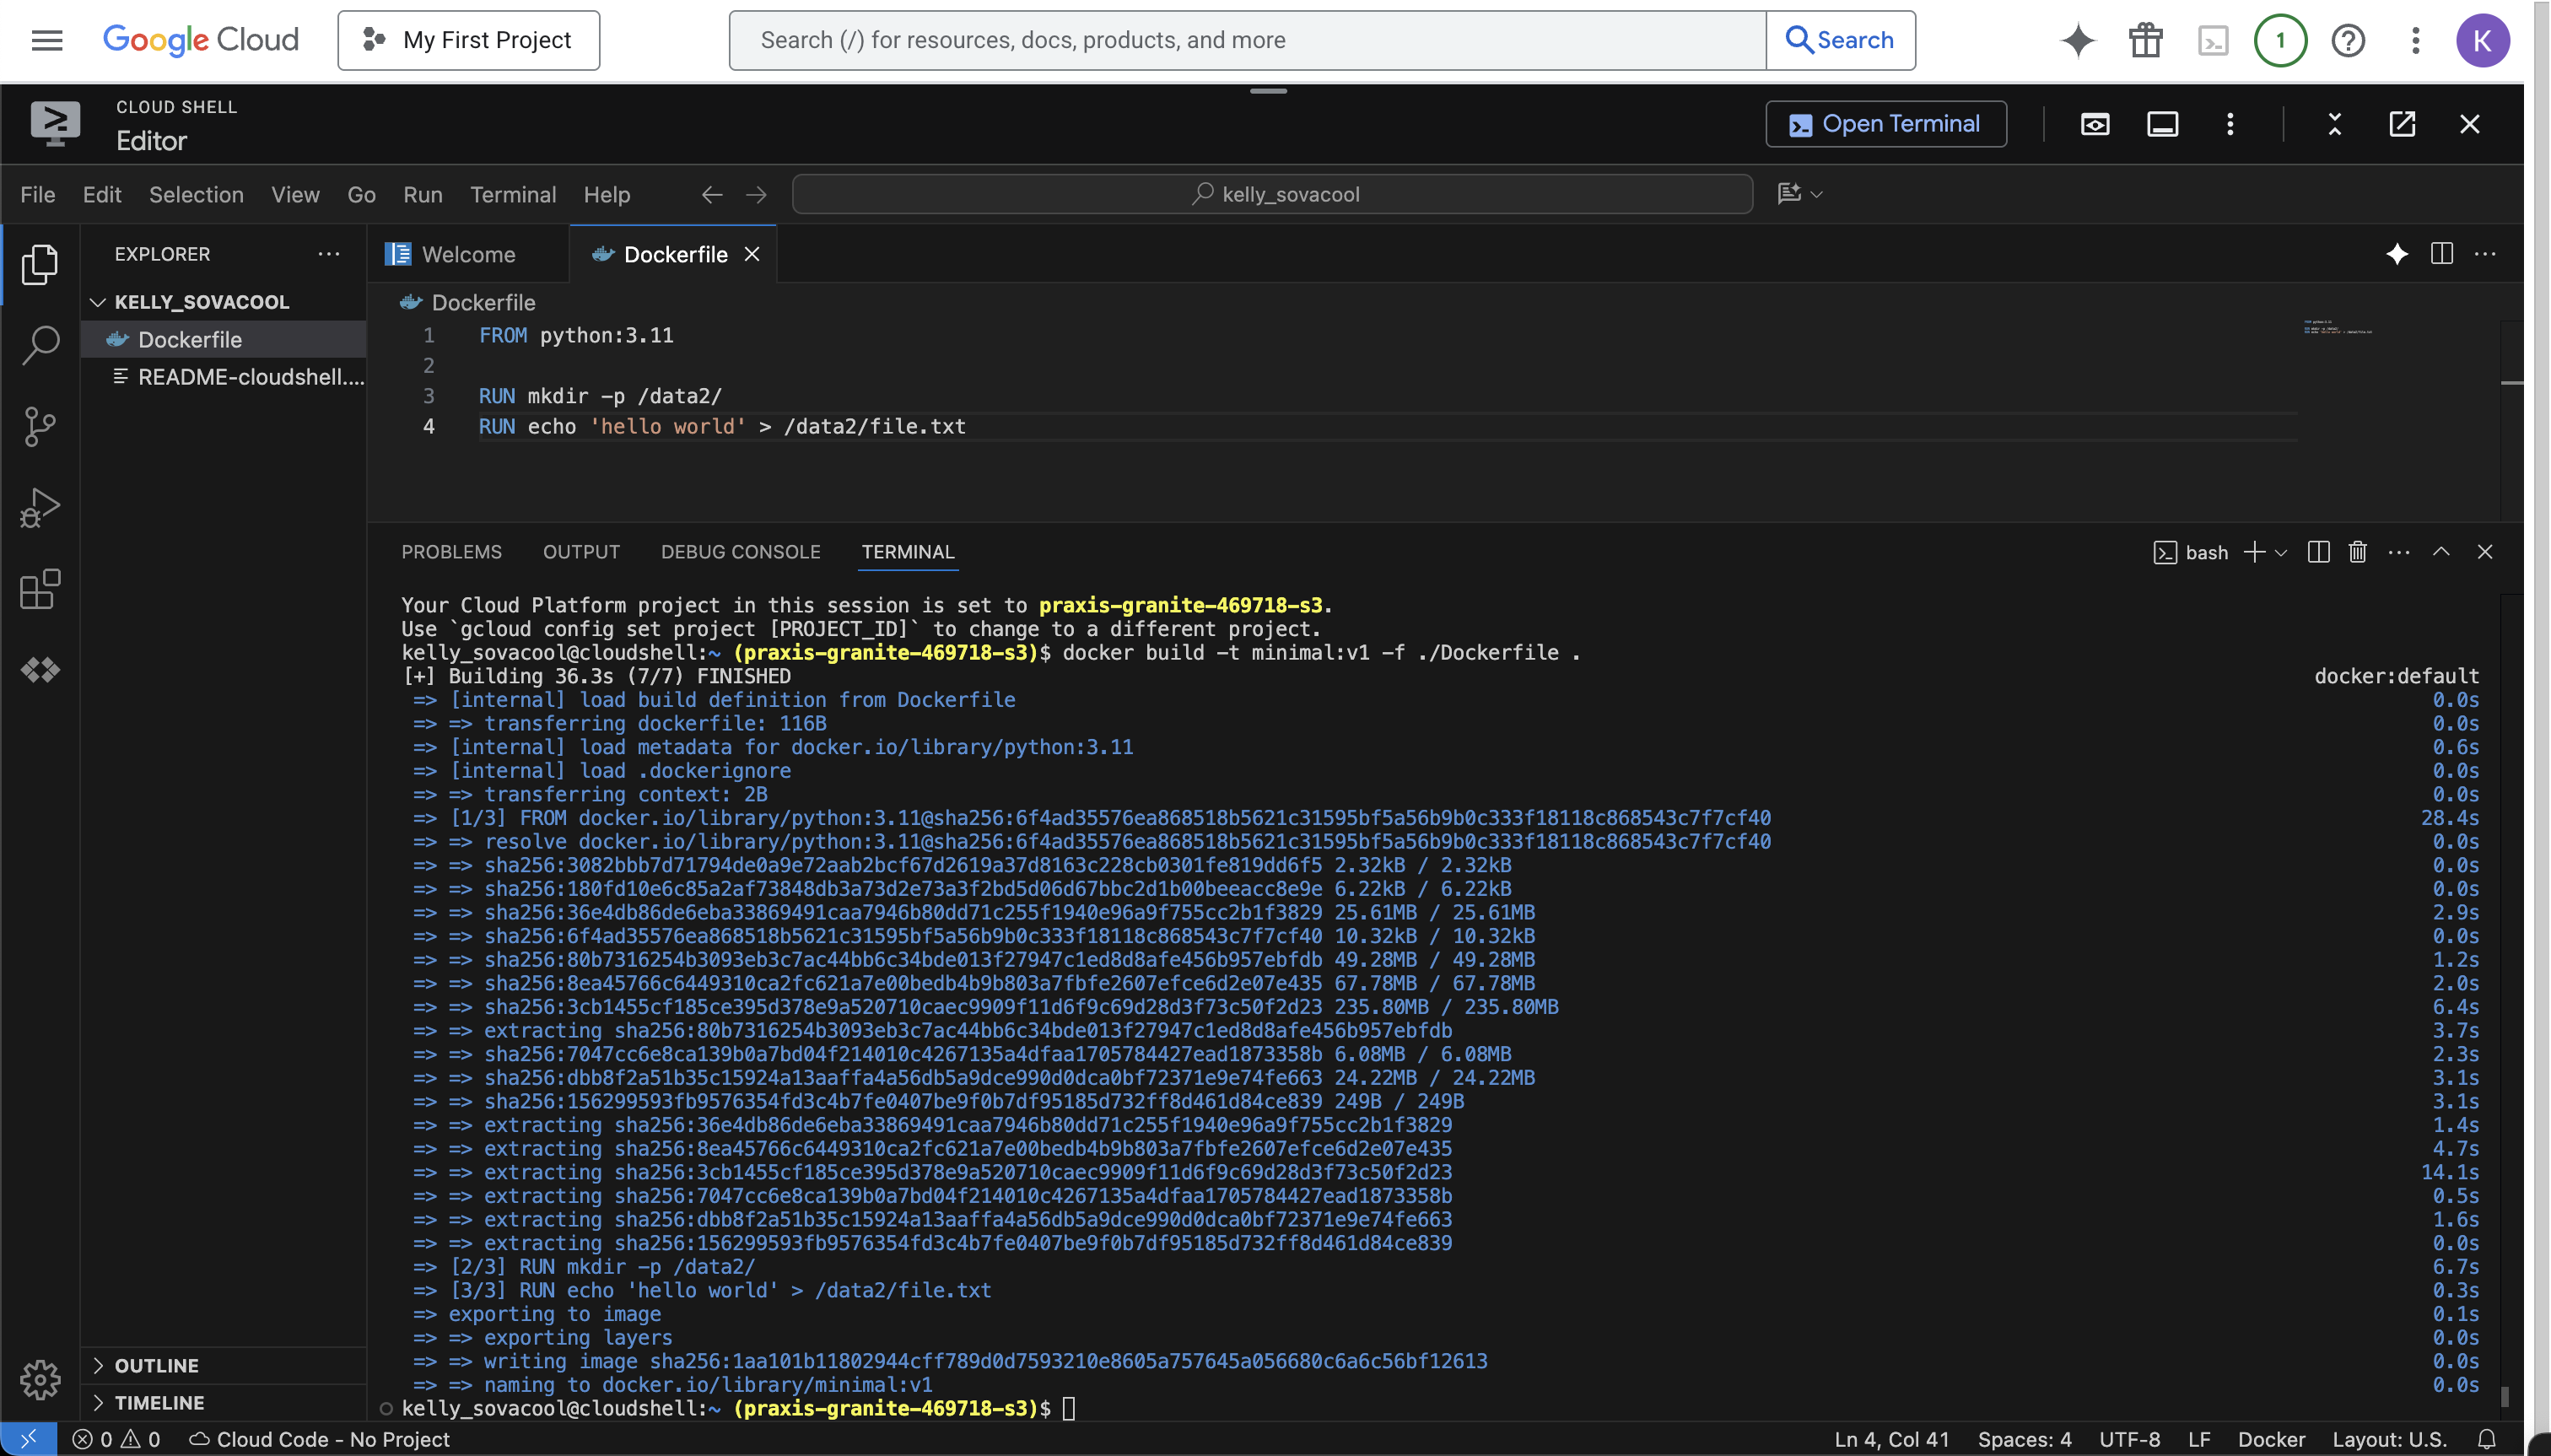
Build the container
docker build -t minimal:v1 -f ./Dockerfile .-t, --tag- Name and optional tag (format: “name:tag”)-f, --file- Name of the Dockerfile (default: “PATH/Dockerfile”)
Run docker build --help for more options.
Test the container image
Run the container interactively with the bash shell:
docker run -it minimal:v1 bashRun any commands you wish inside the container to test that everything you need was installed correctly.
cat /data2/file.txt
which python
python --version
Close the container with the keyboard shortcut Control-DControl-D or type exit and press enter.
If the container doesn’t have the software you expected, something went wrong during the build process. Try editing the Dockerfile and re-building the container.
Push the container to dockerhub
If your container was built successfully, you can push it to a container registry such as dockerhub so you can pull it for use on other platforms.
Log in to dockerhub
docker login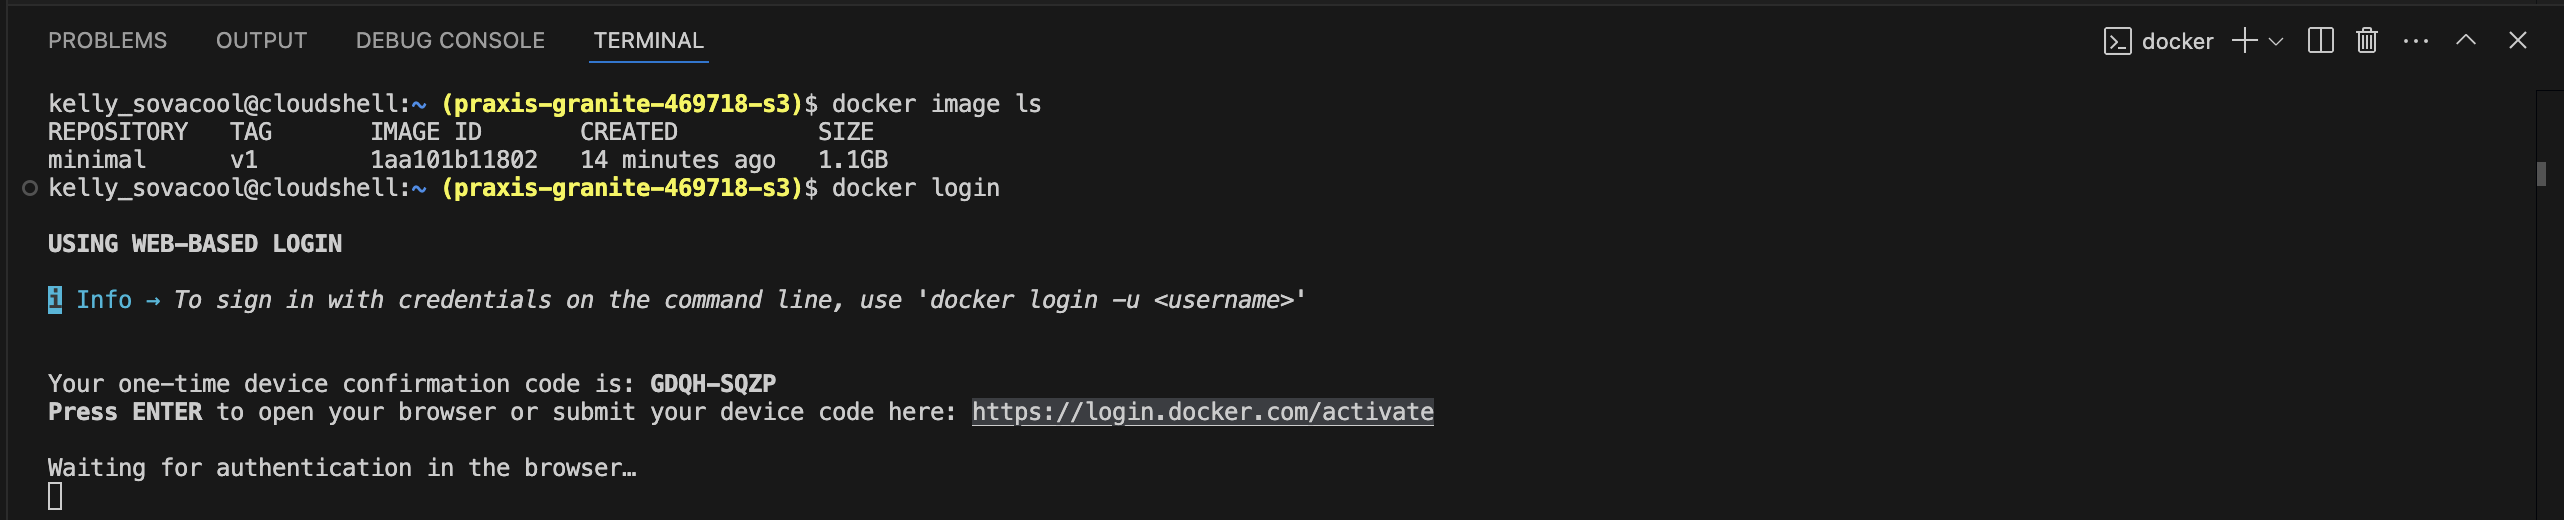
If it worked, you’ll see “Login Succeeded” in the Terminal.
Tag & push the container image
Add a tag to the image with your username or the namespace on dockerhub (e.g. nciccbr) that you want to push the container to.
Change NAMESPACE in the following command to your username or namespace.
docker image tag minimal:v1 NAMESPACE/minimal:v1Push the container image to dockerhub:
docker push NAMESPACE/minimal:v1
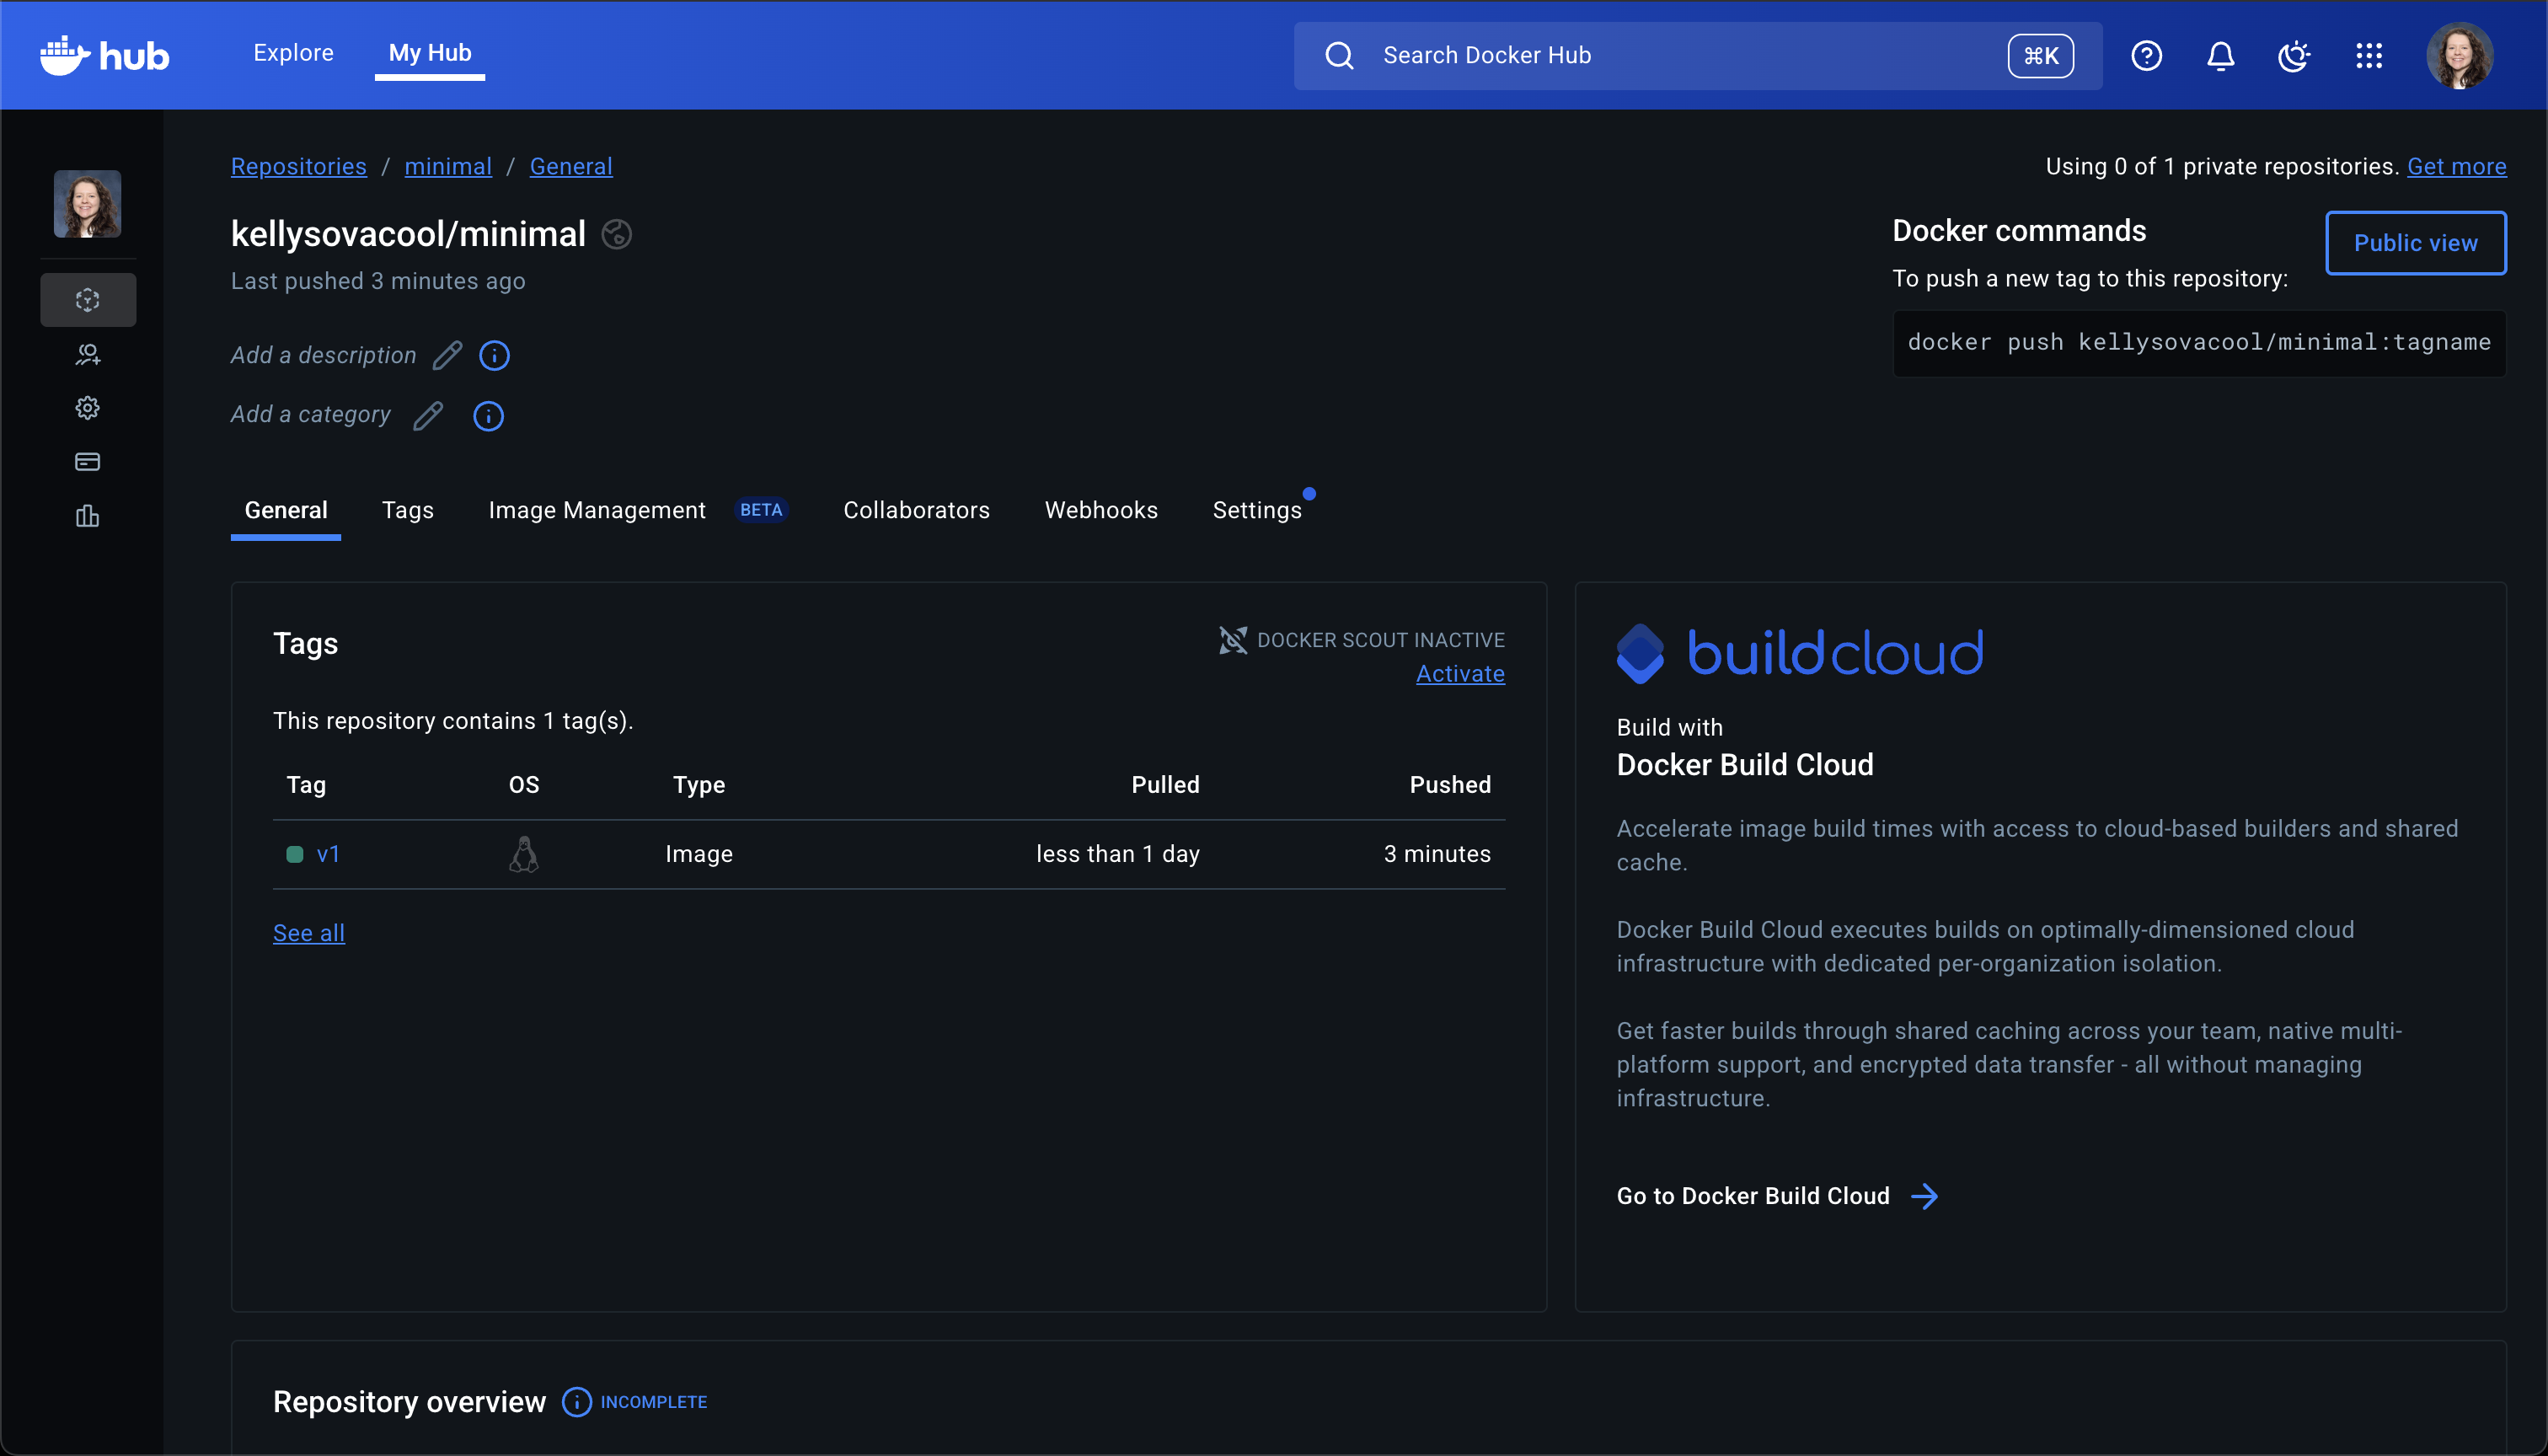
kellysovacool (my username)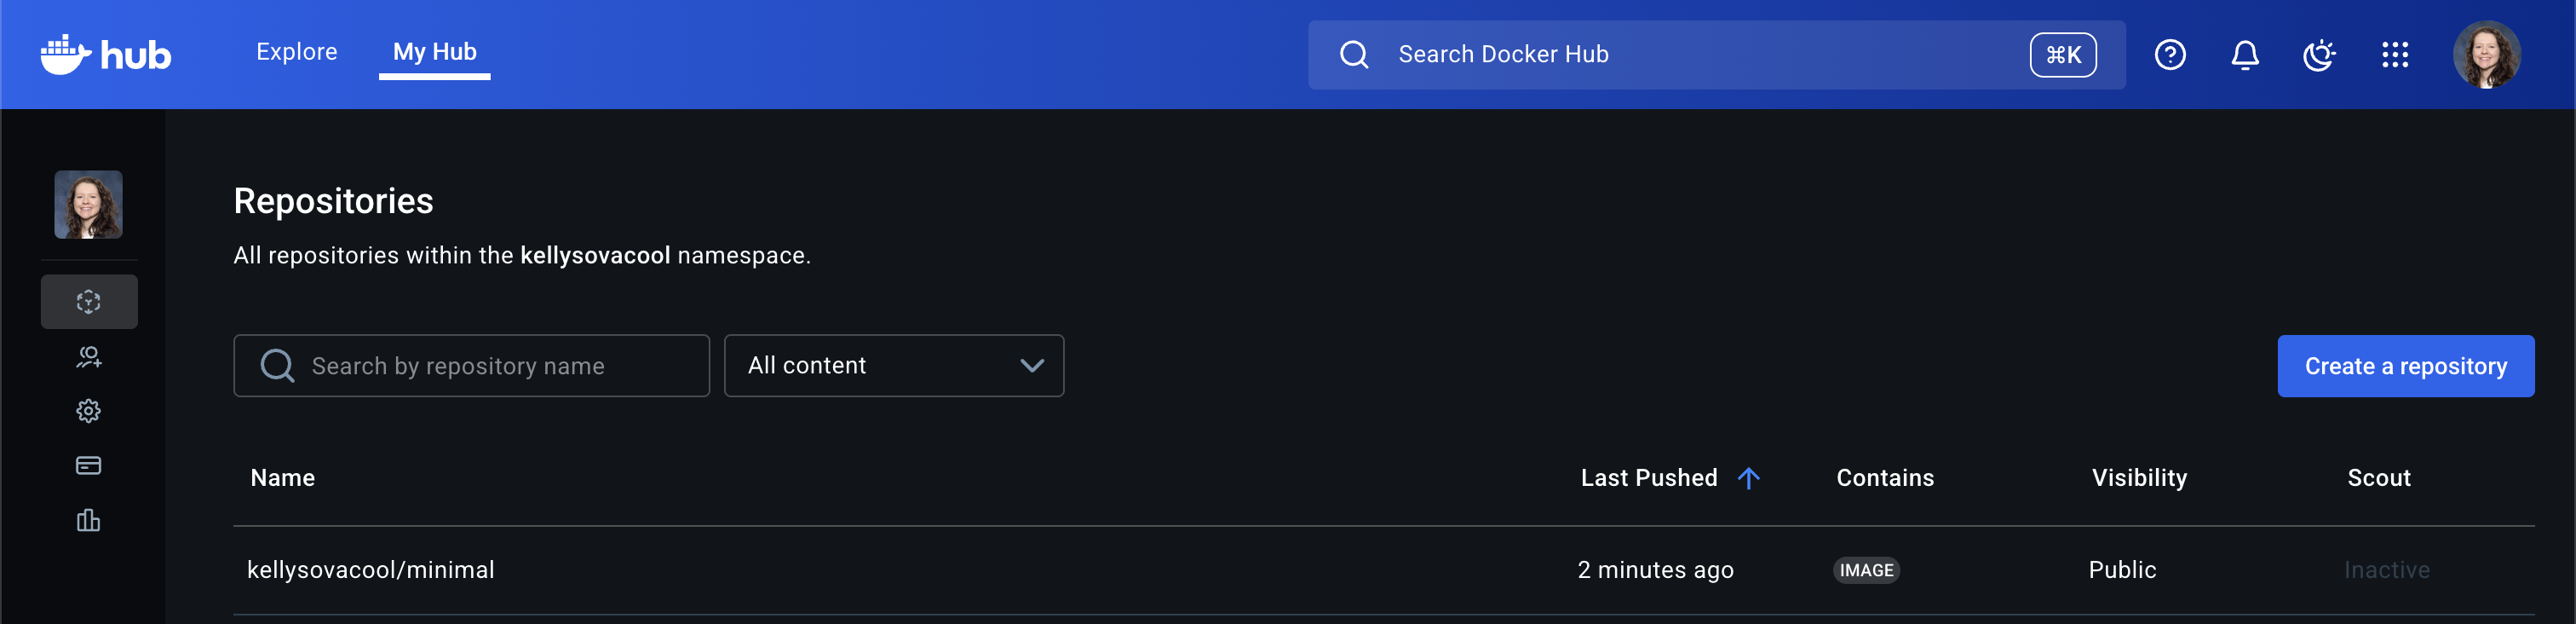
Pull any public container
You can pull any public container from dockerhub (including the one you just pushed).
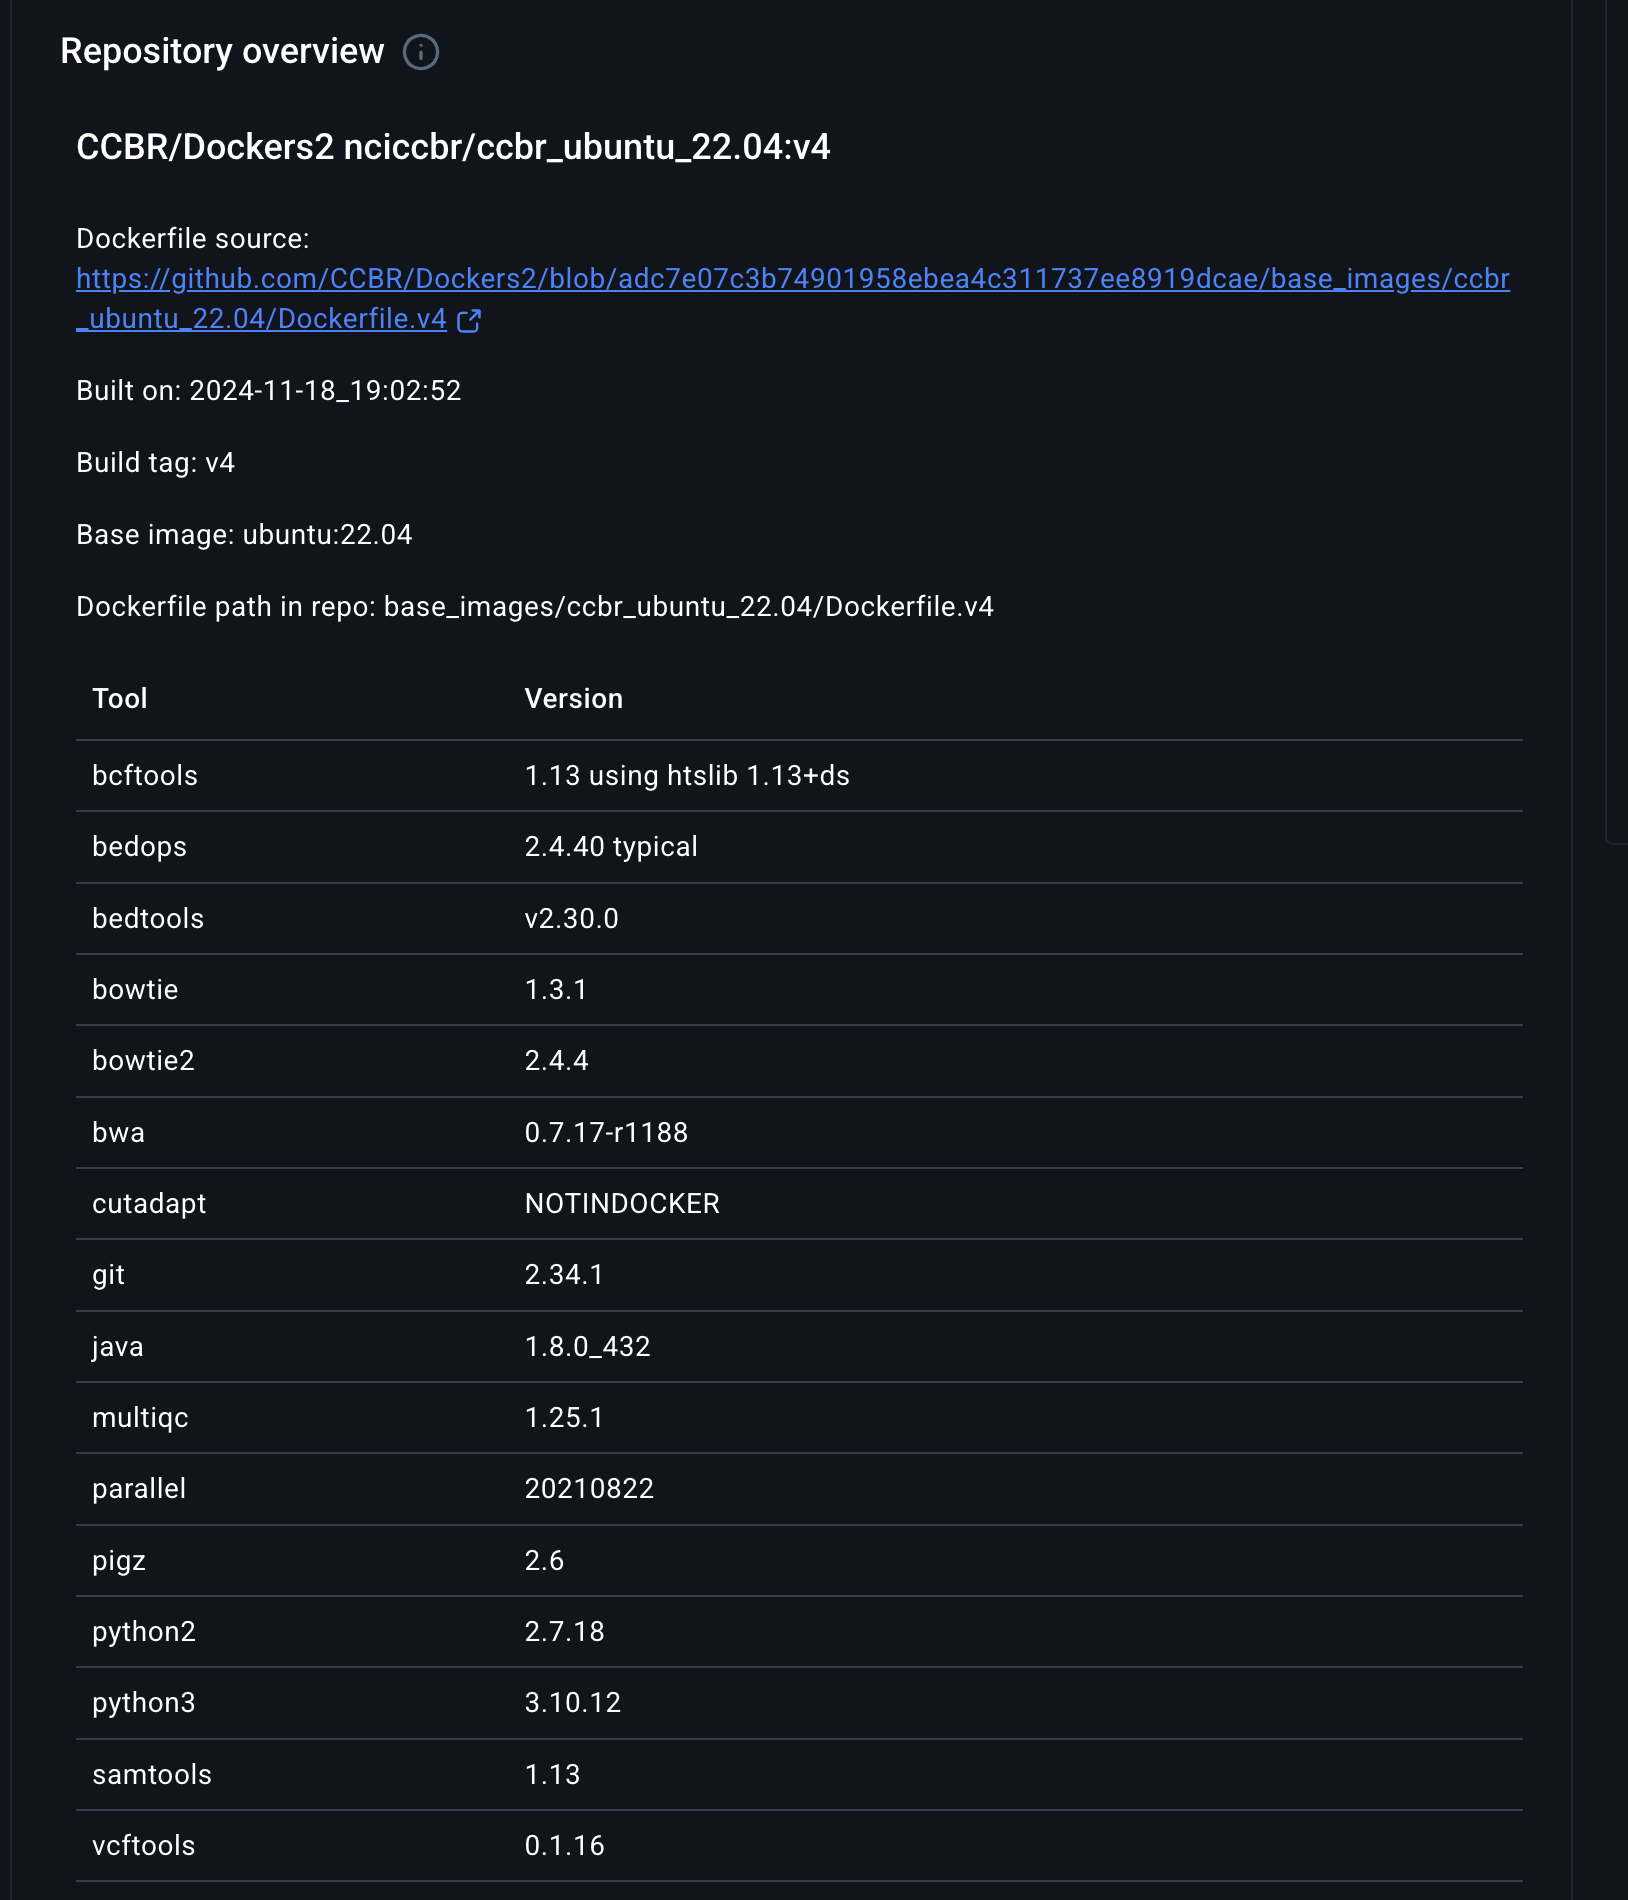
Here is the base image that we use for building most other CCBR containers. You can see details about it on dockerhub:
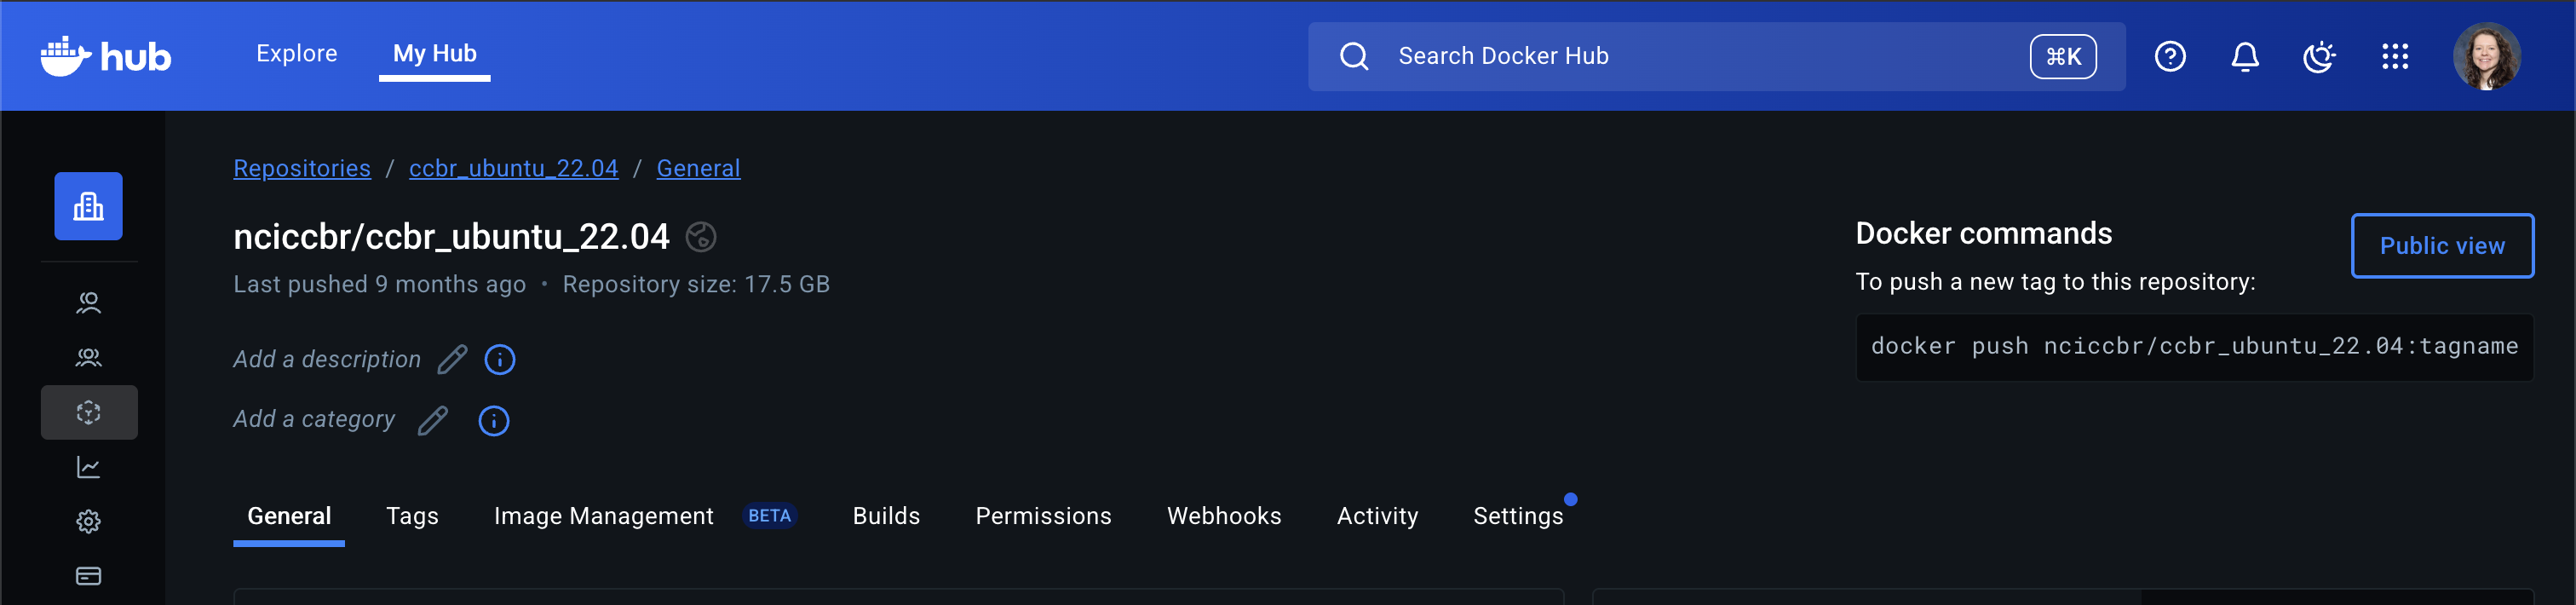
Here’s an example of pulling this container from the CCBR dockerhub account:
docker pull nciccbr/ccbr_ubuntu_22.04:v4The namespace is nciccbr, the container name is ccbr_ubuntu_22.04, and the version tag is v4.
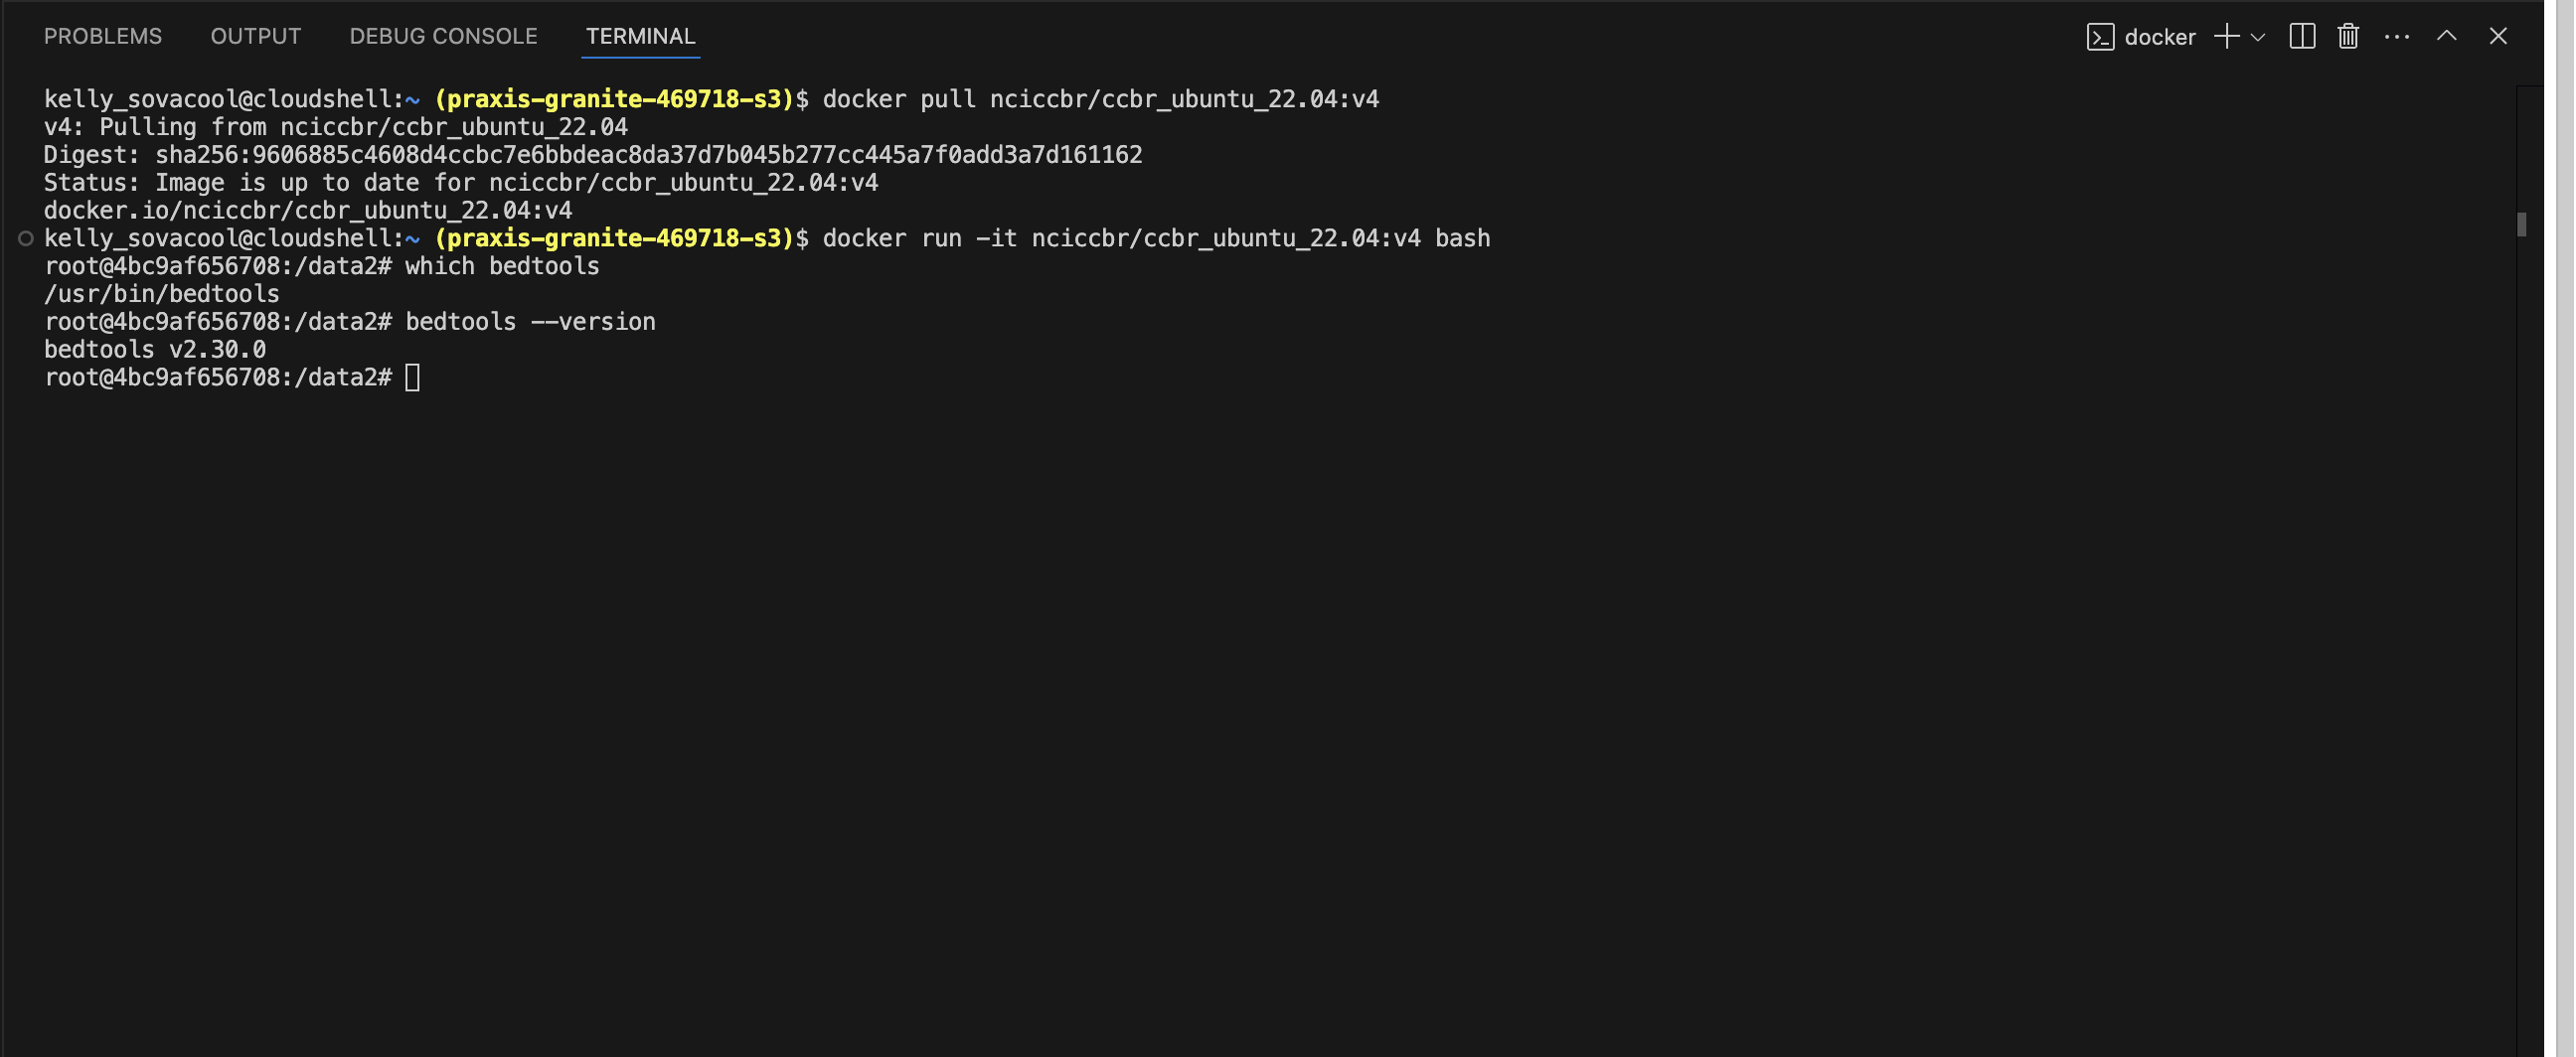
Run the container interactively:
docker run -it nciccbr/ccbr_ubuntu_22.04:v4 bashDocker Docs
View the Docker getting started tutorial for more detailed information: https://docs.docker.com/get-started/introduction/build-and-push-first-image/